Harvesting marijuana buds is a milestone every grower looks forward to. It's the culmination of months of careful nurturing, where your efforts finally pay off in the form of those resin-rich buds. But how do you ensure you're picking them at the right moment? And what's the best way to handle them post-harvest to maintain quality?
In this guide, we’ll cover everything you need to know about harvesting marijuana buds. From recognizing the optimal time to start picking, to understanding the nuances of drying and curing, consider this your roadmap to a successful harvest. Let’s get started!
Timing Your Harvest
Knowing when to harvest your marijuana plants is crucial for maximizing potency and yield. The timing can significantly affect the flavor and effects of your buds. Generally, it's a balance between art and science.
Most growers use the color of the trichomes, which are tiny, hair-like structures on the buds, as an indicator. Trichomes start clear, then turn cloudy and finally amber as the plant matures. When most trichomes are cloudy, it's often a sign that the plant is at peak THC levels. If you wait until they're more amber, you might get more CBN, which can induce a more relaxed, sedative effect.
Another visual cue is the pistils, the hair-like structures on the buds. As they mature, these change color from white to a darker brown or red. Most growers aim to harvest when about 70-80% of pistils have changed color. However, these are just guidelines – personal preference and the specific strain can also influence your decision.
Preparation Before Harvest
Before you start chopping away, there are a few preparatory steps that can make a big difference in your harvest's quality. First, consider flushing your plants if you've been using nutrients. This involves watering with plain water for the last week or two, rinsing out any residual chemicals that might be in the soil, which can affect the taste.
Next, decide on your trimming method: wet or dry. Wet trimming involves removing the leaves immediately after cutting the branches, while dry trimming is done once the buds have dried. Each method has its pros and cons. Wet trimming can be easier and faster, but dry trimming might preserve more of the bud's terpenes and flavors.
Finally, gather your tools. You'll need sharp scissors or pruning shears, gloves to keep the resin off your hands, and a clean area to work in. A little organization goes a long way in making the process smoother and more efficient.
Cutting Down the Plant
Once your plants are ready, it's time to cut them down. This is a straightforward process but requires a gentle touch to avoid damaging the buds. Start by cutting the main stem near the base of the plant. Large plants might need to be cut into smaller sections for easier handling.
Be mindful of how you handle the branches. Try not to squeeze or brush against the buds too much, as this can knock off trichomes, which contain the cannabinoids and terpenes you're after. Treat the plant like a delicate piece of art that it is!
Some growers choose to cut plants in the dark, believing it helps preserve cannabinoids and terpenes. While the scientific evidence is mixed, it’s a practice worth trying if you’re curious and have the time to experiment.
Trimming the Buds
Trimming is where you shape your buds, removing excess leaves and making them look appealing. This step is necessary for both aesthetics and function, as too many leaves can affect the burn and taste of the final product.
If you're wet trimming, start by removing the fan leaves, the larger leaves without much resin. Next, trim the sugar leaves, those smaller leaves coated with trichomes. Aim for a neat appearance, but don't stress too much – perfection isn't necessary.
For dry trimming, you'll follow a similar process, but the leaves will be removed after drying. Some growers believe dry trimming retains more flavor, as the leaves protect the buds during the drying process. Whichever method you choose, ensure your tools are clean and sharp to avoid damaging the buds.
Drying Your Cannabis
Drying is a critical step that affects both potency and taste. The goal is to remove moisture at a steady, controlled rate to preserve cannabinoids and terpenes. Ideally, you'll want to hang your trimmed branches upside down in a dark room with good air circulation.
The environment should be cool, with temperatures around 60-70°F and humidity levels between 45-55%. Too much moisture can lead to mold, while too little can dry out the buds too quickly, affecting potency and flavor.
Drying usually takes about 7-14 days. You’ll know it’s done when the smaller stems snap instead of bend, and the buds feel dry to the touch but not crispy. Patience is key here – rushing the process can ruin quality.
Curing for Quality
Curing is the secret sauce that separates okay cannabis from top-shelf. Once your buds are dry, they're ready for curing, which enhances flavor and smoothness. This involves placing the dried buds in airtight jars and storing them in a cool, dark place.
During the first week, open the jars daily for about 15 minutes to release built-up moisture. This process, known as "burping," helps prevent mold and allows gases that were produced by the chlorophyll breakdown to escape.
A good cure typically lasts 2-4 weeks, but some connoisseurs let their buds cure for up to six months. The longer you cure, the better the flavor and burn quality. Remember, good things come to those who wait!
Storing Your Harvest
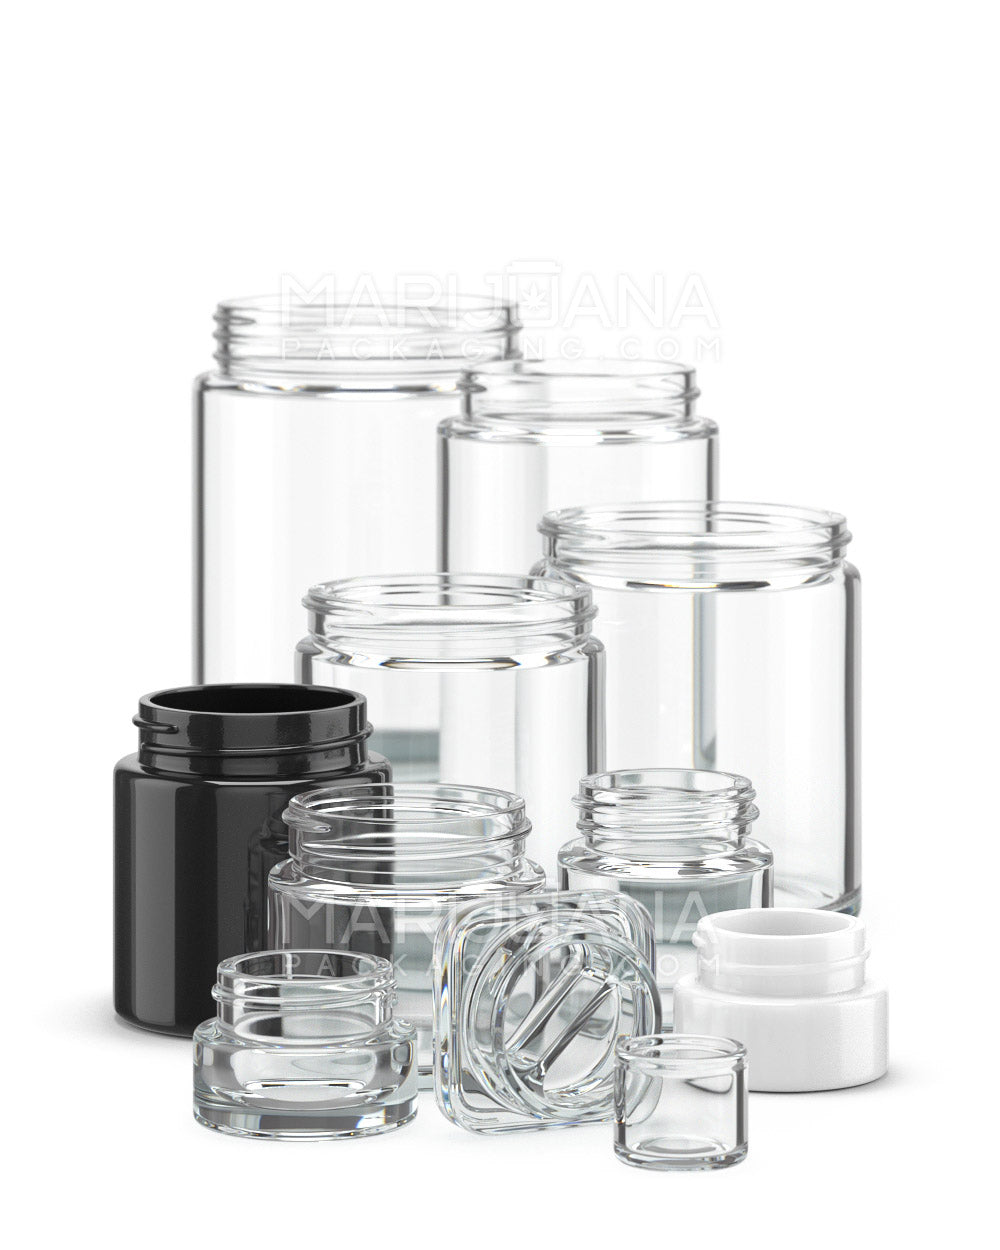
Proper storage maintains the quality of your buds long after harvest. Light, heat, and oxygen are the enemies here, so keep your stash in a cool, dark place in airtight containers. Glass jars are often preferred because they don't impart any flavors and are airtight.
Consider adding humidity packs to your jars to maintain an optimal moisture level, usually around 62%. These packs help keep your buds fresh without the risk of mold. Avoid plastic bags, which can lead to a loss of potency over time.
Remember that even the best-cured buds will degrade over time, so try to use your stash within six months to a year for the best experience.
Troubleshooting Common Harvest Issues
Even with the best intentions and practices, things can go wrong. Mold is a common concern during drying and curing, often caused by high humidity. If you spot any fuzzy, white growth, remove the affected buds immediately to prevent it from spreading.
If your buds smell like hay, they might have dried too quickly. Unfortunately, there's not much you can do to restore the lost terpenes, but proper curing can help mitigate this issue. For overdried buds, try reintroducing moisture by adding a humidity pack or a piece of citrus peel to the jar for a short period.
Keep in mind that every harvest is a learning experience. Don't be discouraged by setbacks; instead, view them as opportunities to refine your technique for next time.
Final Thoughts
Harvesting marijuana buds is an art that improves with practice. From timing your harvest just right to perfecting the drying and curing process, each step is important in achieving the quality you're after. Remember, patience and attention to detail pay off in the end.
Looking to make your harvest even more memorable? Consider Gamut for all your packaging needs. With over a decade of expertise in packaging for consumer goods, Gamut offers a full range of solutions—from design to delivery. Whether you're in need of jars, bags, or any other type of container, Gamut's full-scale packaging services help your brand stand out, making your product as unforgettable as the experience you're creating.
