Harvesting autoflowering marijuana plants might seem like a tricky task at first, but with a little guidance and patience, you can master the process and enjoy the fruits of your labor. Autoflowers are known for their quick turnaround and ease of cultivation, making them a favorite among both new and experienced growers.
In this article, we'll walk you through the steps of harvesting autoflowering marijuana plants. From understanding when your plants are ready to be harvested to drying and curing your buds, we've got you covered. Let's get started!
Recognizing the Right Time to Harvest
Knowing when to harvest your autoflower plants is crucial for maximizing the quality and potency of your buds. Harvest too early, and you might end up with less potent flowers. Wait too long, and the THC levels may start to degrade. So, how do you get it just right?
First, let's talk about the timeline. Autoflowering plants typically have a lifespan of about 8-12 weeks from seed to harvest. However, the exact timing can vary depending on the strain and growing conditions. Keep an eye on the trichomes, those tiny resin glands on your buds that contain the cannabinoids.
Trichomes are your best indicator of when to harvest. You'll need a magnifying glass or a jeweler's loupe to get a good look. Here’s what to watch for:
- Clear trichomes: Your plant isn’t ready yet. The THC hasn’t fully developed.
- Cloudy/milky trichomes: This is the sweet spot for harvesting. The THC levels are at their peak.
- Amber trichomes: The THC is beginning to degrade into CBN, which can make for a more sedative effect.
While some growers like to harvest when a small percentage of trichomes have turned amber, sticking mostly to cloudy trichomes can ensure a more potent product.
Preparing for Harvest
Before you start snipping away, you'll want to make sure you're ready for the task. Harvesting can be a messy job, and having everything you need on hand will make the process much smoother.
Tools of the Trade
Here’s a list of items you should have ready:
- Pruning shears: A good pair of sharp pruning shears will help you cut through branches cleanly.
- Gloves: Resin can get sticky, so wearing gloves can keep your hands clean.
- Drying rack or hangers: This is where you’ll hang your harvested branches or buds to dry.
- Magnifying glass or jeweler’s loupe: For checking those trichomes, as mentioned earlier.
Having a clean and organized workspace can also help the process go smoothly. Make sure your tools are clean and sanitized to prevent any contamination.
The Harvesting Process
Now that you're prepared, it's time to start harvesting your plants. The process can be broken down into a few simple steps.
Step 1: Cutting the Plant
Begin by cutting the main stalk of the plant at the base. You can either cut the whole plant and hang it upside down, or you can cut individual branches. The choice is yours, but hanging whole plants can sometimes make drying more uniform.
Step 2: Trimming the Leaves
Once you have your branches separated, it's time to trim away the fan leaves and sugar leaves. The fan leaves are the large leaves that don't have much resin, while sugar leaves are smaller and closer to the buds. Some people like to leave the sugar leaves on for a slower drying process, but trimming them off can make for a smoother smoke.
Step 3: Hanging and Drying
Hang your branches upside down in a dark, well-ventilated area. The temperature should be around 60-70°F with a humidity level of 50-60%. This environment helps prevent mold and allows for proper drying. The drying process usually takes about 7-10 days.
Drying and Curing
Drying your buds properly is essential for a great final product. But don’t stop there—curing is the next step that can truly elevate your cannabis experience.
Understanding the Drying Process
Drying is not just about removing moisture. It’s about doing it slowly enough to preserve terpenes and cannabinoids. Here’s a quick rundown of what you should be doing:
- Check your drying buds daily for signs of mold or mildew.
- Ensure air circulation to avoid stagnant air, but avoid direct fans blowing on your buds.
- Test for dryness by bending a small branch. If it snaps, rather than bends, your buds are ready for curing.
Curing for Quality
Curing is where the magic happens. This process enhances the flavor and smoothness of your smoke while allowing the chlorophyll to break down, reducing that "green" taste.
Here’s how to cure your buds:
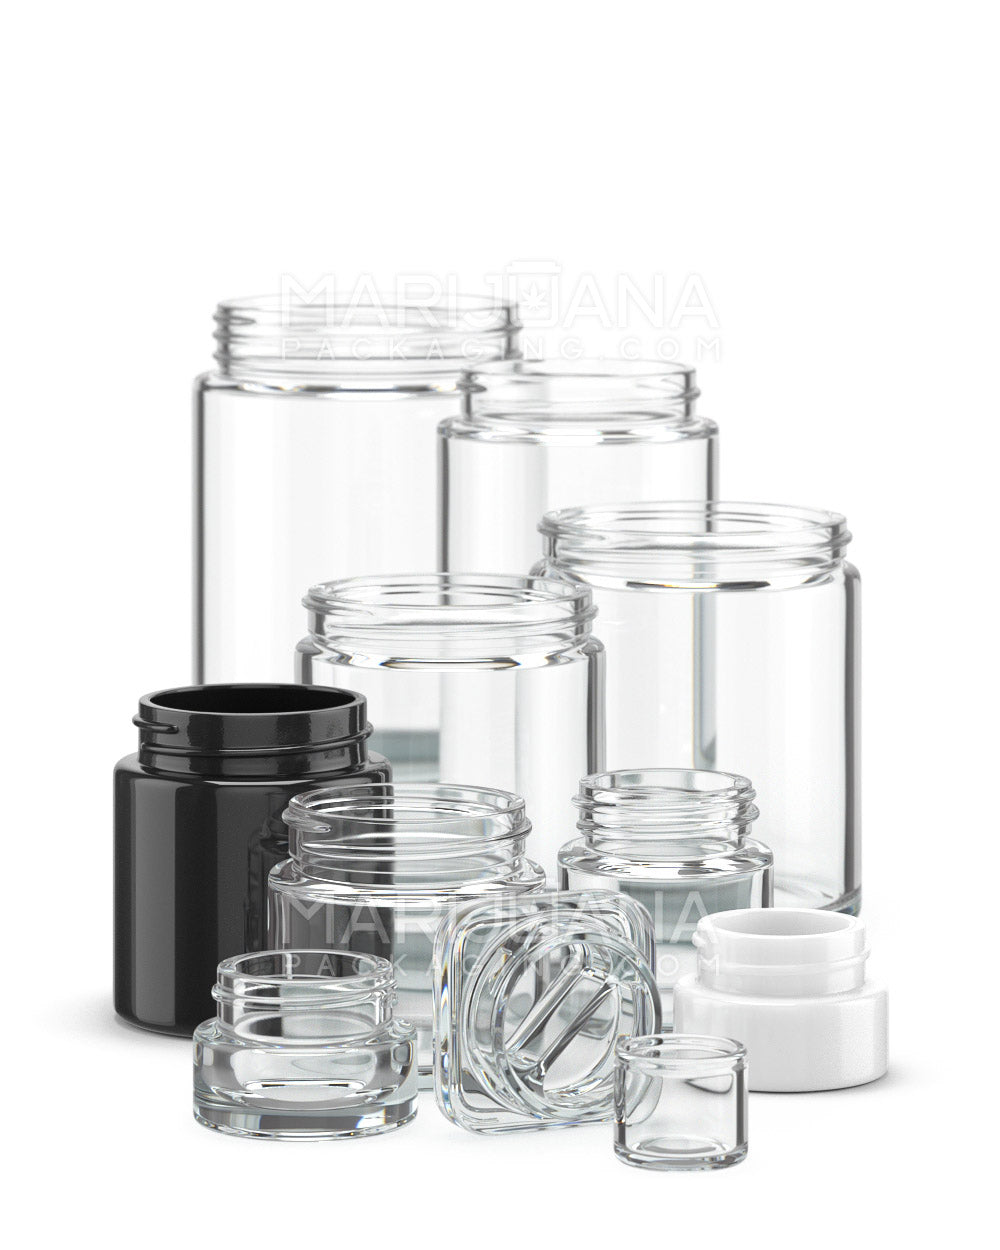
- Place the dried buds in airtight glass jars. Don’t pack them too tightly.
- Store the jars in a cool, dark place.
- Open the jars once a day for the first two weeks to release moisture and allow fresh air in. This is called “burping.”
After the initial two weeks, you can burp the jars less frequently. Curing can take anywhere from two weeks to two months, depending on how patient you are. Many growers agree that a longer cure results in better flavor and quality.
Storing Your Harvest
Once you're satisfied with the curing process, it's time to store your cannabis. Proper storage will help maintain the potency and flavor of your buds for months.
Keep your cannabis in a cool, dark place. Light and heat can degrade the cannabinoids and terpenes, leading to a loss of potency and flavor. Airtight glass jars are ideal for storage, and you can use humidity packs to maintain the perfect moisture level inside the jars.
Avoid plastic bags or containers, as they can cause static, which may damage the trichomes. Also, steer clear of storing your cannabis in the refrigerator or freezer, as this can cause the trichomes to become brittle and break off.
Dealing with Common Harvesting Issues
Even with the best preparations, things can sometimes go awry. Here are some common issues you might encounter and how to handle them:
Issue 1: Mold and Mildew
Mold can develop if your drying area is too humid. If you spot any mold, remove the affected buds immediately to prevent it from spreading. Ensure your drying area has proper air circulation and the right humidity levels.
Issue 2: Overdrying
If your buds dry too quickly, they might become brittle and lose potency. If this happens, consider using a humidity pack when storing them to reintroduce some moisture.
Issue 3: Uneven Drying
Sometimes, parts of your plant will dry faster than others. Rotate your buds during the drying process to ensure even drying throughout. This can help maintain consistent quality across your harvest.
The Importance of Patience
Growing cannabis, especially autoflowers, can be a rewarding experience, but patience is key. It might be tempting to rush through the drying and curing process to enjoy your harvest sooner, but taking the time to do it properly will pay off in the end.
Think of it like letting a fine wine age. You wouldn’t want to pop the cork too early! By waiting and allowing the curing process to run its course, you'll end up with a product that's flavorful and potent.
Experimenting with Different Strains
Once you've got the basics down, why not try experimenting with different autoflower strains? Each strain has unique characteristics, from flavor profiles to effects, and growing different varieties can be a fun way to expand your knowledge and enjoyment of cannabis.
Consider growing a mix of strains with varying THC and CBD levels. This way, you can tailor your harvest to different preferences. Some strains might be great for relaxing evenings, while others are perfect for a daytime boost.
Popular Autoflower Strains
Here are a few autoflower strains that are popular among growers:
- Amnesia Haze Auto: Known for its uplifting effects and citrusy aroma.
- Blueberry Auto: Offers a sweet blueberry flavor and a relaxing high.
- Gorilla Glue Auto: Famous for its potency and sticky resin production.
Experimenting with different strains not only enhances your cultivation skills but also adds variety to your stash.
Final Thoughts
Harvesting autoflower marijuana is a rewarding journey that requires attention to detail and patience. By following the steps we've discussed, you'll be well on your way to producing quality buds that you can be proud of. From recognizing the right time to harvest to drying and curing, each step is vital for the final outcome.
If you're in need of reliable packaging solutions for your harvest, Gamut has you covered. With over a decade of expertise, Gamut provides a full range of packaging solutions that can meet your needs, whether you're looking for stock options or custom designs. Their services can help your product stand out and keep your buds fresh and potent for as long as possible.


