


If you've ever wondered how to hang marijuana properly after harvesting, you're not alone. It's a crucial step in ensuring your hard work pays off with high-quality buds. Think of it as the final lap in a marathon where precision and patience make all the difference. Today, we'll break down the process into simple, manageable steps.
We'll cover everything you need to know, from why hanging is important to the nitty-gritty of creating the ideal drying environment. By the end, you'll have a solid grasp of how to hang marijuana like a pro, setting you up for a successful post-harvest process.
Why Hanging Marijuana Matters
Hanging your marijuana plants after harvesting is not just a matter of tradition—it's about quality. The drying process is vital because it helps preserve the potency, flavor, and aroma of your buds. If not done correctly, you could end up with moldy, harsh, or flavorless buds, which isn't ideal.
When you hang your plants, you allow gravity to aid in the natural drying process. This method helps retain the cannabinoids and terpenes, which are essential for the plant's effects and flavors. Plus, it provides the buds with an even drying experience, reducing the risk of mold.
So, when you hear about people saying they're "hanging" their marijuana, they're really just prepping their harvest for the best possible outcome. It's a bit like letting a fine wine age to perfection. Let's move on to how you can do it yourself.
Timing Your Harvest
Before you can hang your marijuana, you need to know when to harvest. Timing is everything. Harvest too early, and you might miss out on potential potency. Wait too long, and you risk degrading the THC levels.
Most growers keep an eye on the trichomes—the tiny, crystal-like structures on the buds. When these trichomes turn from clear to milky white, it's usually a sign that the plant is ready to harvest. Some choose to wait until a few turn amber, which can indicate a more relaxed effect from the final product.
Once you've figured out the perfect time to harvest, you're ready to move on to the actual hanging process. Timing your harvest right ensures that the drying stage sets off on the right foot.
Setting Up Your Drying Space
Next up is your drying environment. This space needs to be just right to maintain the quality of your buds. Ideally, you want a room that's dark, has good air circulation, and is kept at a steady temperature of around 60-70°F with humidity levels between 45-55%.
Why these conditions? Well, too much heat or humidity can lead to mold, while too little can dry out the buds too quickly, affecting their quality. Think of it like Goldilocks—everything needs to be just right.
Use fans to keep air circulating, but avoid pointing them directly at your buds. A dehumidifier may be necessary if you're in a particularly humid area. Meanwhile, a small heater might help if it's too cold. The idea is to mimic a natural drying process as closely as possible.
Preparing Your Plants for Hanging
Before you hang, a bit of prep work is in order. You'll need to trim away any large fan leaves but keep the smaller sugar leaves intact. These smaller leaves protect the buds during drying and can be trimmed later during the curing phase.
Some growers prefer to do a full trim before hanging, while others reserve a more detailed trim for after the buds are dried. It really comes down to personal preference and how much time you want to spend trimming later.
Once trimmed, you can choose to hang whole plants or just branches. Hanging whole plants can slow down the drying process, which might be beneficial if you're in a very dry climate.
How to Hang Your Marijuana Plants
Now it's time to hang those plants. You'll need a few simple tools: some string or wire, and a place to hang them. This could be as simple as a closet rod or a DIY setup made from a few sturdy poles.
Gently hang the plants or branches upside down. This position allows moisture to escape evenly and keeps the buds in their natural shape. Be sure to space them out so air can circulate around each plant or branch.
Remember, the goal is even drying. Crowding can lead to uneven drying and potentially moldy spots. So, give those buds some breathing room!
Monitoring the Drying Process
Once your plants are hanging, the waiting game begins. Drying usually takes around 7-14 days, but this can vary based on your environment. The key is to check on them regularly.
How do you know when they're ready? You'll want to look for stems that snap instead of bend, and buds that feel dry to the touch but still slightly sticky. If you're not sure, take a small bud and try breaking it open. It should have a nice snap to it but not crumble.
During this time, adjust your drying environment as needed. If things seem to be drying too quickly, raise the humidity a bit. If it's taking too long, maybe lower it slightly. It's a bit of a balancing act but well worth the effort.
Common Mistakes to Avoid
Even seasoned growers make mistakes now and then. Here are a few common pitfalls to watch out for:
- Overcrowding: Avoid hanging too many plants in one space. This can lead to poor air circulation and mold.
- Improper Environment: Keep a close eye on temperature and humidity. Extremes in either direction can ruin your harvest.
- Rushing the Process: Patience is key. Don't try to speed up the drying process or you risk losing potency and flavor.
- Skipping Regular Checks: Regularly check your buds and stems for signs of mold or over-drying.
By avoiding these mistakes, you'll be on your way to a successful harvest.
Moving from Drying to Curing
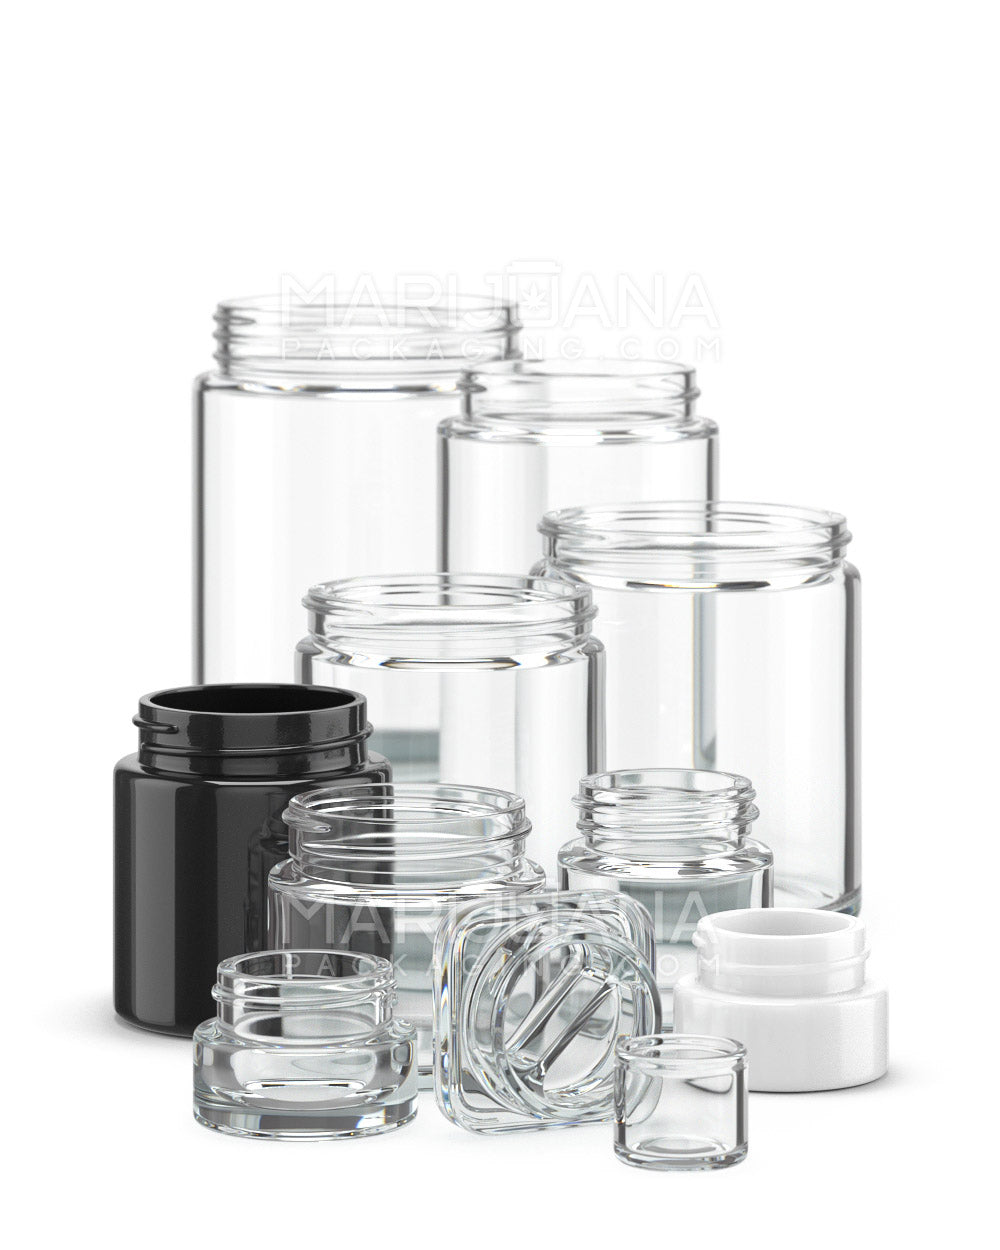
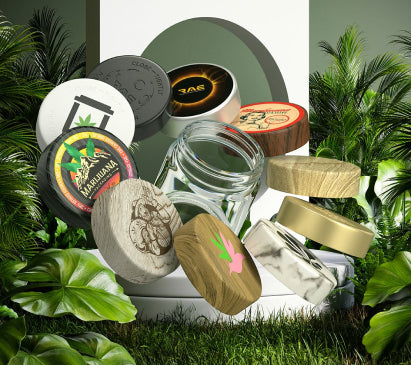
Once your buds are dried, it's time to move on to curing. This step involves placing your dried buds in airtight containers, usually glass jars, to further develop their flavor and potency.
Curing usually takes a few weeks. During this time, you'll want to "burp" the jars daily for the first week. This means opening the lids for a few minutes to release any built-up moisture and to allow fresh air in.
This process allows the remaining moisture inside the buds to redistribute evenly, enhancing the overall quality. Think of it as letting your buds breathe a little before they're ready to be enjoyed.
The Benefits of Properly Hanging Marijuana
When done right, hanging marijuana plants to dry can lead to a better product. You'll end up with buds that are full of flavor, potency, and aroma. Plus, they're less likely to develop mold or become too dry and crumbly.
Properly dried and cured marijuana also tends to have a smoother smoke, making for a more enjoyable experience overall. It's like the difference between a hastily made cup of instant coffee and a carefully brewed espresso.
Investing time and care into this process can pay off in dividends, offering you a stash of cannabis that reflects the hard work and dedication you put into growing it.
Final Thoughts
Hanging your marijuana plants is a critical step in ensuring you get the best out of your harvest. From timing your harvest correctly to setting up the perfect drying environment, each step plays a role in the final product. With a little patience and attention to detail, you'll have buds that are flavorful and potent.
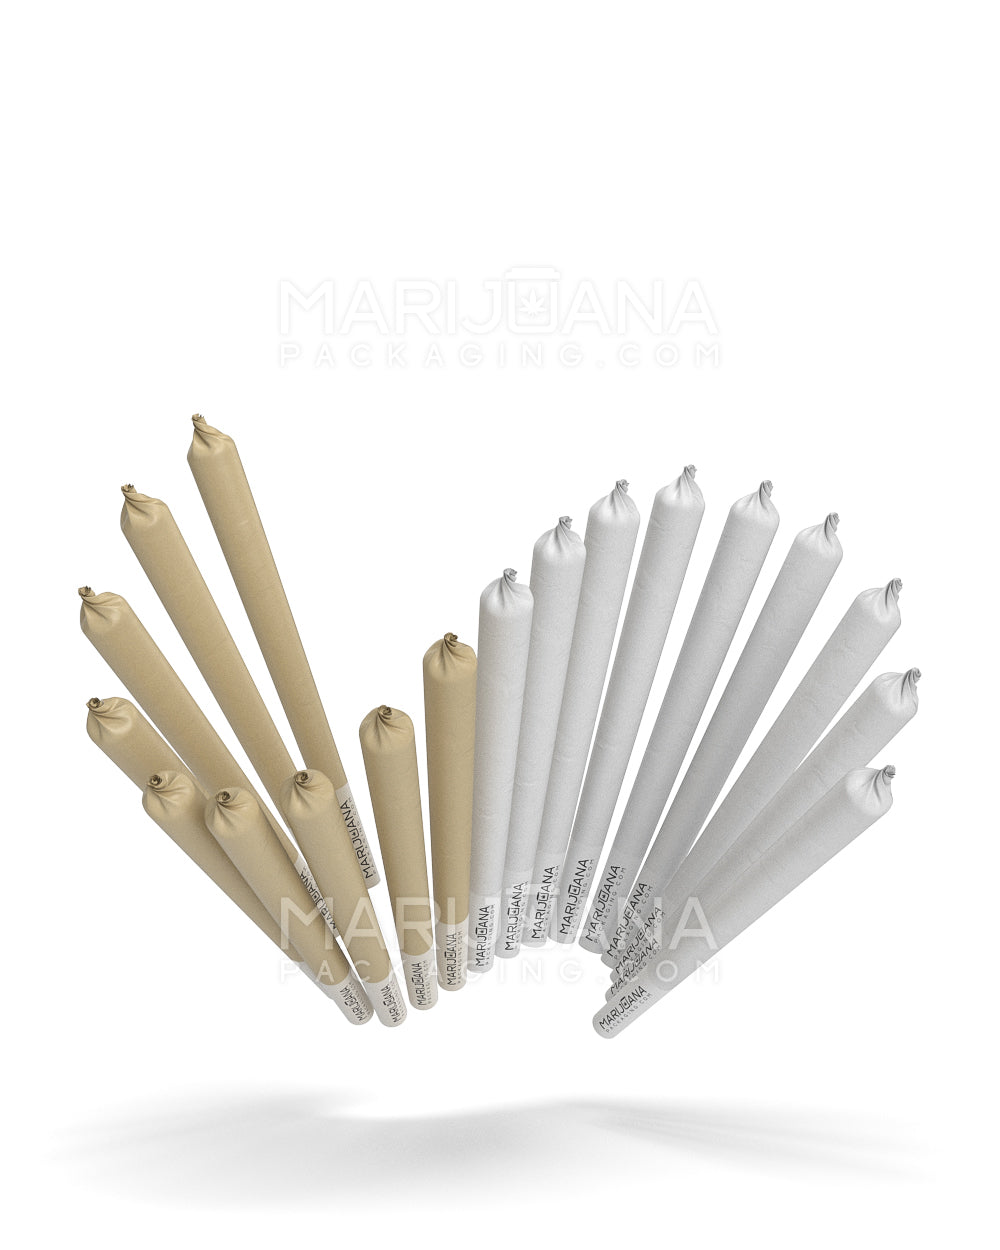
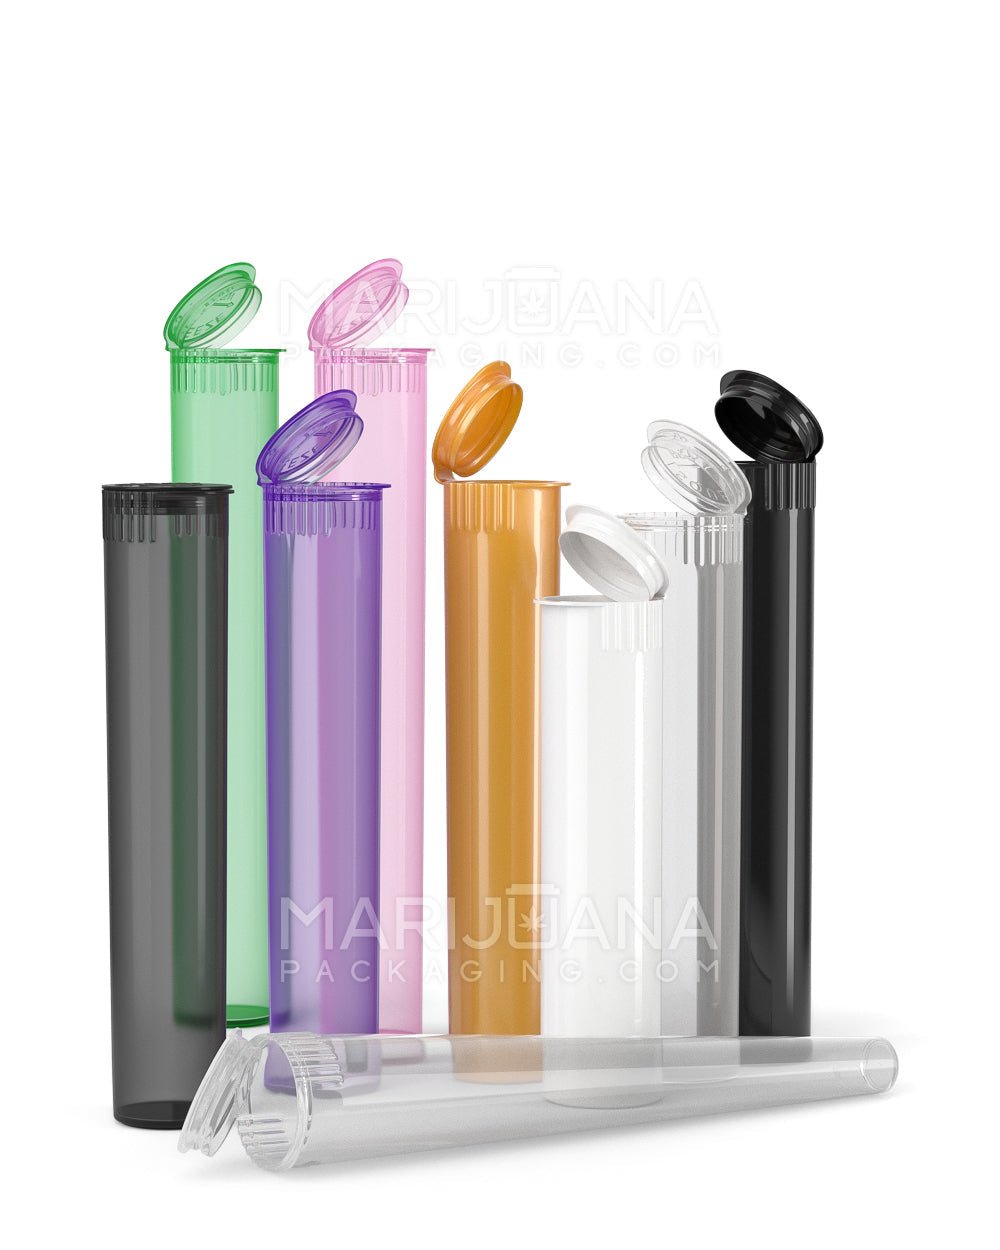
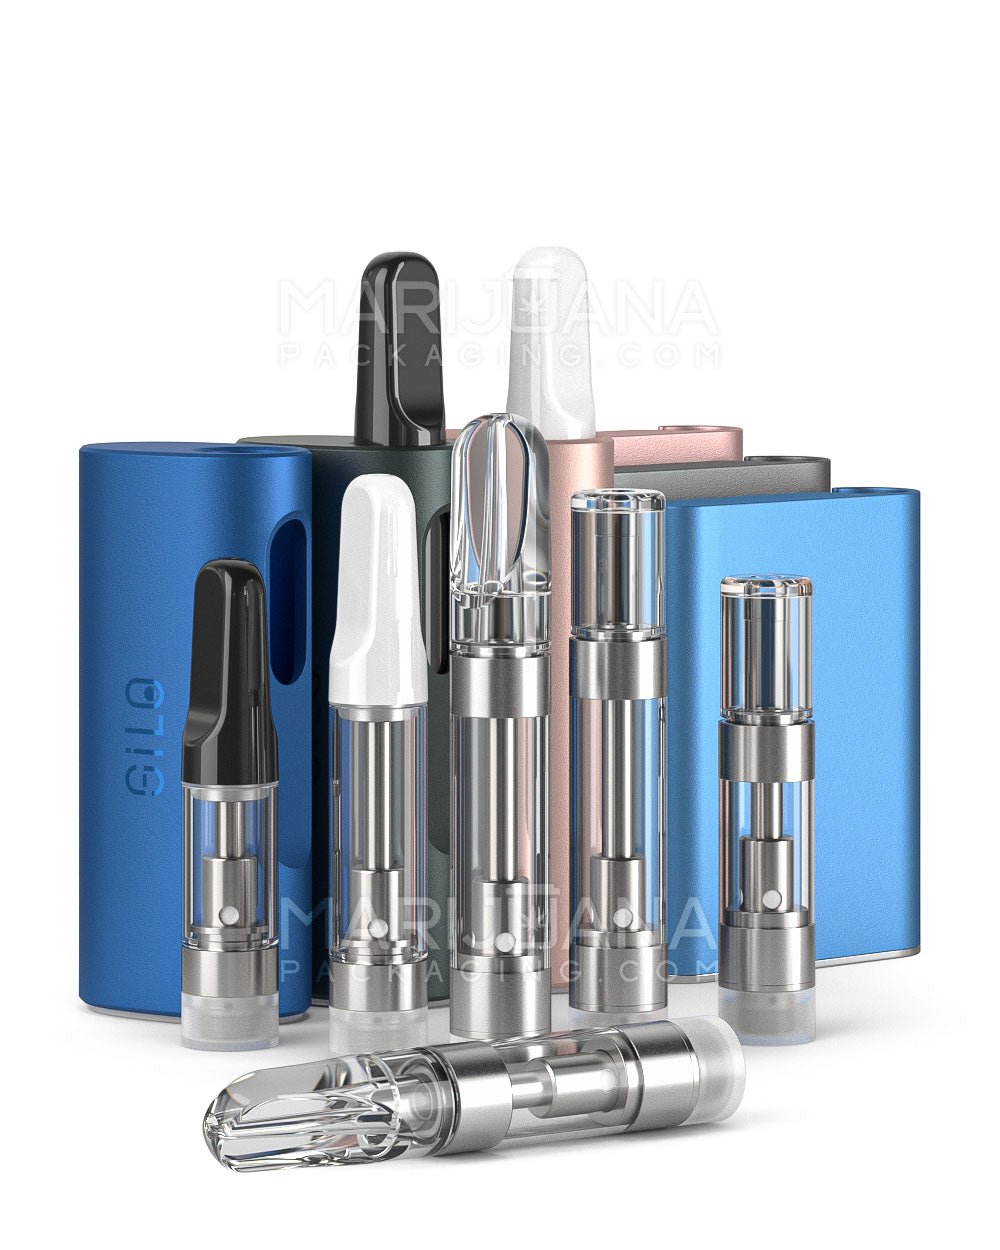
Now, if you're looking to package your freshly dried cannabis, Gamut offers an array of packaging solutions that can help your product shine. With over a decade of expertise, Gamut's full-scale packaging services ensure your cannabis is stored safely, maintaining its quality and appeal. From jars to bags, Gamut runs the gamut to meet all your packaging needs.