Growing the best marijuana plants can be an exciting journey with a bit of science, art, and patience. Whether you're a complete beginner or have dabbled in cultivation before, there's always something new to learn. This process can be as rewarding as it is challenging, offering a hands-on experience that leads to a great product.
This guide will cover everything from choosing the right strain and setting up your growing environment to nurturing your plants and harvesting them at the right time. Get ready to get your hands a little dirty as we embark on this green-fingered adventure.
Choosing the Right Strain
The first step in growing top-notch marijuana is selecting the right strain. The variety you choose will influence everything from the plant's growth cycle to its final flavor profile. Are you looking for something relaxing or energizing? Do you prefer fruity notes or a more earthy aroma?
Here are a few tips to help you decide:
- Consider the Climate: If you're growing outdoors, make sure the strain is suitable for your local climate. Some strains are more resilient to temperature fluctuations, while others thrive in warm, stable environments.
- Think About Space: Indica strains tend to be shorter and bushier, making them ideal for indoor grows with limited space. Sativas, on the other hand, grow taller and require more vertical room.
- Match Your Experience Level: If you're new to growing, start with a strain known for being forgiving and easy to manage, like Northern Lights or Blue Dream.
Once you've chosen a strain, source your seeds or clones from a reputable provider to ensure high-quality genetics. This is the foundation upon which everything else is built, so don't skimp on this step!
Setting Up Your Grow Environment
Creating the ideal environment for your plants is crucial to their success. You'll need to decide whether to grow indoors or outdoors, each having its pros and cons. Let's explore both options.
Indoor Growing
Indoor growing allows for complete control over the environment, from temperature and humidity to light cycles. Here's what you'll need:
- Grow Tent or Room: A dedicated space with reflective walls to maximize light exposure. Tents are a popular choice for their convenience and ease of setup.
- Lighting: LED or HID lights are commonly used. Ensure you choose the right spectrum for each growth phase: blue light for vegetative growth and red light for flowering.
- Ventilation: Proper airflow prevents mold and pests. Use fans and carbon filters to keep the air fresh and odor-free.
- Temperature and Humidity Control: Aim for temperatures between 70-85°F during the day and slightly cooler at night. Humidity should be adjusted as plants grow, starting higher during the seedling stage and lowering as they flower.
Outdoor Growing
Outdoor growing is more affordable and environmentally friendly but comes with its own challenges. Consider these factors:
- Location: Choose a spot with plenty of sunlight and good drainage. Privacy is also important, both for security and legal reasons.
- Soil Quality: Use nutrient-rich soil with good aeration and drainage. You might need to amend the soil with compost or other organic matter.
- Weather Considerations: Be prepared for unexpected weather changes. You might need to protect your plants from heavy rain or strong winds.
Whether you choose indoor or outdoor growing, remember that consistency is key. Sticking to a regular schedule for watering, feeding, and tending to your plants will set you up for a bountiful harvest.
Germinating Your Seeds
Now that you have your environment set up, it's time to germinate your seeds. Germination is the process where seeds sprout and begin to grow. Here’s a simple method to get you started:
- Soak Your Seeds: Place your seeds in a glass of room-temperature water for 12-24 hours. This softens the seed coat and encourages sprouting.
- Transfer to a Damp Paper Towel: After soaking, place the seeds between two damp paper towels. Keep them moist but not soaking wet, and store them in a warm, dark place.
- Wait for the Taproot: In a few days, you should see a small white root, known as a taproot, emerge from the seed. This means your seed is ready for planting.
Patience is key here. It might take a few days for the seeds to sprout, so check on them regularly to ensure they remain damp. Once the taproot is visible, it's time to plant them in your growing medium.
Planting and Early Growth
With your seeds ready to go, it’s planting time. Here’s how to give your seedlings the best start:
- Choose the Right Medium: You can plant seeds in soil, coco coir, or hydroponic setups. Each has its benefits, but soil is often the easiest for beginners.
- Plant the Seeds: Make a small hole in your growing medium, about half an inch deep, and gently place the seed taproot-down. Cover it lightly with soil.
- Water Gently: Use a spray bottle to moisten the soil. Avoid overwatering, as this can drown the seedling before it gets a chance to establish itself.
As the seedlings grow, ensure they have plenty of light. If growing indoors, use fluorescent lights or LEDs, keeping them close to the seedlings to prevent stretching. Outdoors, make sure they get at least 6 hours of direct sunlight daily.
Nurturing Your Plants
During the vegetative stage, your plants will focus on growing leaves and stems. This is when you'll see them shoot up and start looking like proper cannabis plants. Here’s how to keep them healthy:
- Lighting: If indoors, maintain 18-24 hours of light per day. Outdoors, ensure they get consistent sunlight.
- Nutrients: Use a balanced fertilizer rich in nitrogen, as this supports leafy growth. Follow the instructions carefully to avoid nutrient burn.
- Watering: Water when the top inch of soil feels dry. Overwatering is a common mistake, so aim for consistency rather than frequency.
- Pruning and Training: Remove dead leaves and consider training methods like topping or low-stress training (LST) to encourage bushier growth.
Staying vigilant during this stage will set the groundwork for a healthy flowering phase. Keep an eye out for pests and diseases, and address any issues promptly.
The Flowering Phase
The flowering stage is when your hard work starts to pay off. You'll see buds forming, and the plant's aroma will intensify. Here’s what to focus on:
- Light Cycle: Indoors, switch to 12 hours of light and 12 hours of darkness to trigger flowering. Outdoors, this happens naturally as days shorten.
- Nutrients: Shift to a fertilizer higher in phosphorus and potassium to support bud development.
- Humidity and Temperature: Lower humidity to around 40-50% to prevent mold, and maintain temperatures between 65-80°F.
- Support: As buds grow heavier, you might need to support branches with stakes or trellises to prevent them from snapping.
Monitor your plants closely. The flowering stage is critical for determining the final quality of your marijuana, so continue to provide consistent care.
Harvesting Your Marijuana
Timing the harvest is crucial. If you harvest too early, the potency might be lacking. Too late, and you risk losing flavor and potency. Here’s how to know when it’s time:
- Trichome Check: Use a magnifying glass to inspect the trichomes (the tiny crystals on the buds). When they turn from clear to milky white, it's time to harvest.
- Pistil Color: The hairs on your buds, known as pistils, should be mostly brown and curled inwards.
- Smell and Feel: The plant will have a strong aroma, and buds should be dense and sticky to the touch.
When you're ready, cut the plants at the base and begin the drying process. Hang them upside down in a cool, dark room with good airflow to ensure even drying.
Drying and Curing
Drying and curing are essential steps that enhance the flavor and potency of your marijuana. Here’s how to do it right:
- Drying: Hang your plants for about 7-14 days. The buds should feel dry to the touch, but the stems should still have a bit of bend.
- Trimming: Once dry, trim off any excess leaves and manicure the buds to your desired level of neatness.
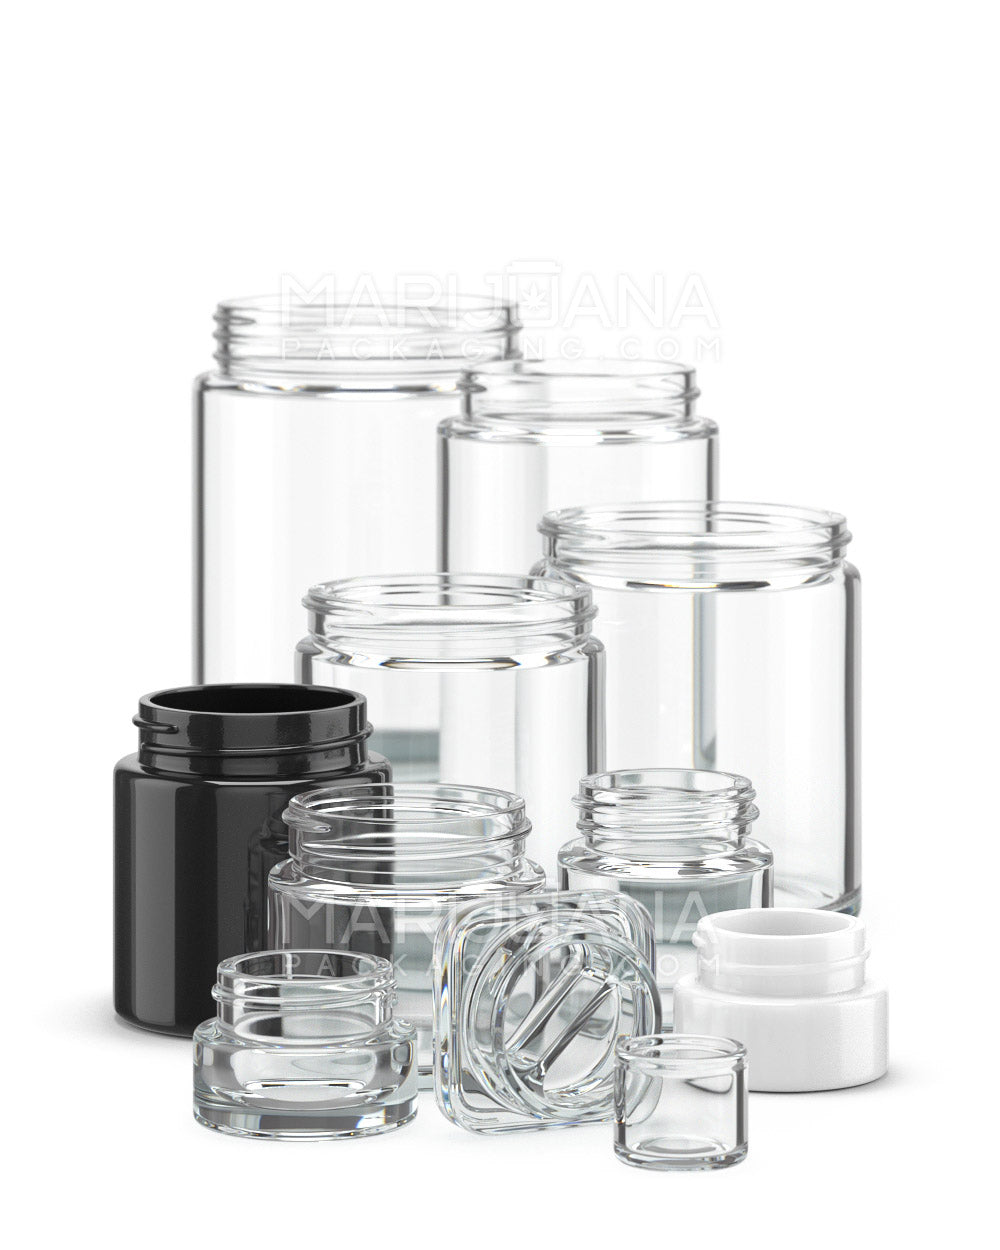
- Curing: Place the trimmed buds in airtight jars. Open the jars daily for the first week to allow moisture to escape, then less frequently as time goes on.
Curing can take anywhere from two weeks to a few months. The longer you cure, the smoother and more flavorful the smoke will be. Patience pays off in this stage!
Storing Your Marijuana
Proper storage keeps your marijuana fresh and potent. Here are some tips:
- Use Airtight Containers: Glass jars with rubber seals are ideal for preserving flavor and preventing moisture loss.
- Store in a Cool, Dark Place: Light and heat degrade cannabinoids and terpenes, so keep your stash in a dark cupboard or closet.
- Avoid Plastic Bags: Plastic can ruin the taste and texture of your buds, so stick with glass for long-term storage.
Stored correctly, your marijuana can remain fresh for up to a year or more. Just like a fine wine, it’s all about preserving those delicate flavors and aromas.
Dealing with Common Issues
Even the best growers face challenges. Here are some common issues and how to handle them:
- Pests: Use natural predators like ladybugs or neem oil to control infestations. Keep your growing area clean to prevent pests from taking hold.
- Nutrient Problems: Yellowing leaves can indicate a nitrogen deficiency, while leaf burn might mean too many nutrients. Adjust feeding schedules and check pH levels to correct these issues.
- Overwatering: This is a common mistake. Ensure pots have good drainage and let the soil dry out between waterings.
Don't get discouraged by setbacks. Each challenge is a learning opportunity, bringing you one step closer to perfecting your grow technique.
Final Thoughts
Growing marijuana is a rewarding endeavor that combines science with a touch of artistry. From choosing the right strain and setting up your grow space to nurturing your plants through each stage, every step is an opportunity to learn and improve.
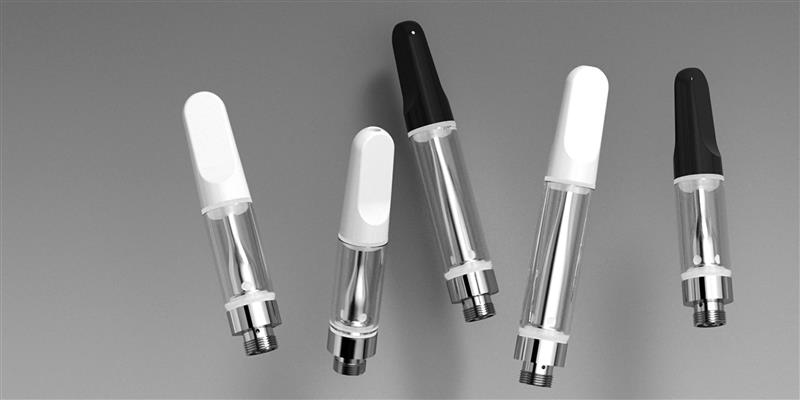
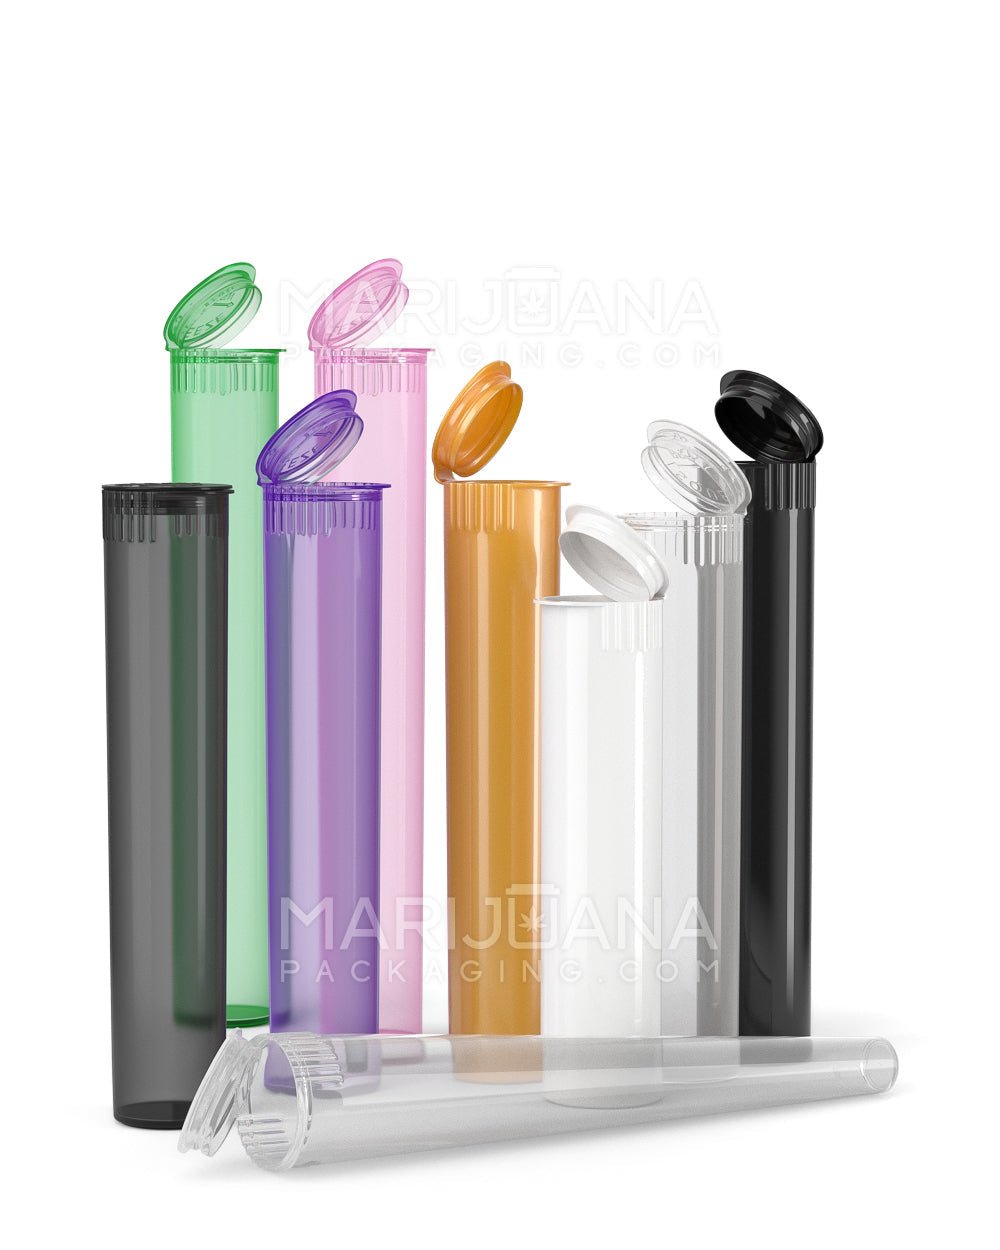
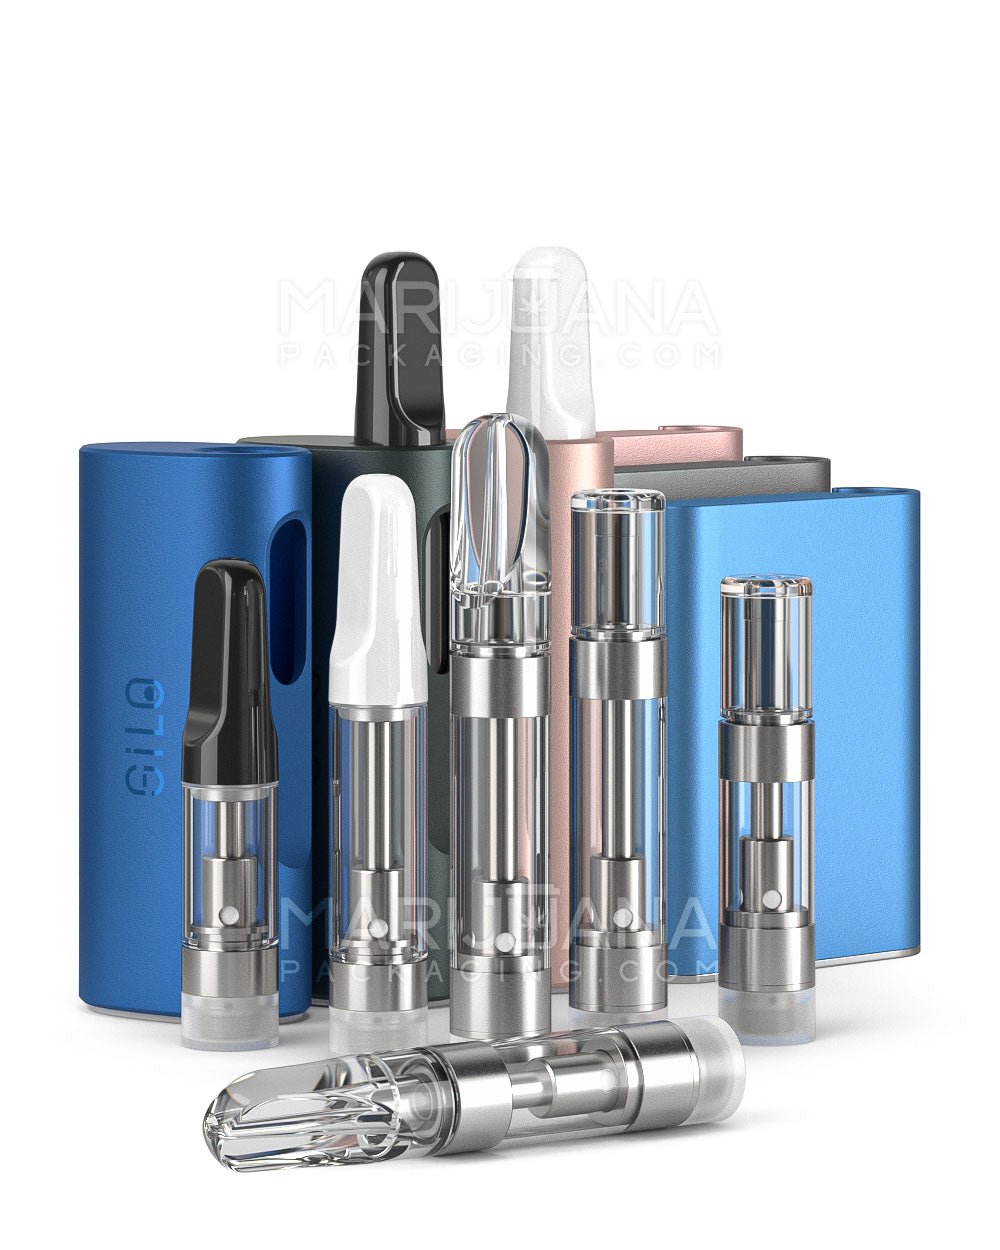
For those looking to package their homegrown harvest, Gamut offers a full spectrum of packaging solutions. Whether you need jars, bags, or tubes, Gamut's full-scale packaging services are tailored to help your products stand out, ensuring your cannabis remains fresh and market-ready.


