Growing a marijuana plant indoors can be a rewarding project, offering both the satisfaction of nurturing a plant and the potential for a personal supply of cannabis. Whether you're a green thumb or a complete novice, growing indoors gives you control over your environment, which means you can cultivate healthy plants year-round.
This guide will walk you through each step of the indoor growing process, from selecting the right seeds to harvesting your crop. By the end, you'll have a good understanding of how to grow your own marijuana plant indoors, even if you're starting from scratch.
Selecting the Right Seeds
The first step in your indoor growing journey is choosing the right seeds. This decision will affect everything from the plant's growth cycle to its potential yield and the effects of the final product. Consider what you want from your plant. Are you after a high THC content for potent effects, or do you prefer a CBD-rich strain for therapeutic benefits? Do you want a fast-growing strain or one that's more forgiving for beginners?
There are three main types of cannabis seeds: feminized, autoflowering, and regular. Feminized seeds are bred to produce only female plants, which are the ones that produce the buds you're after. Autoflowering seeds are great for beginners because they switch from the vegetative stage to the flowering stage automatically, regardless of light cycles. Regular seeds can produce both male and female plants, which means you'll need to identify and remove the males to avoid pollination.
- Feminized Seeds: Ideal for beginners focused on harvesting buds.
- Autoflowering Seeds: Good for those looking for a quicker and simpler grow.
- Regular Seeds: Best for experienced growers who want to experiment with breeding.
Choose seeds from a reputable supplier to ensure quality and germination success. It's also wise to check your local laws regarding the purchase and possession of cannabis seeds, as regulations can differ widely.
Setting Up Your Grow Space
Once you've got your seeds, it's time to set up your grow space. You don't need a huge area to start growing indoors—a closet, tent, or spare room can work perfectly. The key is to make sure the space is clean, secure, and capable of maintaining a stable environment.
Lighting: Lighting is crucial for indoor growing. You can use LED lights, HID (High-Intensity Discharge) lights, or fluorescent lights. LEDs are popular for their efficiency and low heat output, while HID lights are favored for their intensity. Ensure your lights are adjustable so you can change their height as your plants grow.
Ventilation: Good airflow helps prevent mold and pest issues. A fan to circulate air and a ventilation system to exchange stale air with fresh air are essential. This setup mimics the natural outdoor environment, promoting healthy growth.
Temperature and Humidity: Cannabis plants thrive in temperatures between 70-85°F during the day and slightly cooler at night. Humidity should be around 40-60% during the vegetative stage and lowered to 40-50% during flowering. A thermometer and hygrometer will help you keep track of these conditions.
Investing a little time and money into setting up your grow space correctly from the start can save you headaches down the line and lead to a more successful harvest.
Choosing the Right Soil and Containers
The soil you choose will affect your plant's health and productivity. Cannabis prefers well-aerated, light soil with good drainage. Many growers use a specialized cannabis soil mix available from gardening stores. These mixes often come enriched with nutrients to support initial growth phases.
Alternatively, you can create your own soil blend. A typical mix might include:
- 40% peat moss or coco coir for water retention
- 30% perlite for aeration
- 30% compost or worm castings for nutrients
Containers: Choose pots with good drainage holes. Fabric pots or air pots are popular because they prevent root circling and promote better root structure. Ensure the containers are large enough for the plant's root system—at least 3 gallons in size for an indoor grow.
By providing the right soil and containers, you're setting your plants up for vigorous growth and healthy development.
Germinating Your Seeds
Now that your grow space is ready, it's time to germinate your seeds. This process is crucial, as it determines how your plants will begin their life cycle. There are several methods to germinate seeds, but one of the most reliable is the paper towel method.
Steps for the Paper Towel Method:
- Moisten two paper towels with distilled water.
- Place one paper towel on a plate, and spread your seeds on it.
- Cover the seeds with the second paper towel and another plate to create a dark, humid environment.
- Check daily to ensure the towels remain moist and watch for the seeds to sprout.
- Once you see a small, white root—known as a taproot—emerging, it's time to plant them in the soil.
Germination usually takes 1-5 days, depending on the seed and conditions. Handle the sprouts carefully and avoid touching the taproot to prevent damage.
Transplanting and Vegetative Growth
After germination, transplant your seedlings into their containers. Create a small hole in the soil, place the seedling taproot down, and gently cover it with soil. Ensure the plant is stable but not buried too deeply.
During the vegetative stage, your plant focuses on growing leaves and stems. This phase is crucial for building the foundation for future bud production. You can encourage strong growth by:
- Lighting: Provide 18-24 hours of light daily.
- Nutrients: Use a nutrient solution high in nitrogen to support leafy growth.
- Watering: Water when the top inch of soil feels dry. Overwatering is a common mistake, so be cautious.
Pruning lower leaves and branches that don't receive much light can help your plant focus its energy on the upper growth. Keep an eye out for any signs of pests or diseases, and address them promptly to keep your plant healthy.
Switching to the Flowering Stage
Once your plant has developed a strong structure and reached a desirable size, it's time to shift to the flowering stage. This is when your plant starts producing buds, which is the part you'll eventually harvest.
To initiate flowering, adjust your light schedule to 12 hours of light and 12 hours of darkness. This change mimics the natural transition from summer to fall and signals to the plant that it's time to flower.
During flowering, your plant will need a different nutrient mix, one that's higher in phosphorus and potassium and lower in nitrogen. These nutrients support bud development and overall plant health.
Keep monitoring your plant's environment, ensuring that temperature and humidity remain within ideal ranges. Humidity should be lower than in the vegetative stage to prevent mold on the buds. This stage typically lasts 8-12 weeks, depending on the strain.
Harvesting Your Buds
Harvesting is the moment you've been waiting for! Knowing when to harvest is key to maximizing the quality and potency of your buds. Look for the following indicators:
- The pistils (hairs) on the buds have darkened and curled in.
- The trichomes (tiny crystals) on the buds appear milky or amber when viewed under a magnifying glass.
Using sharp scissors or pruning shears, cut the branches with buds from the plant. Handle them gently to avoid damaging the trichomes. Trim away excess leaves, focusing on removing the larger fan leaves first, followed by the smaller sugar leaves surrounding the buds.
Drying and Curing
Drying and curing are crucial steps to ensure your buds have the best flavor and potency. After harvesting, hang the trimmed branches upside down in a dark, well-ventilated space with a temperature of around 70°F and 50% humidity. This process can take 7-14 days, depending on environmental conditions.
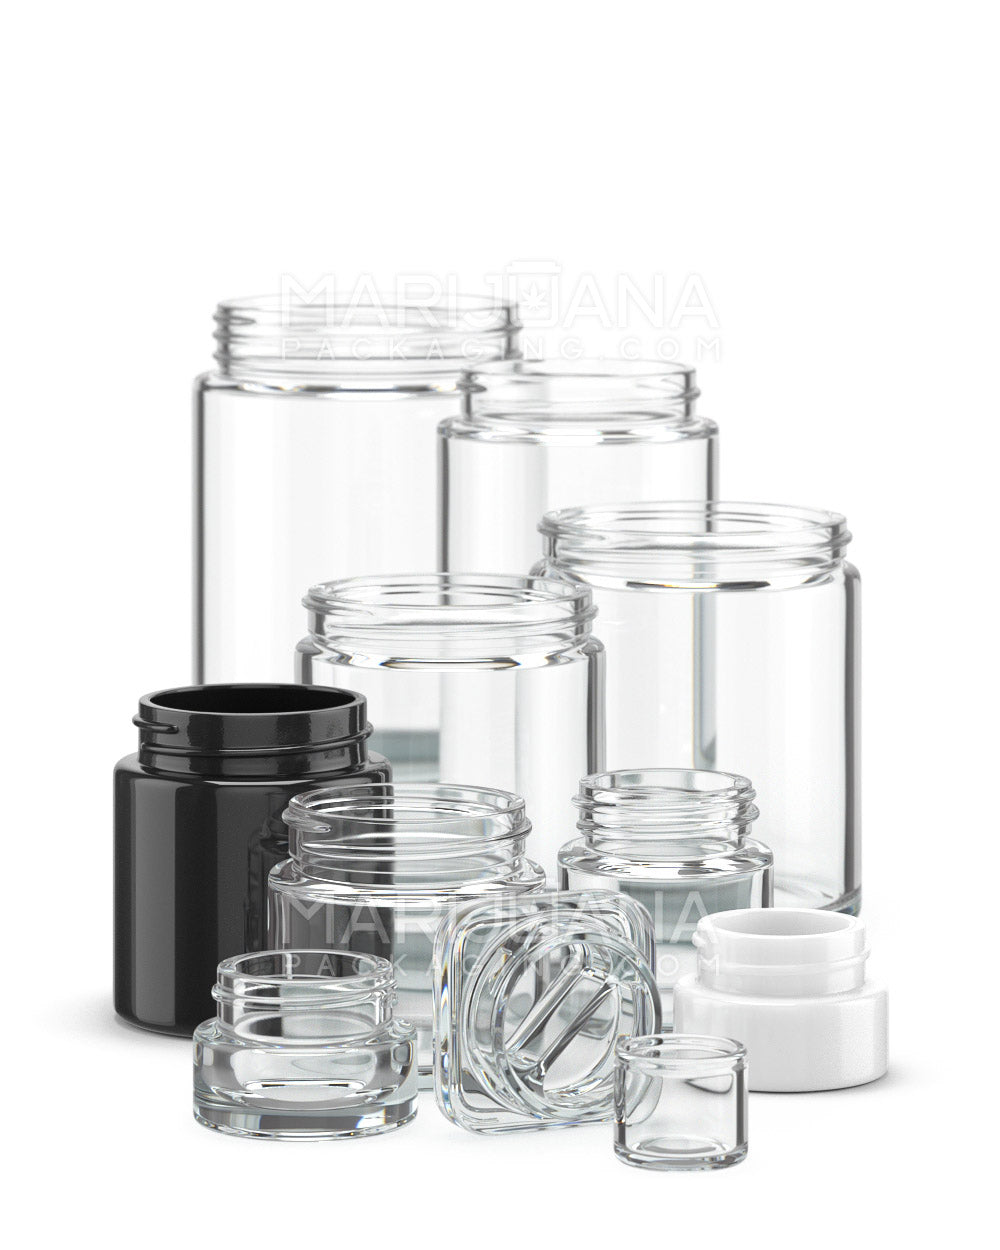
Once the buds feel dry to the touch and the smaller stems snap instead of bend, it's time to start curing. Place the dried buds in airtight glass jars, filling them about ¾ full to allow air circulation. Store the jars in a cool, dark place, and open them daily for the first week to let any excess moisture escape and to check for mold.
Curing can take anywhere from 2 weeks to a month, and patience is key. Proper curing enhances the taste and smoothness of your cannabis, allowing you to enjoy a superior product.
Final Thoughts
Growing marijuana indoors can be a fulfilling experience, providing you with your own supply of quality cannabis. From selecting the right seeds to harvesting and curing your buds, each step is an opportunity to learn and refine your skills.
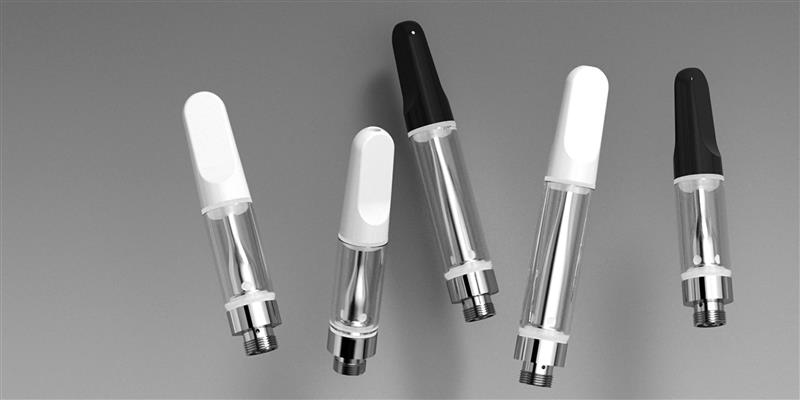
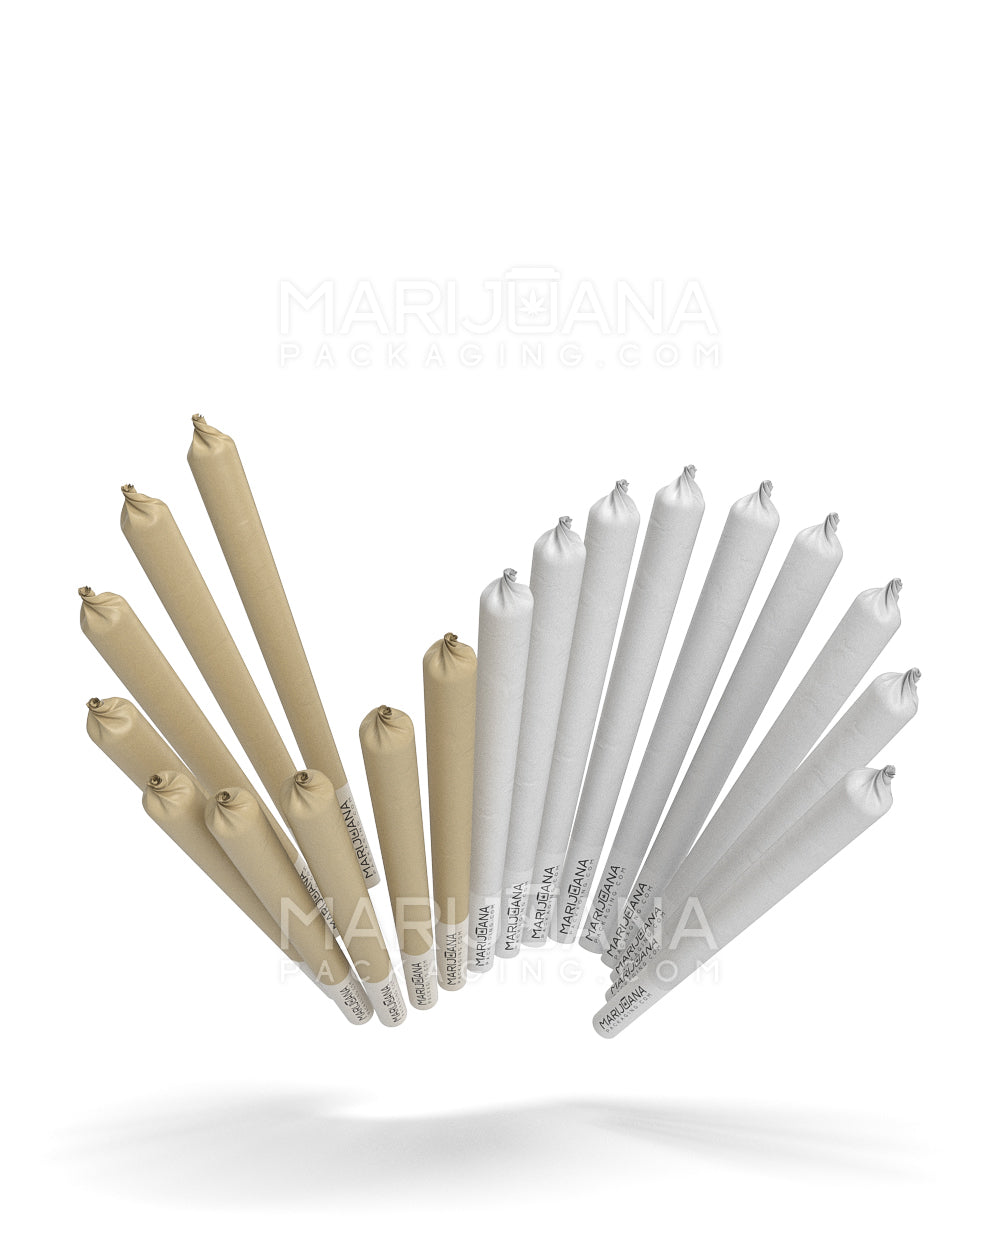
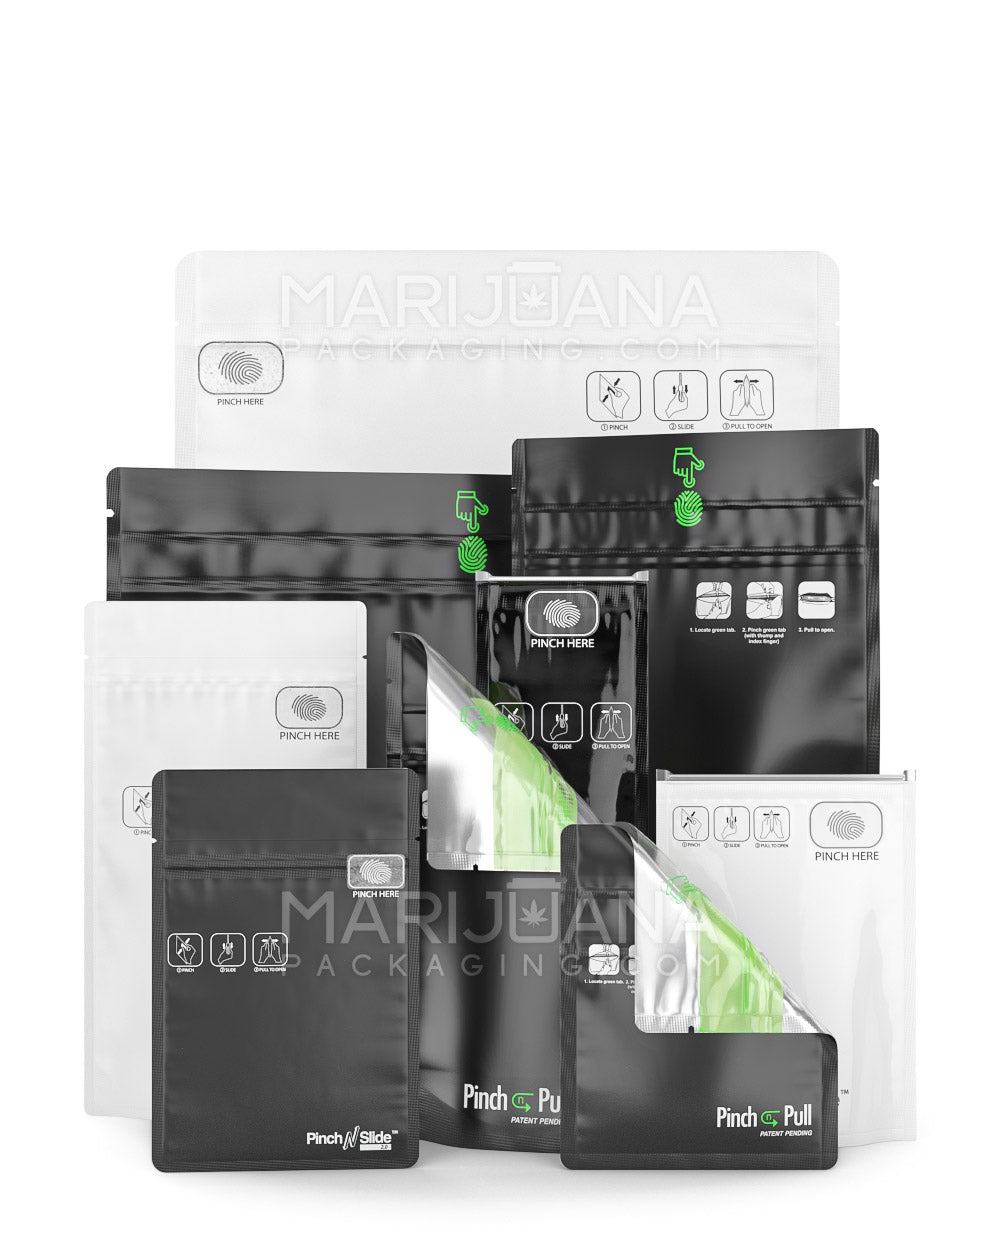
To make your cultivation journey even smoother, consider Gamut's full spectrum packaging solutions to store your harvest. With a wide range of packaging options, from jars and bags to tubes and containers, Gamut ensures your cannabis stays fresh and protected. Whether you're looking for stock options or custom designs, Gamut runs the gamut to meet all your packaging needs, helping your homegrown cannabis stand out.


