Drying marijuana in a paper bag isn't just a quirky method; it's a time-tested technique cherished by many growers for its simplicity and effectiveness. Whether you're a seasoned cultivator or just starting out, understanding how to dry your cannabis properly can make a huge difference in the quality of your final product.
In this guide, we'll walk you through the steps to dry marijuana using paper bags. We'll cover everything from why this method is worth considering to the detailed steps you need to follow for optimal results. So, grab a cup of coffee, sit back, and let's get into the nitty-gritty of drying cannabis with this old-school approach.
Why Choose Paper Bags for Drying?
You might be wondering, "Why paper bags?" Well, there are several reasons why this method has been passed down through generations of cannabis enthusiasts. To start, paper bags offer a level of control over the drying process that's hard to match. They allow moisture to escape while still providing a barrier against contaminants.
Another significant advantage is the cost factor. Paper bags are inexpensive and easy to come by, making this method accessible to just about anyone. Plus, they don't require any special equipment or expertise to use effectively.
Lastly, drying in paper bags can help preserve the flavor and aroma of your cannabis. The gradual release of moisture helps maintain the terpenes, which are responsible for that distinct smell and taste we all love. So, if you're looking for a straightforward, budget-friendly way to dry your marijuana, paper bags might be your new best friend.
Gathering Your Supplies
Before you start, make sure you have all the necessary supplies. You'll need:
- Paper bags: Brown paper bags work best as they are sturdy and breathable.
- Scissors or pruning shears: These will help you trim your cannabis buds.
- Drying rack or clothesline: Optional but useful for hanging trimmed branches before placing them in bags.
- Gloves: To keep things sanitary and prevent oils from your hands from affecting the buds.
Once you have everything ready, you're set to begin the drying process. Having these supplies on hand will not only make the job easier but also ensure you achieve the best possible results.
Preparing Your Cannabis for Drying
Now that you've gathered your supplies, it's time to prepare your cannabis for the drying process. Start by harvesting your plants at the right time. Ideally, this should be when the majority of the trichomes have turned a milky white color, with some amber hues. This indicates that the THC levels are at their peak.
Next, use your scissors or pruning shears to trim away any large fan leaves. These leaves don't contain much THC and can hinder the drying process. However, it's a good idea to leave some smaller sugar leaves on the buds, as they contain valuable cannabinoids and terpenes.
After trimming, you can choose to hang your branches on a drying rack or clothesline for a day or two. This pre-drying stage helps reduce moisture content and kickstarts the drying process before placing the buds in paper bags.
Loading the Paper Bags
With your cannabis prepped and partially dried, it's time to load up those paper bags. The key here is not to overpack. You want the buds to have enough space for air to circulate, which aids in even drying.
Place a single layer of buds at the bottom of the bag, then fold the top of the bag over to close it. If you're drying a larger batch, consider using multiple bags rather than cramming everything into one. Overpacking can lead to uneven drying and potentially moldy buds—something you definitely want to avoid.
Once your bags are loaded, place them in a cool, dark, and well-ventilated area. A closet or a basement can work well for this purpose. Just make sure it's an environment that won't fluctuate too much in temperature or humidity.
Monitoring the Drying Process
Now comes the waiting game. Drying cannabis isn't a fast process, and patience is key. Typically, the drying process can take anywhere from one to three weeks, depending on factors like humidity and temperature.
During this time, you'll want to check on your bags regularly. Open them every couple of days to allow fresh air to circulate and to inspect the buds for any signs of mold or mildew. If you notice any issues, remove the affected buds immediately to prevent them from contaminating the rest of your batch.
As the buds dry, you'll notice they become less pliable and more crumbly. This is a good sign that you're on the right track. Keep monitoring and adjusting as needed until you've achieved the desired level of dryness.
Testing for Optimal Dryness
So how do you know when your cannabis is perfectly dry? The simplest method is the "snap test." Gently bend a small stem; if it snaps cleanly, your buds are likely dry enough. If it bends without breaking, give it a little more time.
It's essential not to rush this process. Overdrying can lead to a harsh smoking experience, while under-drying can result in moldy cannabis. Striking the right balance is crucial for a quality product.
Once your buds pass the snap test, it's time to move on to the next phase: curing. But before we get there, let's explore some common mistakes to avoid while drying in paper bags.
Common Mistakes to Avoid
Drying cannabis may seem straightforward, but there are a few pitfalls to watch out for:
- Overpacking the bags: As mentioned earlier, don't cram too many buds into one bag. This restricts airflow and can lead to uneven drying.
- Ignoring humidity levels: High humidity can cause mold, while low humidity can lead to overly dry buds. Aim for a humidity level around 50-60%.
- Not checking regularly: It's easy to forget about your drying buds, but regular check-ins are crucial to catch any problems early.
Avoiding these common mistakes will help ensure your drying process goes smoothly and your cannabis is of the highest quality.
Moving on to Curing
Once your cannabis is dry, the next step is curing. This process further enhances the flavor and potency of your buds by allowing them to mature and develop over time.
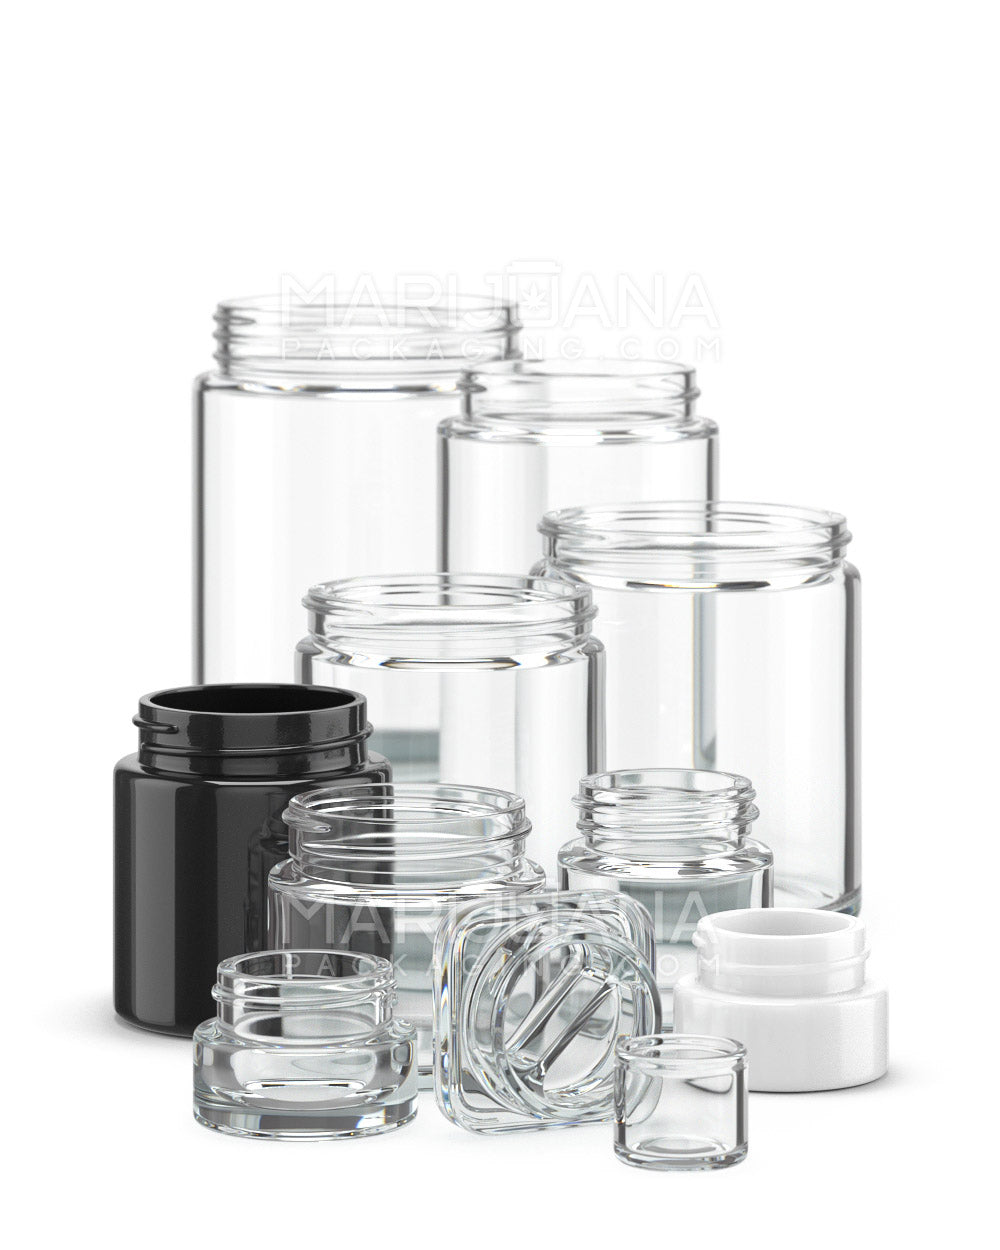
To start curing, you'll need airtight containers such as glass jars. Transfer your dried buds into these jars, leaving some space at the top for air circulation. Seal the jars tightly and store them in a cool, dark place.
For the first week, open the jars once a day to allow fresh air in and to release any built-up moisture. This process, known as "burping," helps prevent mold and ensures an even cure. After the first week, you can reduce the frequency of burping to once every few days.
Curing can take anywhere from two weeks to several months, depending on your preference. The longer you cure, the smoother and more flavorful your cannabis will become. Patience truly pays off here, so don't rush it!
Storing Your Dried Cannabis
Once your cannabis is dry and cured, proper storage is essential to maintain its quality. The last thing you want is for all your hard work to go to waste because of poor storage methods.
Keep your dried cannabis in airtight containers, away from light and heat. A cool, dark cupboard or drawer is ideal. If you're storing for long periods, consider using vacuum-sealed bags or jars with moisture control packs to maintain optimal humidity levels.
It's also a good idea to label your containers with the strain name and harvest date. This way, you can keep track of how long your cannabis has been stored and ensure you're consuming it at its peak.
Final Thoughts
Drying marijuana in a paper bag is a straightforward and effective method that can yield fantastic results with a little patience and attention to detail. By following the steps outlined above, you'll be well on your way to producing high-quality cannabis that's ready to enjoy.
If you're looking to further enhance your cannabis experience, consider partnering with Gamut for all your packaging needs. Gamut is a full spectrum packaging provider with over a decade of expertise in packaging for consumer goods, offering a range of solutions from jars to bags to help you stand out in any market. Their full-scale services are tailored to make your brand unforgettable, ensuring your product gets the attention it deserves.


