When it comes to cultivating marijuana, every step matters. Whether you're a seasoned grower or just getting started, curing your marijuana seeds can make a big difference in the quality of your future plants. If you've ever wondered how to give your seeds the best start possible, you're in the right place.
This article will walk you through the process of curing marijuana seeds. From selecting the right seeds to storing them for future use, we'll cover everything you need to know to ensure your seeds are ready to grow into healthy, thriving plants.
Choosing the Right Seeds
The first step in curing marijuana seeds is choosing the right ones. You might be tempted to jump right into the curing process, but starting with high-quality seeds makes all the difference. Here's what to look for:
- Appearance: Healthy seeds are usually brown or tan with a glossy finish. Avoid seeds that are green or white, as they are typically immature.
- Size and Shape: Seeds should be round or teardrop-shaped and feel firm to the touch. Larger seeds are often more mature and have a better chance of germination.
- Source: Purchase seeds from a reputable supplier who guarantees their quality. This reduces the risk of dealing with seeds that are old or improperly stored.
Once you've selected your seeds, it's time to get them ready for curing. Keep them safe and secure until you're ready to begin the process.
Understanding the Importance of Curing
Curing seeds is an often overlooked step in the growing process, yet it's essential for ensuring that your seeds maintain their potency and viability. Curing helps to:
- Preserve Quality: Proper curing maintains the integrity of the seeds, ensuring they remain viable for future use.
- Prevent Mold and Mildew: By controlling the moisture content, curing reduces the risk of mold and mildew, which can ruin seeds.
- Enhance Germination Rates: Well-cured seeds have a higher likelihood of successful germination, leading to healthier plants.
Understanding these benefits helps you appreciate why curing is worth the effort, even if it seems like an extra step.
The Curing Process: Step-by-Step
Now that you know why curing is important, let's get into the nuts and bolts of how to do it. Here's a step-by-step guide to curing your marijuana seeds effectively:
1. Drying the Seeds
Start by drying your seeds thoroughly. This is crucial to prevent mold. Lay your seeds out on a paper towel or a fine mesh screen in a cool, dark area with good airflow. Turn them occasionally to ensure even drying. This process can take a few days to a week, depending on the ambient humidity.
2. Checking Dryness
How do you know when your seeds are dry enough? A simple test is to gently press a seed between your fingers. If it's hard and doesn't give under pressure, it's ready for the next step. If it feels soft, give it more time to dry.
3. Storing Seeds for Curing
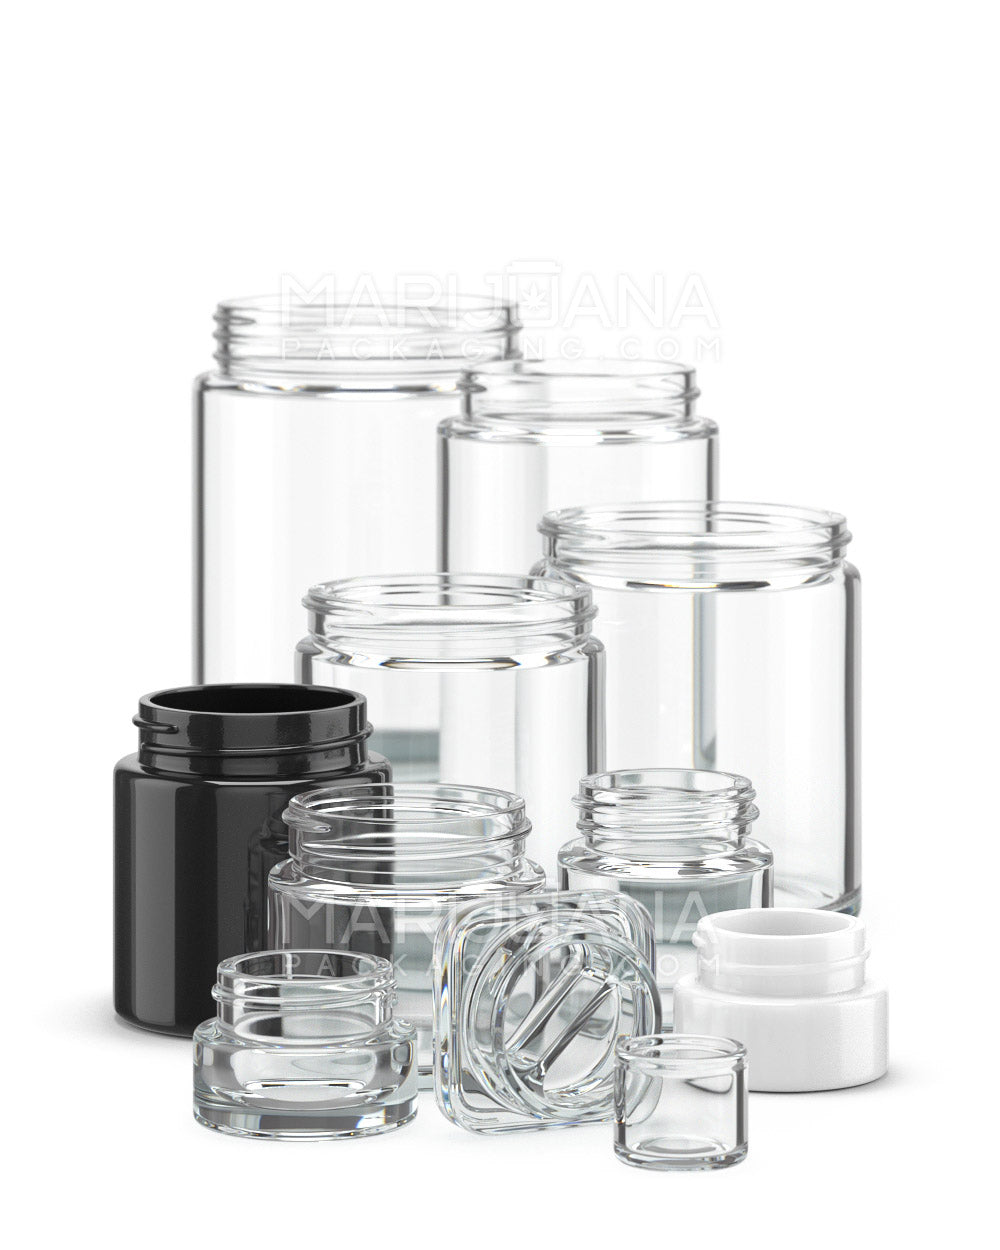
Once your seeds are dry, it's time to store them properly to continue the curing process. Place them in an airtight container. Glass jars with tight-fitting lids work well. Add a desiccant pack to help control moisture levels inside. Store the container in a dark, cool place, like a cupboard or closet.
Check on your seeds periodically to ensure there's no condensation or moisture buildup inside the container. If you notice any, it may be necessary to dry the seeds a bit longer before returning them to storage.
Temperature and Humidity Control
Maintaining the right temperature and humidity levels is crucial during the curing process. Ideally, the temperature should be around 70°F (21°C), with humidity levels kept between 20-30%. Too much heat or humidity can encourage mold growth, while too little can cause the seeds to become brittle.
Consider using a hygrometer to monitor humidity levels in your storage area. If you find the humidity is too high, silica gel packs or other desiccants can help absorb excess moisture. On the flip side, if you live in a particularly dry area, you may need to take measures to add a little humidity to prevent the seeds from drying out too much.
Testing Seed Viability
After curing, it's always a good idea to test a few seeds for viability before committing to planting a large batch. One simple method is the "float test." Drop a few seeds into a glass of water and let them sit for 24 hours. Viable seeds will sink, while non-viable ones will float.
While this test isn't foolproof, it can give you a rough idea of the quality of your seeds. If most of your seeds sink, you're likely in good shape. However, if they're floating, you may need to reassess your curing process or consider sourcing new seeds.
Long-Term Storage Solutions
Once your seeds are cured and tested for viability, you might not plant them all immediately. Knowing how to store them long-term is essential to keep them fresh and ready for future planting seasons.
- Vacuum Sealing: For long-term storage, vacuum sealing your seeds can be a great way to keep out air and moisture.
- Refrigeration: Some growers store seeds in the refrigerator to extend their viability. If you choose this method, ensure the seeds are in an airtight container to prevent moisture exposure.
- Freezing: While not commonly recommended for short-term storage, freezing can be an option for very long-term storage. Ensure seeds are thoroughly dried and vacuum-sealed before freezing.
Remember, seeds can remain viable for several years if stored correctly, so taking the time to store them properly pays off in the long run.
Common Mistakes and How to Avoid Them
Curing marijuana seeds might seem straightforward, but there are a few common pitfalls to watch out for. Here are some mistakes and how you can avoid them:
- Skipping the Drying Phase: It's tempting to rush the process, but drying your seeds thoroughly before storage is vital to prevent mold.
- Ignoring Temperature and Humidity: Without proper control, seeds can either dry out or become moldy. Invest in a hygrometer to monitor conditions.
- Improper Storage Containers: Make sure your storage containers are truly airtight. Glass jars with rubber seals or vacuum-sealed bags work well.
Being aware of these mistakes can help you avoid them, leading to a better curing experience and healthier seeds.
From Seeds to Harvest: The Bigger Picture
Curing seeds is just one part of the broader cultivation process. Once your seeds are cured and ready, planting and growing them into healthy plants is the next step. Consider factors like soil quality, lighting, and watering to enhance growth further.
While curing sets the stage, the ongoing care and attention you give your plants will determine the quality of your harvest. Patience and diligence are your best friends on this journey.
Final Thoughts
Curing marijuana seeds is an important step in ensuring a successful growing season. By selecting quality seeds, drying them properly, and storing them in the right conditions, you set yourself up for a fruitful harvest. Remember, patience and attention to detail go a long way in this process.
And if you're looking for a way to make your brand stand out, Gamut's full spectrum packaging services are worth checking out. With a decade of expertise in packaging for consumer goods, Gamut offers a range of solutions from jars to bags, ensuring your product presentation is as high-quality as the product itself. Whether you need stock options, custom designs, or industry-specific solutions, Gamut runs the gamut to meet your needs.


