Getting the best out of your cannabis harvest isn't just about growing great plants—it's also about how you handle them after the harvest. One of the most talked-about methods in cannabis curing is "burping." This process might sound a bit odd, but it plays a vital role in making sure your buds are top-notch.
In this post, we'll break down everything you need to know about burping marijuana. From what it is and why it matters, to the step-by-step process and some handy tips along the way, by the end of this read, you'll be well-equipped to burp like a pro.
What is Burping Marijuana?
First things first, let's clear up what burping actually means in the context of cannabis. It's not about any actual noise but rather a technique used during the curing process. Curing is an essential part of post-harvest cannabis handling that enhances the flavor, aroma, and overall quality of the buds. Burping is simply the act of periodically opening the containers where the cannabis is curing to allow fresh air to enter and excess moisture to escape.
Think of burping as a way to let your cannabis "breathe." When cannabis is stored in airtight jars, gases like carbon dioxide build up, and moisture can get trapped. Burping helps to regulate this environment, ensuring that the buds don't become moldy or overly dry. It's a delicate balance that, when done right, can significantly improve the final product.
It's a bit like airing out a wine cellar. Just as wine needs the right conditions to mature gracefully, cannabis benefits from a controlled curing environment. By managing this process, you're helping to develop the complex flavors and aromas that make each strain unique.
Why is Burping Important?
You might wonder why you should bother with burping at all. Can't you just seal the jars and call it a day? Well, not quite. Burping serves several crucial purposes in the curing process that are worth understanding.
Firstly, burping helps prevent mold and mildew. Cannabis buds are naturally moist after harvest, and if left unchecked, this moisture can create a breeding ground for mold. By regularly burping your jars, you're allowing excess moisture to escape, reducing the risk of mold growth.
Secondly, burping helps to enhance flavor and aroma. The curing process allows the terpenes—those lovely aromatic compounds—to develop fully. Burping aids in this by ensuring the right balance of humidity and fresh air, which is vital for maintaining the quality of these compounds.
Lastly, burping can improve the overall smoothness of the smoke. By allowing gases to escape and the buds to continue breaking down chlorophyll, you're contributing to a smoother, more enjoyable smoking experience. Nobody likes harsh smoke, and burping is one of the ways to avoid that.
When to Start Burping Your Buds
Timing is everything when it comes to burping. So, when should you start? Generally, burping begins right after the initial drying phase, when the buds are transferred to airtight containers for curing.
The drying process typically takes about 7-10 days. You'll know your buds are ready for the jars when the small stems snap instead of bend, and the buds feel dry to the touch but not brittle. Once they're in jars, it's time to start burping.
For the first week, you'll want to burp your jars once or twice daily. This helps to release the initial build-up of gases and moisture. After the first week, you can reduce the frequency to once every couple of days. The entire curing process, including burping, usually lasts about 4-8 weeks, depending on your desired quality and the strain's characteristics.
Remember, each strain and batch might require slight adjustments, so it's essential to pay attention to how your buds are responding. A little observation goes a long way in perfecting the process.
How to Burp Marijuana: A Step-by-Step Guide
Now that we've covered the what, why, and when, let's get into the how. Burping is straightforward, but there are some best practices to follow to ensure you're doing it right.
Step 1: Gather Your Materials
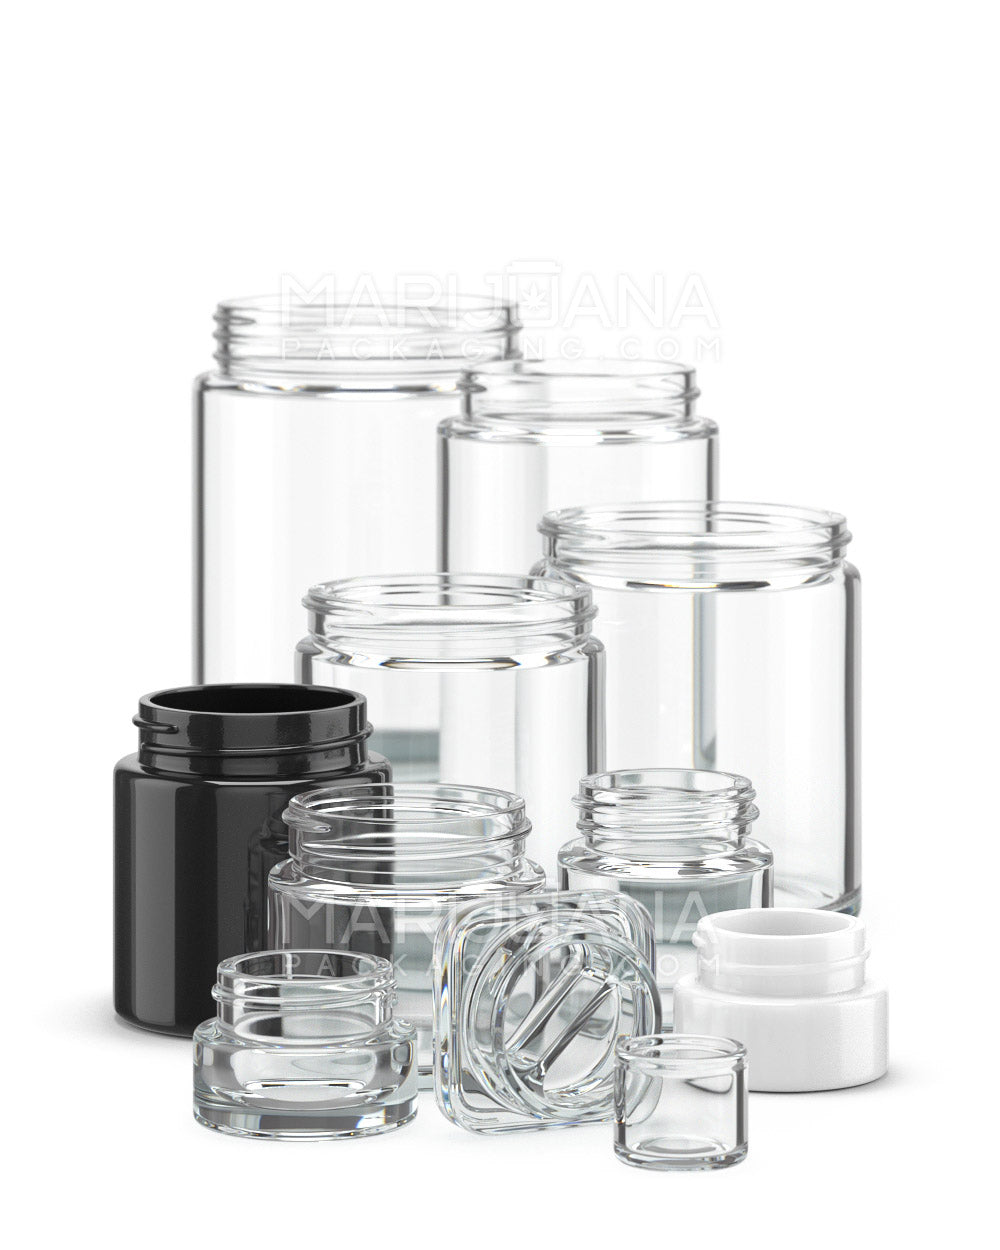
You'll need airtight glass jars and some patience. Glass is preferred over plastic because it doesn't impart any off-flavors to the buds. Ensure your jars are clean and dry before use.
Step 2: Fill the Jars
Fill each jar about three-quarters full. This allows enough room for air circulation while still keeping the environment controlled. Avoid packing the buds too tightly, as this can hinder airflow.
Step 3: Seal the Jars
Once filled, seal the jars tightly and store them in a cool, dark place. Light and heat can degrade cannabinoids and terpenes, so a basement or a closet is often ideal.
Step 4: Burp the Jars
For the first week, open the jars for 5-10 minutes once or twice daily. This is where the magic happens. Allow fresh air to enter and old air to escape, giving the buds a gentle shake to expose them to air evenly.
Step 5: Adjust the Schedule
After the first week, reduce the burping frequency to every few days. Keep an eye on the buds. If they feel too dry, burp less often or consider adding a humidity pack. If they're still very moist, continue with frequent burping.
It's a simple process but one that requires attention and a bit of finesse. Over time, you'll develop a feel for what your buds need, and you'll adjust your methods accordingly.
Common Mistakes to Avoid
Even though burping is relatively straightforward, there are some common pitfalls to watch out for. Avoiding these can mean the difference between good and great cannabis.
One mistake is overfilling the jars. While it might be tempting to pack as much as possible, this restricts airflow and can lead to uneven curing. Leave some room at the top for air to circulate.
Another common error is ignoring the environment where you're storing the jars. Conditions like high temperatures and direct sunlight can degrade the quality of your cannabis, so choose your storage location wisely.
Finally, neglecting to burp regularly can lead to mold growth or an overly harsh smoke. Set reminders if you need to, but make sure you're keeping up with the burping schedule, especially in the early stages.
Tools and Accessories to Consider
While you can burp cannabis with just jars and time, there are some tools and accessories that can make the process more efficient and effective.
Humidity packs are a great addition to your arsenal. They help maintain a consistent humidity level within the jars, which can be particularly useful if you're in a very dry or very humid climate.
Another handy tool is a hygrometer, which measures the humidity levels inside the jar. This can give you a more precise idea of when to burp and how your buds are curing.
For those looking to take it up a notch, automated curing systems are available. These devices control humidity and airflow electronically, reducing the need for manual burping. While not necessary, they can be a worthwhile investment for serious growers.
Signs of Properly Cured Cannabis
So, how do you know if you've done it right? Properly cured cannabis should have a few telltale signs.
The aroma should be rich and pronounced. If your buds smell grassy or like hay, they might have dried too quickly or not cured long enough. A well-cured bud will have a distinct and pleasant smell that's true to its strain.
The texture is another indicator. Properly cured buds should be dry to the touch but not crumbly. They should have a slight squishiness when pressed between your fingers, indicating the right moisture content.
Lastly, the smoke should be smooth and flavorful. If it's harsh or burns too quickly, the curing process might need some adjustments. It's all about finding that sweet spot where the flavor, aroma, and effect all come together harmoniously.
Adjusting Your Technique for Different Strains
Not all cannabis is created equal, and different strains may require slight adjustments in your burping technique. Indicas, sativas, and hybrids each have their own characteristics that can influence how they cure.
Indica strains, which tend to have denser buds, might need a bit more attention to prevent mold. Ensuring proper airflow is vital, so you might want to burp these more frequently initially.
Sativa strains, on the other hand, often have lighter and airier buds. They might dry out more quickly, so you may need to adjust the frequency of burping to avoid overdrying.
Hybrids can vary widely, so it's essential to monitor each batch and respond to its particular needs. Take note of how different strains respond to your curing process, and don't be afraid to experiment a little to find the best method for each type.
Tips for Long-Term Storage
Once your cannabis is perfectly cured, you'll want to store it properly to maintain its quality over time. Long-term storage requires a bit of planning but is straightforward once you know the basics.
Always keep your cannabis in an airtight container, ideally in a cool, dark place. Light and heat are the enemies of cannabis longevity, degrading both cannabinoids and terpenes over time.
Consider adding a humidity pack to your storage jars. These packs help maintain the ideal moisture level, ensuring your buds stay fresh for months.
If you're storing large quantities, think about vacuum sealing. This method removes most of the air from the packaging, slowing down the degradation process significantly.
Finally, check your stored cannabis periodically. Even in the best conditions, it's wise to monitor for any signs of mold or dryness, adjusting as necessary to keep your buds in peak condition.
Final Thoughts
Burping marijuana might seem like a small detail in the grand scheme of cannabis cultivation, but it makes a world of difference. By mastering this simple process, you're elevating the quality of your harvest, enhancing both the flavor and aroma of your buds.
If you're looking for ways to store your cannabis after the curing process, Gamut offers a range of packaging options tailored to the cannabis industry. From jars and bags to custom solutions, Gamut runs the gamut to help you keep your products fresh and appealing. With their expertise, you can ensure that your cannabis stands out on the shelf and in the hands of consumers.


