


Table of Contents
Canning Green Beans Without a Pressure Cooker: A Guide to Water Bath Methods
Home canning enthusiasts often wonder how to can green beans without a pressure cooker. While pressure canning is traditionally recommended for low-acid vegetables like green beans, alternative methods using water bath canning can be employed with proper acidification. This comprehensive guide explores safe techniques for preserving your garden's bounty when a pressure canner isn't available.
Understanding Water Bath Canning for Green Beans
Water bath canning is typically reserved for high-acid foods like fruits, pickles, and tomatoes. Green beans, being low-acid vegetables, normally require pressure canning to reach the higher temperatures needed to eliminate botulism risks. However, by properly acidifying green beans, you can safely use the water bath method.
Before beginning, it's essential to understand that this method produces pickled green beans rather than plain canned green beans. The added acidity changes the flavor profile and texture somewhat, but many find the tangy result delicious and versatile in recipes.
Equipment Needed
- Large pot or water bath canner with rack
- Canning jars (pint or quart sized)
- New canning lids and rings
- Jar lifter and canning funnel
- Clean kitchen towels
- Large bowl for ice water
- Timer
Quality canning supplies are essential for food safety. If you're unsure where to buy canning jars and supplies, many hardware stores, grocery stores, and online retailers offer comprehensive selections.
Preparation Steps for Water Bath Canning
Proper preparation is crucial for successful water bath canning of green beans:
Selecting and Preparing Green Beans
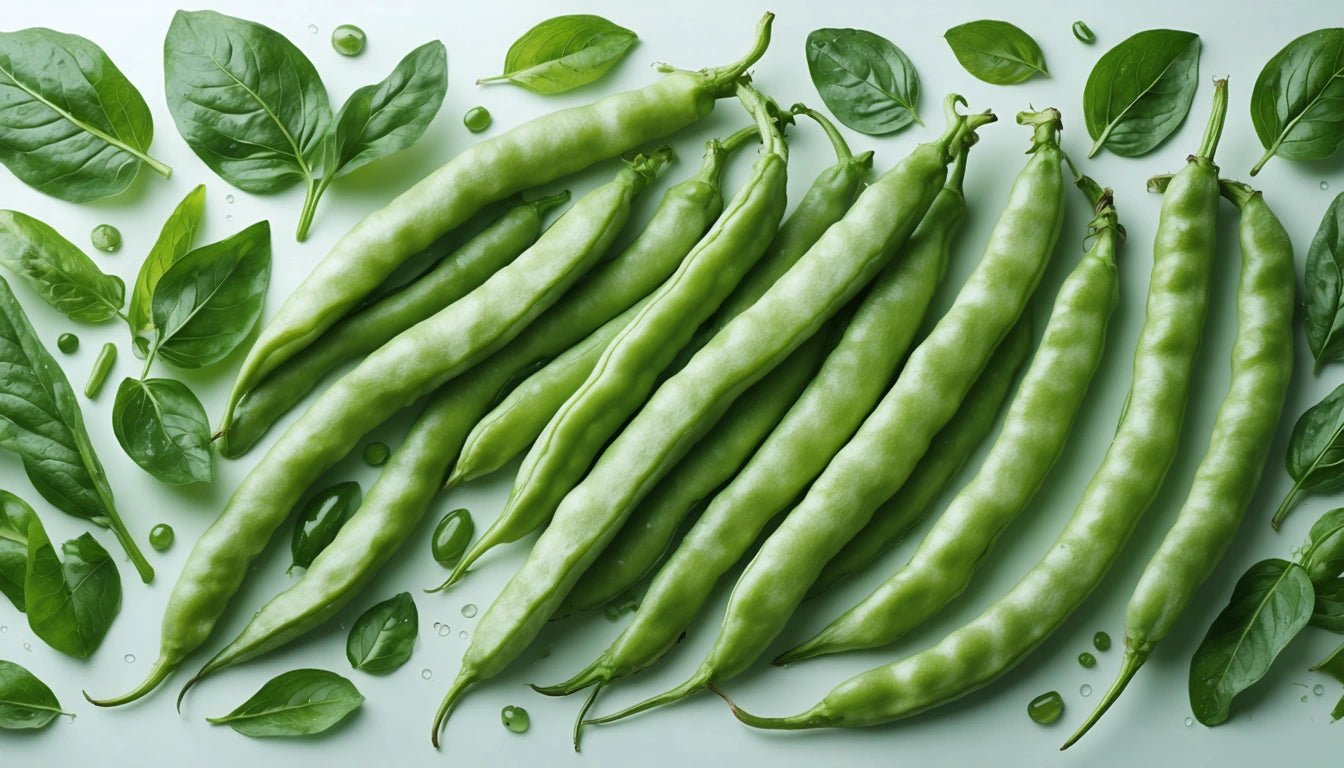
- Choose fresh, firm green beans at their peak ripeness
- Wash thoroughly under cool running water
- Trim ends and cut into desired lengths (typically 4-inch pieces)
- Blanch beans in boiling water for 3-4 minutes
- Transfer immediately to ice water to stop cooking
- Drain well
Sterilizing Jars
Proper sterilization prevents contamination. Learn how to properly sterilize canning jars by washing them in hot, soapy water, then placing them in boiling water for 10 minutes or running them through a dishwasher's sterilize cycle.
Proper sterilization is non-negotiable in safe canning practices. Even a small contamination can lead to spoilage or health risks.
The Water Bath Canning Process for Green Beans
Now that your beans and jars are prepared, you can begin the actual canning process:
How Long to Water Bath Green Beans
When canning green beans in a water bath, processing time depends on jar size and altitude:
- Pint jars: Process for 10 minutes (add 5 minutes for altitudes above 1,000 feet)
- Quart jars: Process for 15 minutes (add 5 minutes for altitudes above 1,000 feet)
Remember, these times only apply to properly acidified green beans. The water bath must maintain a rolling boil throughout the entire processing time.
Similar to how precise timing affects the quality of other preservation methods, accurate processing times are essential for both safety and optimal texture in canned green beans.
Acidification Methods for Safe Canning
To safely can green beans without a pressure cooker, you must increase their acidity level. Here are three effective methods:
Vinegar Brine Method
This traditional pickling approach creates tangy, flavorful beans:
- Combine 5 cups vinegar (5% acidity), 5 cups water, and 1/2 cup canning salt
- Bring brine to a boil
- Pack blanched beans into hot jars, leaving 1/2 inch headspace
- Add 1/2 teaspoon of canning salt per pint (optional)
- Pour hot brine over beans, maintaining 1/2 inch headspace
- Remove air bubbles, wipe jar rims, and apply lids
- Process in boiling water bath
Lemon Juice Method
For a milder flavor profile:
- Add 1 tablespoon bottled lemon juice per pint jar (2 tablespoons per quart)
- Pack blanched beans into hot jars
- Fill with boiling water, leaving 1/2 inch headspace
- Process in boiling water bath
Citric Acid Method
For minimal flavor alteration:
- Add 1/4 teaspoon citric acid per pint jar (1/2 teaspoon per quart)
- Pack blanched beans into hot jars
- Fill with boiling water, leaving 1/2 inch headspace
- Process in boiling water bath
Whichever method you choose, ensure you're using commercially bottled acids with standardized acidity levels rather than homemade vinegar or fresh-squeezed lemon juice, which may vary in acidity.
Storage Considerations and Shelf Life
After processing, proper storage ensures maximum quality and safety:
- Allow jars to cool undisturbed for 12-24 hours
- Check seals by pressing on the center of each lid (it should not flex)
- Remove rings before storing to prevent false seals
- Store in a cool, dark place
- Label with contents and date
- Use within 12-18 months for best quality
Properly acidified and processed green beans can be safely stored at room temperature, but any jars with failed seals should be refrigerated and used within a week.
Safety Considerations and Best Practices
While water bath canning with proper acidification can be safe for green beans, several precautions should be observed:
- Never reduce the amount of acid in recipes
- Always use tested recipes from reliable sources
- Discard any jars showing signs of spoilage (bubbling, off odors, mold)
- When in doubt, throw it out
- Consider freezing as an alternative preservation method if you're uncertain about canning
For those new to preserving foods, exploring the art of preserving nature's bounty can provide valuable context and additional techniques.
Water bath canning of green beans requires strict adherence to acidification guidelines to ensure safety. While pressure canning remains the recommended method for low-acid vegetables, these acidification techniques offer viable alternatives when a pressure canner isn't available. By following proper procedures, you can enjoy your garden's green bean harvest year-round with confidence in both safety and quality.