


Transplanting marijuana clones might sound a bit like a daunting task, but with the right guidance, it can be a smooth and rewarding process. Whether you're a seasoned cultivator or just starting your journey into the world of cannabis growing, understanding the nuances of transplanting can make all the difference in the health and yield of your plants.
In this post, we're going to cover everything you need to know about successfully transplanting marijuana clones. From preparing your space and choosing the right tools to post-transplant care and troubleshooting, we've got you covered. So, grab your gardening gloves, and let's get started on this green-thumb adventure!
Choosing the Right Time to Transplant
The timing of your transplant can be crucial for the health of your marijuana clones. Typically, clones are ready to be transplanted when they have developed a solid root system. This usually happens about 10 to 14 days after the cloning process begins. You'll want to check for roots protruding from the bottom of the clone tray or the container they’re in. If your clones are still in a rockwool cube or a similar medium, ensure the roots are visible and healthy-looking.
But how do you know if your clones are ready? Well, a strong root system is key. Look for:
- White, fuzzy roots: These are a sign of healthy growth. Brown or slimy roots can indicate rot, which means you may need to troubleshoot before proceeding.
- Sturdy stem: The clone should stand upright without any support. A weak or bending stem might indicate it's not quite ready.
- Healthy leaves: Leaves should be vibrant green, without signs of yellowing or wilting.
Once your clone checks all these boxes, it's time to prepare for the big move!
Preparing Your Transplant Site
Before you get your hands dirty, you'll need to prepare the new home for your clones. This involves choosing the right growing medium and container. The medium you choose can vary depending on your growing style—soil, hydroponics, or coco coir are popular choices.
Let's break it down:
- Soil: If you're going with soil, make sure it's a high-quality, well-draining blend. Cannabis prefers slightly acidic soil, so aim for a pH of around 6.0 to 7.0. A good mix might include peat moss, perlite, and vermiculite to ensure proper aeration and drainage.
- Hydroponics: This method requires a bit more setup. You'll need a container with a net pot, a growing medium like clay pellets, and a nutrient-rich water solution. It's important to keep the pH in check, aiming for a range of 5.5 to 6.5.
- Coco Coir: This is a favorite among many growers for its excellent water retention and aeration properties. Ensure you flush it well before use to remove any excess salts and balance the pH to about 5.8 to 6.0.
Next, choose your containers wisely. They should be large enough to accommodate growth but not so big that water retention becomes an issue. As a rule of thumb, a 1-gallon pot is a good starting size for clones.
Gathering Your Tools
Having the right tools on hand can make the transplant process much smoother. Here's a list of essentials you should gather before you start:
- Gloves: To protect your hands and keep the plants clean.
- Transplanting tool: A small trowel or scoop can help you gently remove the clone from its current container.
- Watering can: For watering immediately after transplanting.
- pH meter: To ensure your growing medium is at the correct pH level.
- Nutrient solution: Especially important if you're using a hydroponic setup.
- Support stakes: These can be handy if your clone needs a little help standing upright in its new home.
Once you've got everything ready, you're all set to begin the transplanting process!
The Transplanting Process
Now comes the fun part—actually moving your clone to its new home. Here's a step-by-step guide to help you through it:
- Water the clone: Before you start, water the clone lightly. This helps the roots stay intact and makes it easier to remove from its current container.
- Prepare the new container: Fill the new pot with your chosen medium, leaving some space at the top. Create a hole in the center that's large enough to accommodate the clone's root ball.
- Remove the clone: Gently squeeze or tap the sides of the current container to loosen the plant. Carefully lift the clone, supporting the stem and root ball.
- Place the clone: Position the clone in the center of the new container. Ensure it's standing upright, and fill in around the roots with more growing medium. Press lightly to secure the plant.
- Water it in: Give your clone a good drink to help settle the soil and eliminate air pockets. Be careful not to overwater—you want the soil to be moist but not soggy.
And there you have it! Your clone is now in its new home and ready to grow.
Post-Transplant Care
Your job doesn't end once the clone is in its new pot. Post-transplant care is crucial to ensure your plants thrive. Here are some tips to keep in mind:
- Lighting: Initially, provide indirect light to help the plant recover from any transplant shock. After a couple of days, you can gradually move it to a brighter spot.
- Humidity: Clones love humidity, so aim to keep the environment at around 70% to 80% for the first week. You can use a humidity dome or a simple misting bottle to achieve this.
- Temperature: Maintain a consistent temperature between 70°F and 75°F. This helps prevent stress and encourages healthy growth.
- Feeding: Avoid feeding your clones immediately after transplanting. Wait a week or so before introducing nutrients, and start with a diluted solution to avoid overwhelming the plant.
With these basics in place, your clones should settle into their new environment and start growing vigorously.
Troubleshooting Common Issues
Sometimes, despite your best efforts, things don’t go as planned. Here are a few common issues you might encounter and how to tackle them:
- Wilting: This can happen if the clone is in shock. Ensure it's not overwatered and check that the temperature and humidity are ideal. A little TLC can go a long way.
- Yellowing leaves: This might be a sign of nutrient deficiency or pH imbalance. Check your soil's pH and adjust if necessary. If you're sure the pH is correct, consider adding a mild nutrient solution.
- Slow growth: This can occur if the roots are struggling to adapt. Make sure they're not compacted and that the soil is well-aerated.
Remember, patience is key. It can take some time for clones to adjust and start thriving in their new home.
Maintaining a Healthy Environment
Creating a healthy environment for your marijuana clones is essential for their growth. This involves keeping a close eye on several factors:
- Air circulation: Good airflow prevents mold and pests. Consider adding a fan to your growing space to keep the air moving.
- Lighting schedule: Clones do well with 18 hours of light and 6 hours of darkness. Stick to this schedule to encourage healthy development.
- Regular monitoring: Keep an eye on your plants daily, checking for any signs of disease or pests. Early detection can save your crop from potential issues.
By maintaining these conditions, you'll set a strong foundation for your clones to grow into robust and healthy plants.
When to Transition to Outdoor Growing
If you're planning on moving your clones outdoors, timing is everything. The transition should happen once the risk of frost has passed and temperatures are consistently above 50°F. This usually aligns with late spring or early summer, depending on your location.
To prepare your clones for the outdoors, start by hardening them off. This means gradually exposing them to outdoor conditions over a week or two. Begin by placing them outside for a few hours each day, gradually increasing the time they spend outside.
During this period, monitor them closely for signs of stress or shock. Once they're accustomed to the outdoor environment, you can transplant them into the ground or larger pots.
Scaling Up: Transplanting for Larger Operations
If you're managing a larger cultivation operation, the principles remain the same, but you'll need to scale your processes. Consider these additional steps:
- Organized workflow: Plan your transplanting process to minimize downtime and ensure every team member knows their role.
- Efficient tools: Invest in quality tools that can handle the volume, such as larger watering systems or automated soil mixers.
- Record-keeping: Keep detailed records of each batch of clones, noting any issues and their resolutions. This helps in refining your process over time.
With careful planning and execution, you can successfully manage larger transplanting operations while maintaining the health and yield of your plants.
Final Thoughts
Transplanting marijuana clones is a rewarding process that requires a bit of preparation and care. From choosing the right time and tools to nurturing your plants post-transplant, each step plays a part in the success of your grow. By following these guidelines, you'll be well on your way to cultivating healthy, thriving cannabis plants.
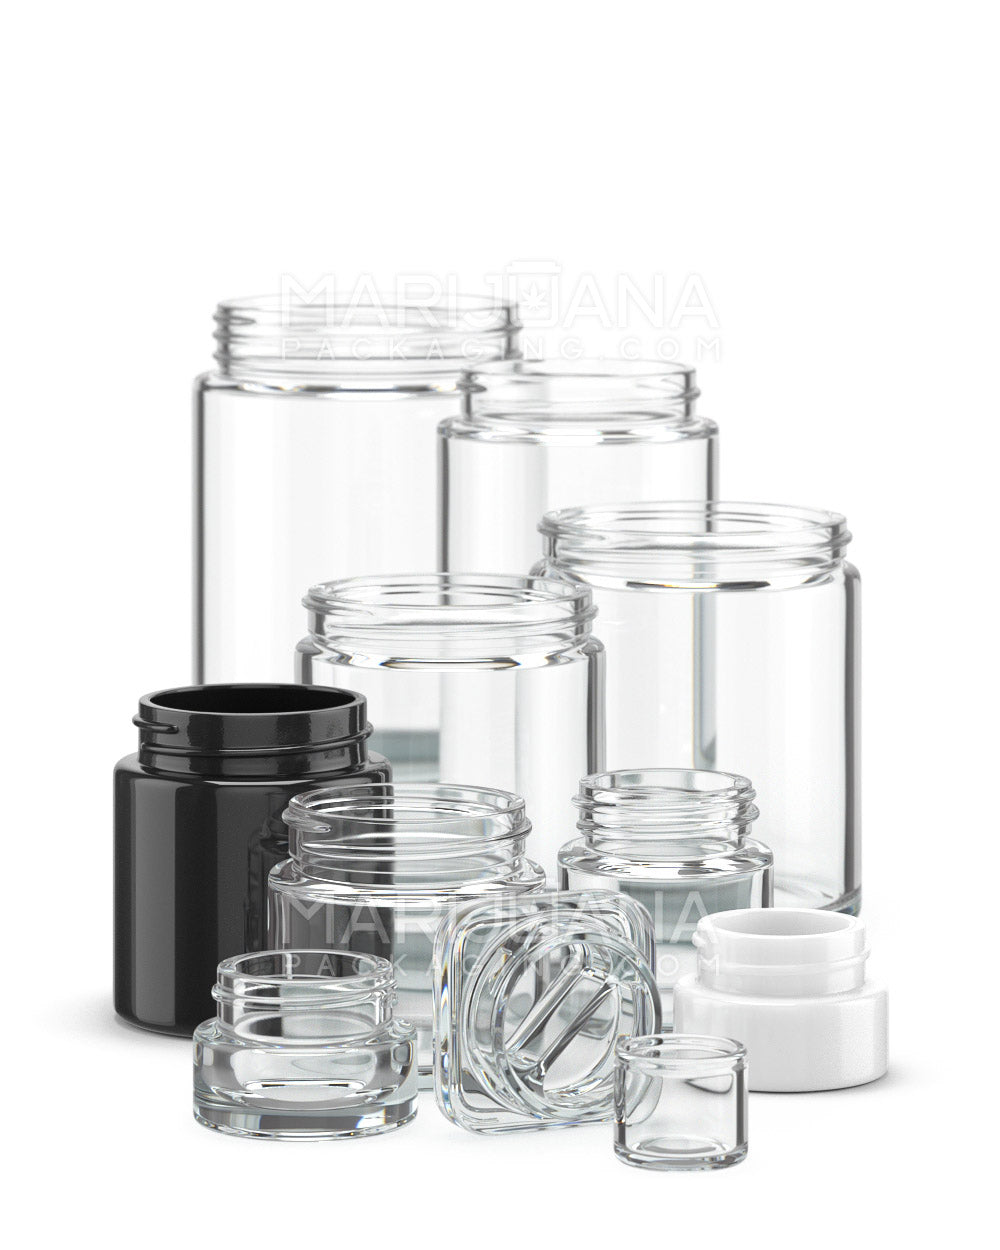
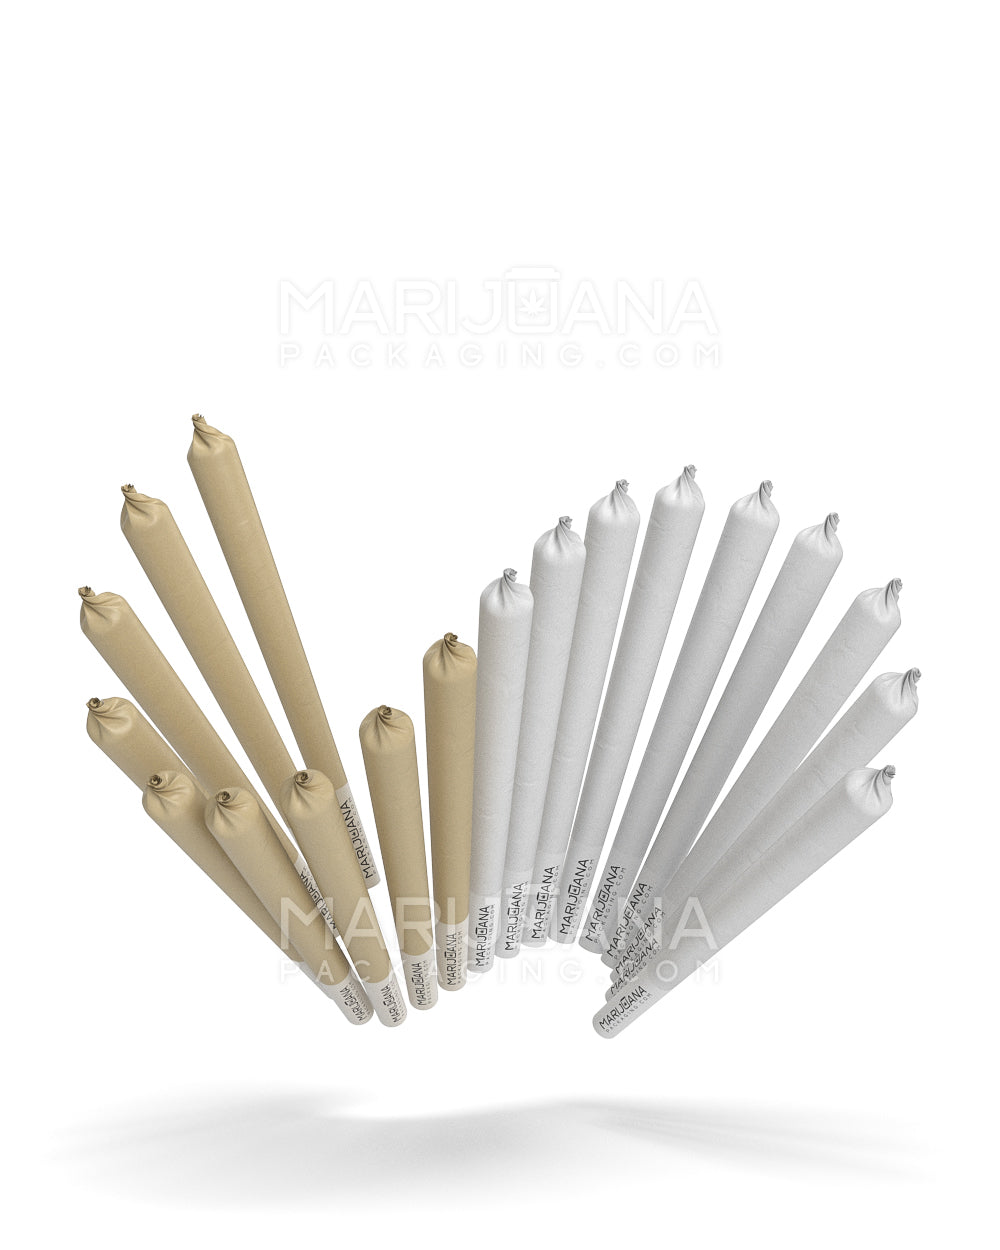
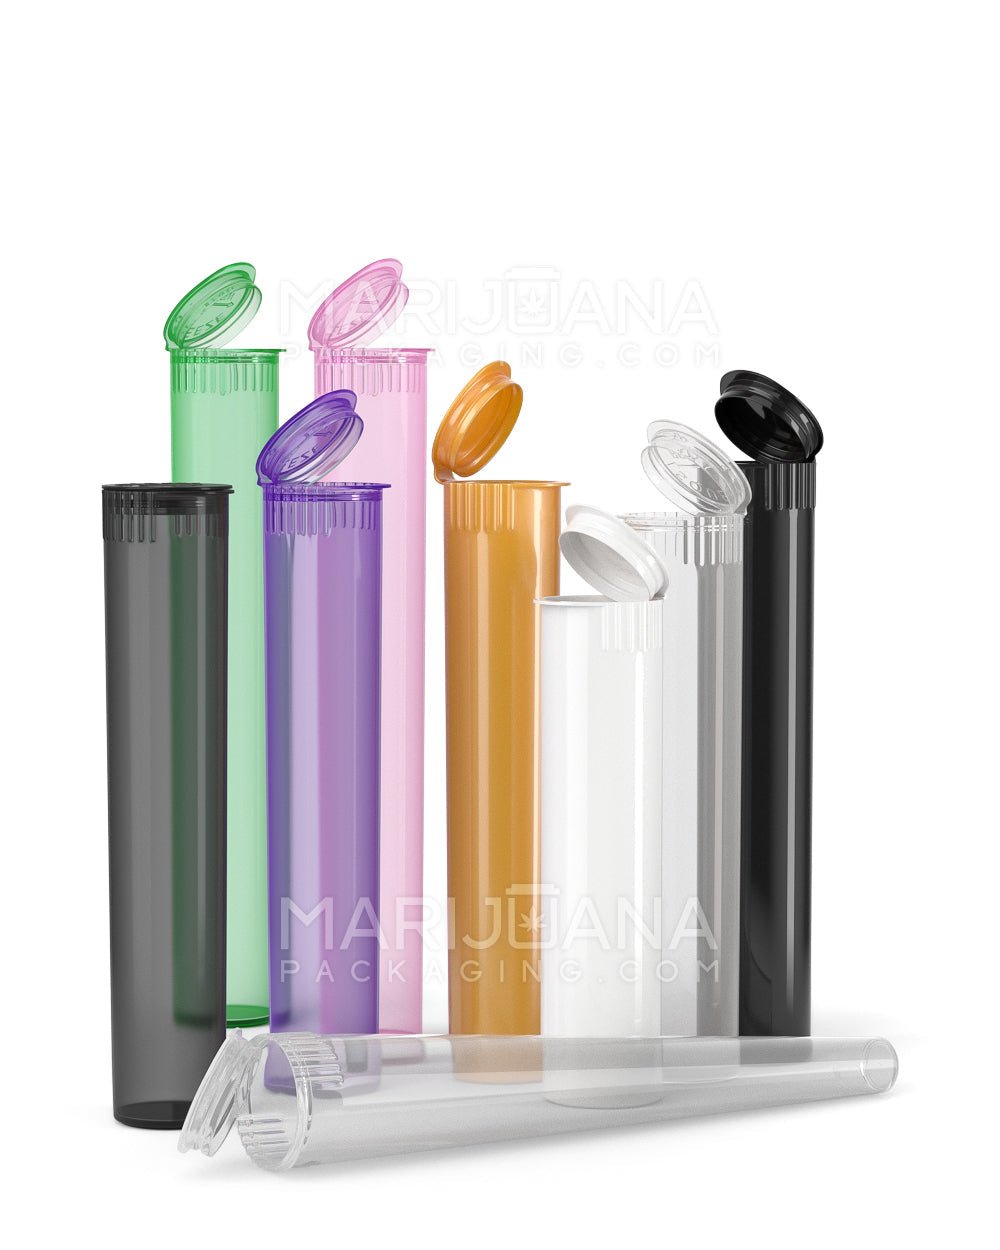
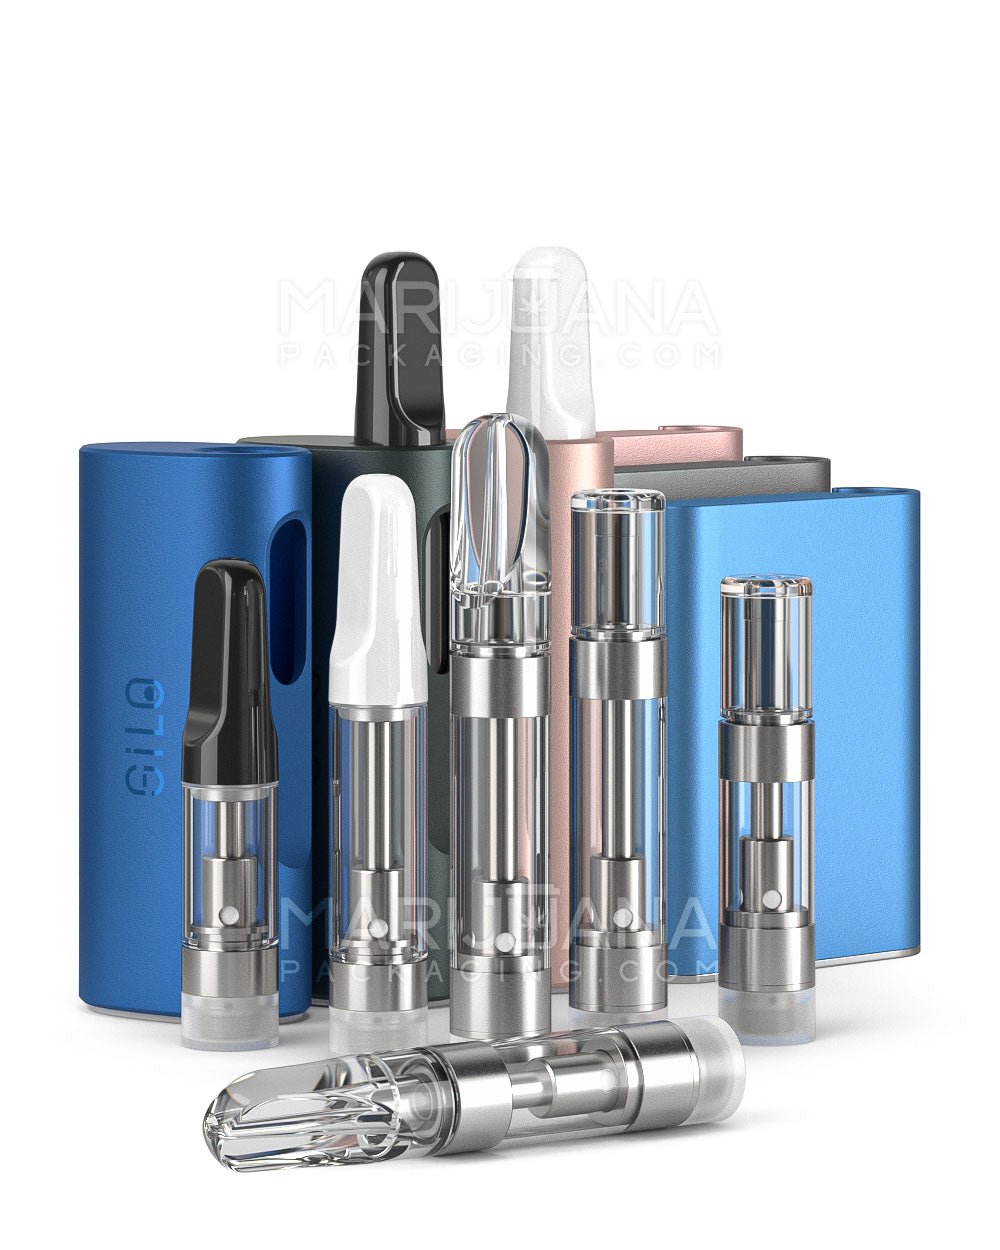
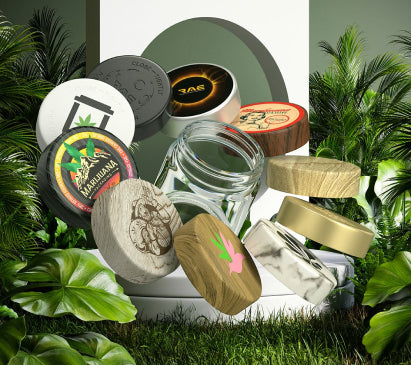
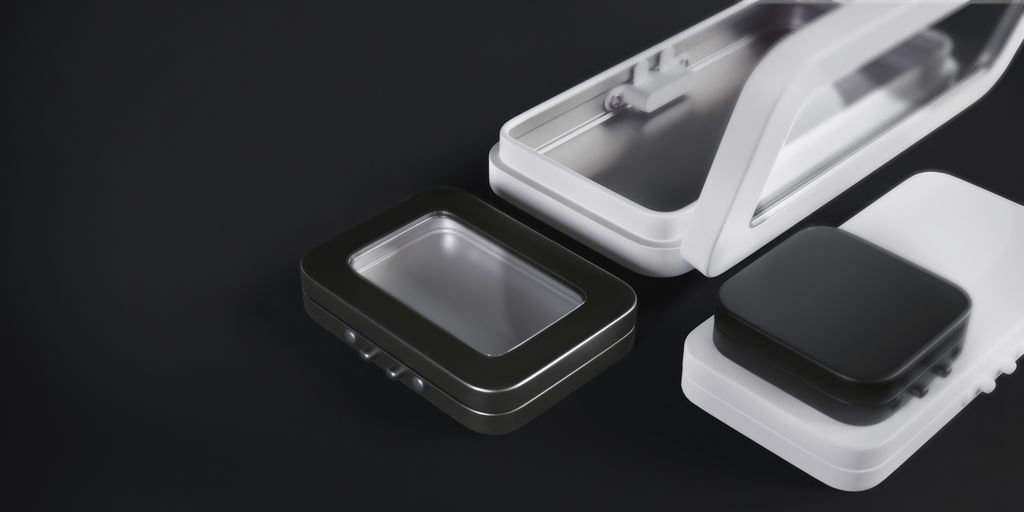
When it comes to packaging your end product, Gamut offers a wide range of solutions to fit your needs. Whether you're looking for stock options or custom designs, Gamut's full-scale packaging services can help make your brand unforgettable in the market. From design to delivery, they've got you covered, ensuring your product stands out on the shelf.