


So, you've just finished trimming your marijuana plants, and now you're left with a pile of trimmings. What next? If you're scratching your head, you're not alone. Many growers wonder what to do with these leftovers. The good news is, marijuana trimmings can be incredibly useful if stored properly.
In this post, we'll walk you through everything you need to know about storing marijuana trimmings. From understanding why these little bits are valuable to practical steps for keeping them fresh, we've got you covered. Let's get started!
Why Store Marijuana Trimmings?
You might be tempted to toss your trimmings into the compost bin, but hold on a second. Those little leaves and stems are packed with potential. While they may not be as potent as the buds, trimmings contain cannabinoids and terpenes that can be used in a variety of ways.
Trimmings can be used to make edibles, concentrates, and even topicals. They can also be added to compost if you're into sustainable gardening. The possibilities are endless, and storing them properly ensures you get the most out of your harvest.
The Benefits of Using Trimmings
- Cost-effective: Using trimmings can save you money by reducing waste and maximizing your harvest.
- Variety of uses: From making cannabutter to extracting oils, trimmings are versatile.
- Sustainability: Utilizing every part of the plant is a more sustainable practice.
Preparing Trimmings for Storage
Before you even think about storage, you need to prepare your trimmings. Proper preparation is key to preserving their quality and potency. It’s a bit like prepping vegetables before tossing them in the fridge; a little work upfront goes a long way.
Drying Your Trimmings
First things first, you need to dry your trimmings. This step is crucial to prevent mold and mildew, which can ruin your stash. Here’s how you can do it:
- Lay them out: Spread your trimmings out on a clean, dry surface. Avoid piling them up as this can lead to uneven drying.
- Use a drying rack: If you have one, a drying rack is a great option. It allows air to circulate around the trimmings, speeding up the process.
- Keep them in a dark, cool place: Light and heat can degrade cannabinoids, so make sure your drying area is dark and cool.
- Check regularly: Depending on the humidity in your area, drying can take a few days to a week. Check your trimmings daily for signs of mold or mildew.
Trimming the Trimmings
Once your trimmings are dry, it’s time to do a little more trimming. Remove any large stems and fan leaves that don’t contain much resin. This helps in focusing on the valuable parts of the plant that you’ll want to store.
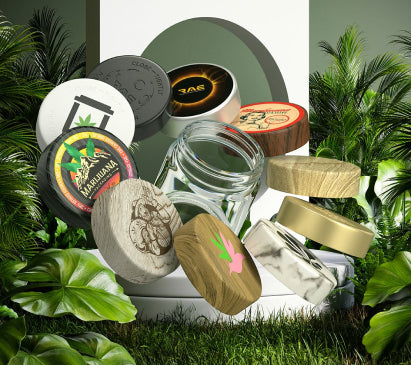
Choosing the Right Storage Containers
Now that your trimmings are dry and ready, it’s time to store them. The type of container you choose can impact how well your trimmings are preserved. You want to keep them fresh and ready to use whenever the inspiration strikes.
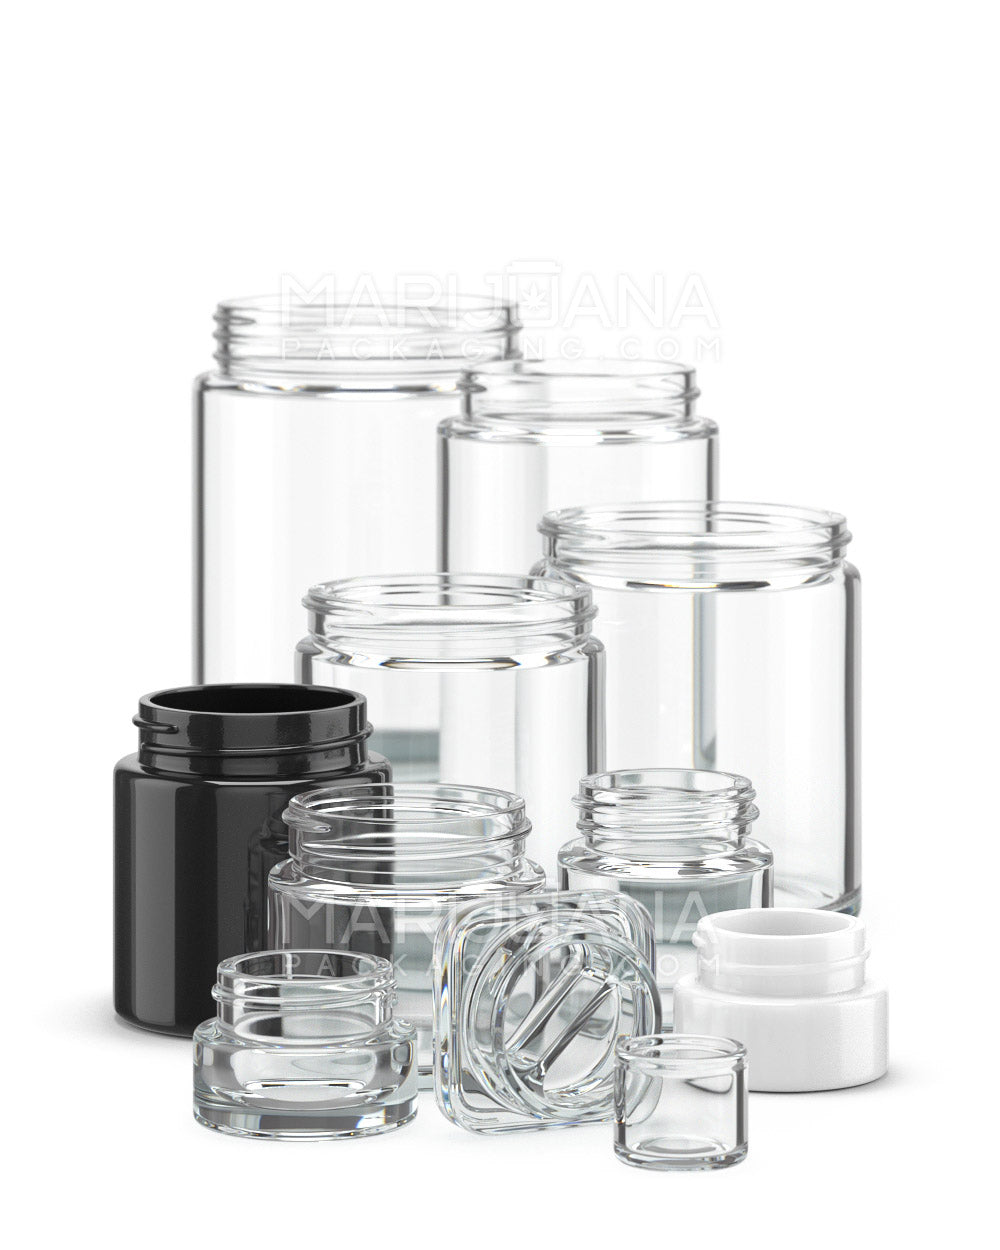
Glass Jars
Glass jars are a favorite among many growers for a reason. They’re airtight, which helps to keep moisture and air out — both of which can degrade your trimmings over time. Here are some tips for using glass jars:
- Choose the right size: Use a jar that’s appropriate for the amount of trimmings you have. You want to fill the jar to the top without crushing the trimmings.
- Label your jars: If you’re storing trimmings from different strains, label your jars accordingly. This will help you keep track of what’s what.
- Store in a dark place: Light can degrade your trimmings, so keep your jars in a dark cupboard or closet.
Vacuum-Sealed Bags
If you’re short on storage space, vacuum-sealed bags are another great option. They remove all the air from the bag, which helps prevent oxidation. Here’s how to use them effectively:
- Use a quality vacuum sealer: Not all vacuum sealers are created equal. Invest in a good one to ensure a tight seal.
- Seal in small batches: This way, you only open a small amount at a time, keeping the rest fresh.
- Store in a cool, dark place: Just like glass jars, these bags should be kept away from light and heat.
Long-Term Storage Tips
If you’re planning to store your trimmings for an extended period, there are a few extra steps you can take to ensure they stay fresh. Think of it like storing your summer clothes for the winter; a little effort now can make a big difference later.
Humidity Control
Keeping humidity levels in check is crucial for long-term storage. Too much moisture can lead to mold, while too little can dry out your trimmings. Here’s how you can manage humidity:
- Use humidity packs: These packs help maintain the ideal humidity level inside your storage container. They’re inexpensive and easy to use.
- Monitor regularly: Check your trimmings periodically for any signs of moisture or dryness.
Temperature Control
Temperature is another factor to consider. You want to keep your trimmings in a cool environment to preserve their potency. Here’s what to keep in mind:
- Avoid temperature fluctuations: Sudden changes in temperature can cause condensation, which can lead to mold.
- Ideal storage temperature: Aim for a consistent temperature between 60-70°F (15-21°C).
Using Trimmings in Edibles
One of the most popular uses for marijuana trimmings is in edibles. Whether you’re making cannabutter or cannabis-infused oil, trimmings can be an excellent resource. Here’s a simple way to turn your trimmings into a tasty treat.
Making Cannabutter
Cannabutter is a staple in the world of edibles. It’s easy to make and can be used in a variety of recipes. Here’s how you can make your own:
- Decarboxylate your trimmings: This process activates the THC in your trimmings. Spread them on a baking sheet and bake at 240°F (115°C) for about 30-40 minutes.
- Combine with butter: Melt butter in a saucepan and add your decarboxylated trimmings. Simmer on low heat for 2-3 hours, stirring occasionally.
- Strain and store: Use a cheesecloth to strain the mixture into a container. Let it cool and store in the fridge.
Experimenting with Recipes
Once you’ve made your cannabutter, the culinary world is your oyster. You can use it in baked goods, savory dishes, or even melt it over popcorn for a unique twist on a classic snack.
Trimmings for Concentrates
If edibles aren’t your thing, don’t worry. You can also use your trimmings to make concentrates. Concentrates are a potent form of cannabis that can be used in vaporizers, dab rigs, or even added to joints for an extra kick.
Making Hash
Hash is one of the simplest concentrates to make, and it’s a great way to use up your trimmings. Here’s a basic method to get you started:
- Gather your supplies: You’ll need a set of bubble bags and a bucket of ice water.
- Mix and strain: Add your trimmings to the ice water and mix thoroughly. Strain the mixture through the bubble bags to separate the trichomes.
- Dry and store: Collect the hash from the bags, let it dry, and store in an airtight container.
Exploring Other Concentrates
Beyond hash, there are other concentrates you can explore, like rosin or kief. Each has its own unique process and benefits, so feel free to experiment and find what works best for you.
Trimmings in Topicals
For those interested in the therapeutic benefits of cannabis without the high, topicals are a fantastic option. Using trimmings, you can create balms, salves, and lotions that offer soothing relief for sore muscles and skin irritations.
Making Cannabis-Infused Oil
Before you can make a topical, you’ll need to create a cannabis-infused oil. Here’s a simple way to do it:
- Decarboxylate your trimmings: Just like with edibles, this step is essential for activating the cannabinoids.
- Combine with carrier oil: Use a carrier oil like coconut or olive oil and simmer with your trimmings on low heat for 2-3 hours.
- Strain and store: Strain the oil through a cheesecloth and store in a dark, glass bottle.
Crafting Your Topical
Once you have your infused oil, you can mix it with other ingredients like beeswax, shea butter, or essential oils to create a personalized topical remedy. The possibilities are endless, so don’t be afraid to get creative!
Composting Trimmings
Finally, if you’re looking for a sustainable way to dispose of your trimmings, consider composting. Even after making edibles, concentrates, or topicals, you might still have some leftovers. Composting is a great way to return nutrients to the soil and support your future gardening endeavors.
Starting a Compost Bin
Here’s a quick guide to getting your compost bin started:
- Choose a spot: Find a location in your yard that’s convenient and well-drained.
- Layer your materials: Start with a layer of coarse materials like twigs or straw, then add your trimmings and other organic waste.
- Maintain the pile: Keep your compost pile moist but not soggy, and turn it regularly to aerate.
Benefits of Composting
Composting not only reduces waste but also enriches the soil, helping you grow healthier plants in the future. It’s a win-win for you and the environment.
Final Thoughts
Storing marijuana trimmings isn't just about keeping leftovers; it's about maximizing the value of your harvest. From edibles to topicals, your trimmings can be transformed into a variety of useful products. Proper storage is key to maintaining their quality and ensuring you get the most out of each use.
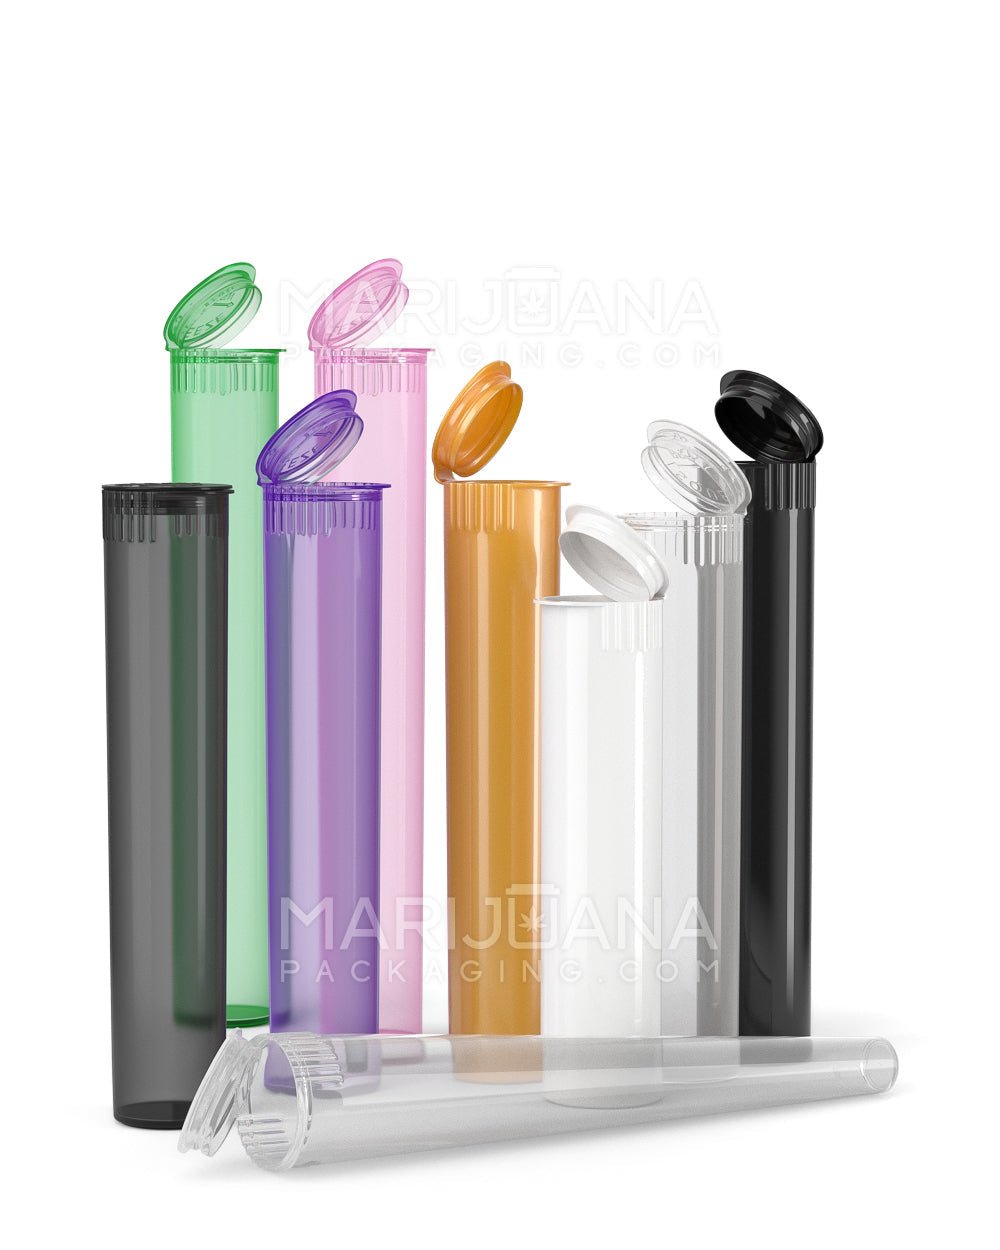
If you're looking for a way to package your marijuana products, Gamut offers a full spectrum of packaging solutions tailored to your needs. With over a decade of expertise, Gamut's services make your brand unforgettable, whether you're seeking stock options or custom designs. They cover everything from jars and bags to tubes and containers, ensuring your products are stored safely and attractively.