


Rolling a joint with Zig-Zag papers is a rite of passage for many cannabis enthusiasts. It's a skill that combines patience and precision with a touch of artistry. Whether you're a first-timer or someone looking to refine their technique, let's explore the steps to rolling a perfect joint with these iconic papers. We'll cover everything from gathering your supplies to achieving a smooth, even burn. And don't worry, we'll keep it fun and straightforward—just like sharing tips with a friend over a smoke session.
Getting Your Supplies Ready
Before you jump into the rolling process, make sure you have all the essentials on hand. A successful joint starts with the right tools and materials. Here's what you'll need:
- Zig-Zag Rolling Papers: These are the star of the show. Zig-Zag papers are known for their thinness and slow-burning qualities, making them a go-to choice for many.
- Grinder: A grinder ensures your cannabis is evenly broken down, which is crucial for a smooth burn.
- Filter or Crutch: While not mandatory, a filter helps maintain the joint's structure and keeps bits of flower from ending up in your mouth.
- Cannabis: Choose your favorite strain, keeping in mind that different strains offer various effects and flavors.
- Rolling Tray: This helps contain any mess and makes the process more organized.
Once you've gathered these items, you're ready to roll—literally. It's like preparing a workspace before starting a DIY project; having everything in place makes the process smoother and more enjoyable.
Choosing the Right Zig-Zag Paper
Zig-Zag offers a variety of paper types, each suited to different preferences. Let's break down the options so you can pick the best one for your needs:
- White Zig-Zags: These classic papers are perfect for beginners due to their ease of use. They're slightly thicker, which makes them easier to handle.
- Orange Zig-Zags: Known for their ultra-thin construction, these papers offer a slower burn. They're ideal for those who prefer a more delicate roll.
- Organic Hemp Zig-Zags: Made from natural hemp fibers, these papers are a favorite among environmentally conscious users. They provide a clean, pure smoke.
Your choice will depend on personal preference and experience level. If you're just starting, you might find the white papers easier to manage. More seasoned rollers might enjoy the challenge and benefits of the thinner options. It's a bit like choosing between types of coffee beans—each has its unique flavor and use case.
Grinding Your Cannabis
Grinding your cannabis is a crucial step that affects how well your joint burns. A consistent grind ensures even burning and makes rolling easier. Follow these steps for the perfect grind:
- Prepare Your Grinder: Place the cannabis in the grinder's teeth section, avoiding over-packing. You want enough space for the grinder to do its job.
- Grind Evenly: Twist the grinder several times, ensuring an even consistency. You're aiming for a texture similar to dried herbs, like oregano.
- Check the Consistency: Once ground, your cannabis should be fluffy and free of large chunks. If pieces are too big, they can cause uneven burning.
Think of grinding as the prep work before cooking. Just like finely chopped onions cook more evenly, well-ground cannabis burns smoother. If you're looking for a reliable grinder, options like Gamut Packaging's line of grinders can make the process easier and more efficient.
Creating a Filter or Crutch
While optional, adding a filter or crutch to your joint can enhance the smoking experience. It keeps the end open for airflow and prevents bits of cannabis from getting into your mouth. Here's how to make one:
- Choose Your Material: You can use a piece of thin cardboard, like a business card or a pre-made filter tip.
- Roll Tightly: Fold the material back and forth a few times to create an accordion shape, then roll it into a cylinder.
- Fit It Into Your Joint: Place the filter at one end of your rolling paper before adding the cannabis.
Adding a filter is a bit like putting a cherry on top of a sundae—it’s not essential, but it adds that extra touch that can make a big difference.
Packing the Paper
With your cannabis ground and filter ready, it's time to fill your Zig-Zag paper. This step requires patience and a gentle touch. Follow these guidelines for a well-packed joint:
- Lay Out the Paper: Place your Zig-Zag paper on a flat surface with the sticky side facing up. Position the filter at one end.
- Add Cannabis: Evenly distribute your ground cannabis along the crease of the paper. Use enough to fill the paper without overloading it.
- Shape the Cannabis: Gently shape the cannabis by rolling the paper back and forth between your fingers. Aim for an even cylindrical shape.
This part is similar to filling a taco—too much or too little can make it tricky to handle. You want just the right amount for a balanced, smooth roll.
Rolling the Joint
Rolling is where the magic happens. It's a skill that improves with practice, so don't worry if it takes a few tries. Here's a step-by-step guide:
- Tuck and Roll: Use your thumbs to tuck the unglued side of the paper under the cannabis, then roll it upwards until only the adhesive strip is exposed.
- Seal the Joint: Lick the adhesive strip and press it down to seal the joint. Make sure the seal is tight and even.
- Pack the End: Use a pen or similar object to gently pack the open end of the joint, ensuring the cannabis is snug and well-distributed.
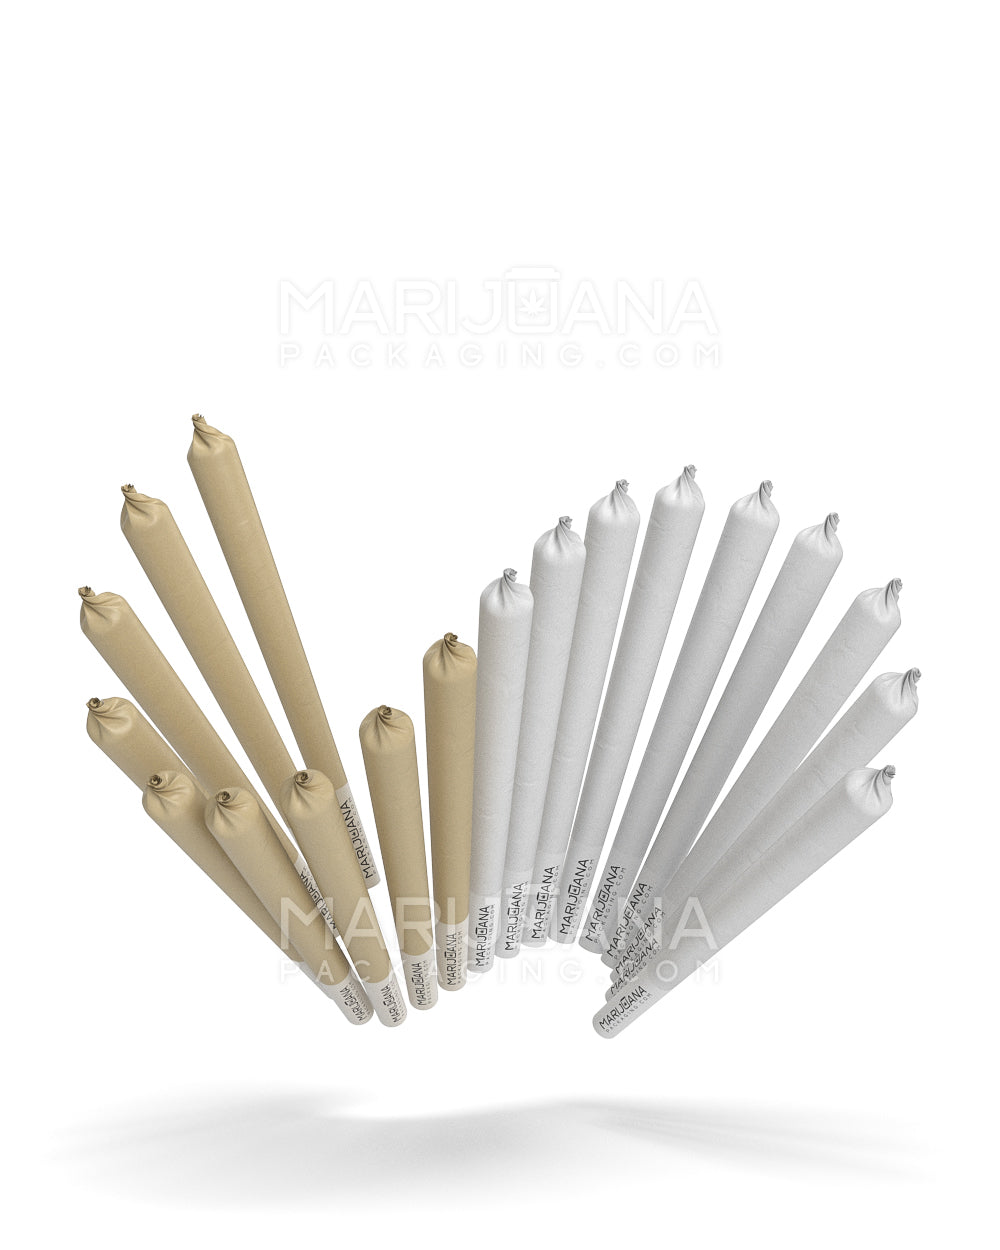
Think of rolling as similar to wrapping a gift. It's all about the right technique and a bit of finesse to get everything just right. If you're after a perfectly rolled joint every time, consider using pre-rolled cones like those from Classic RAW Pre-Rolled Cones. They offer consistency and ease for both newcomers and seasoned rollers.
Lighting the Joint
Lighting a joint might seem straightforward, but there's a method to it that ensures an even burn. Follow these steps for the best results:
- Toast the Tip: Before inhaling, gently toast the end of the joint with your lighter. This helps prevent canoeing, where one side burns faster than the other.
- Take Slow Puffs: Once lit, take slow, steady puffs to get the cherry (the lit part) going.
- Rotate as You Smoke: To maintain an even burn, rotate the joint as you smoke.
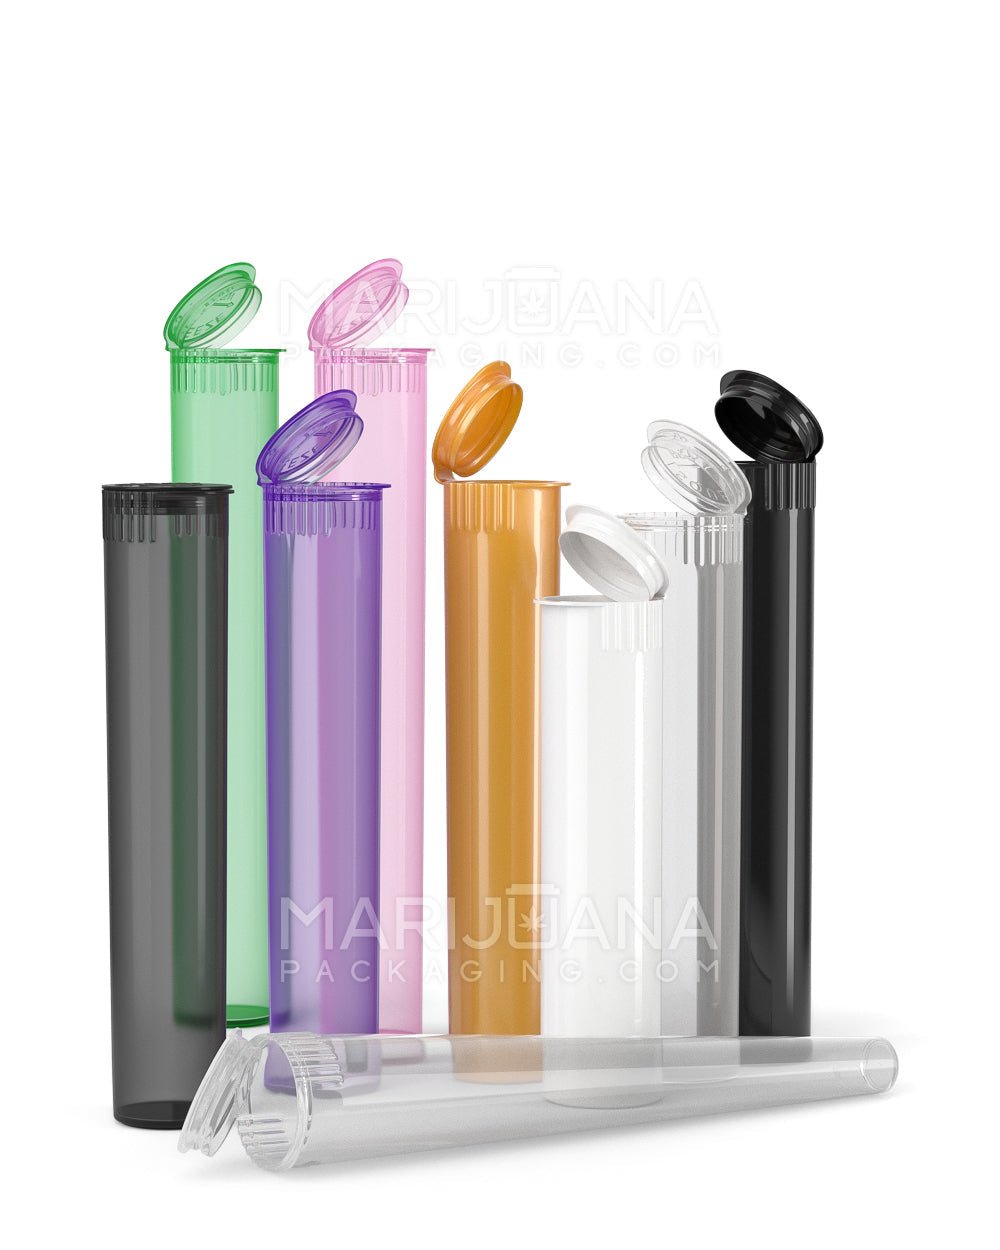
Lighting a joint is like roasting marshmallows—going slow and steady gives you the perfect result without burning it to a crisp. And if you're planning to store your pre-rolls, using something like the King Size Pop Top Plastic Pre-Roll Tube ensures they stay fresh and ready for your next session.
Troubleshooting Common Issues
Even with practice, you might encounter a few bumps along the way. Here are some common issues and how to fix them:
- Canoeing: If one side of the joint is burning faster, lightly wet the faster-burning side with your finger to slow it down.
- Too Tight or Too Loose: If the joint is hard to pull from, it might be rolled too tightly. Conversely, if it's too loose, it won't stay lit. Adjust your packing technique accordingly.
- Falling Apart: If your joint falls apart, it might be due to insufficient adhesive or uneven rolling. Ensure your adhesive strip is properly sealed and practice rolling evenly.
Think of these issues like common mishaps in cooking—sometimes things don't go as planned, but with a little adjustment, you can still end up with a tasty result.
Experimenting with Different Techniques
Once you've mastered the basic roll, you might want to try some advanced techniques. These can add variety to your sessions and impress your friends:
- Cross Joints: A cross joint is a fun and challenging way to elevate your rolling skills. It involves rolling two joints and combining them in a cross shape.
- Backrolls: This technique involves rolling the joint inside out, resulting in a joint with less paper and a cleaner taste.
- Blunt Wraps: Try rolling with a blunt wrap for a different flavor and a slower burn.
Experimenting with these techniques is like trying new recipes in the kitchen—each has its unique flavor and process, offering a new experience every time.
Maintaining Your Rolling Gear
Keeping your rolling tools in good condition is essential for a smooth rolling experience. Here's how to maintain your gear:
- Clean Your Grinder: Regularly clean your grinder to prevent resin buildup. Use a brush to remove debris and a bit of isopropyl alcohol for a deep clean.
- Store Papers Properly: Keep your rolling papers in a cool, dry place to prevent them from becoming brittle or sticking together.
- Replace Tools as Needed: Over time, your rolling tools might wear out. Keep an eye out for signs of wear and be ready to replace them when necessary.
Maintaining your gear is like keeping your kitchen tools in top shape—it ensures everything works smoothly and efficiently, making your rolling (or cooking) experience more enjoyable.
Final Thoughts
Rolling a joint with Zig-Zag papers can be a rewarding experience with the right approach and practice. Whether you're a novice or a seasoned roller, the key is patience and experimentation. Remember, every joint you roll is a step towards mastering the art. And if you're looking for quality pre-rolled cones to simplify the process, check out King Size RAW Pre-Rolled Cones. They offer the perfect blend of convenience and quality, making them a great choice for both personal use and dispensary stocking.