


Rolling a hemp pre-roll is an art form that brings together precision, patience, and a little bit of personal flair. Whether you're new to the scene or a seasoned smoker looking to refine your skills, there's always something to learn about getting that perfect roll. This guide will cover everything you need to know to roll a hemp pre-roll, from selecting the right hemp papers to packing your flower just right.
Choosing Your Hemp Paper
The first step in crafting the perfect hemp pre-roll is choosing the right paper. Hemp papers are popular because they burn slowly and evenly, offering a clean taste that lets the flavors of your flower shine through. You'll find them in various sizes, from single wide to king size. If you're just getting started, you might want to experiment with a few different sizes to see which suits your needs best.
Consider the thickness of the paper as well. Thinner papers are often preferred because they produce less ash and allow for a smoother smoke. However, they can be a bit trickier to handle if you're not used to them. On the other hand, thicker papers are easier to work with but might add a bit of unwanted flavor to your smoke.
Grinding Your Flower
Once you've chosen your paper, it's time to focus on your flower. The key to a well-rolled pre-roll is evenly ground cannabis. If you grind it too fine, you risk clogging the pre-roll and making it hard to draw. On the flip side, if it's too chunky, it won't burn evenly.
Investing in a quality grinder can make a big difference here. A good grinder will break your flower down to the perfect consistency, without turning it into dust. Remember, you want to aim for a fluffy, even consistency that allows for smooth and consistent burning.
Creating the Filter
The next step is to create a filter, also known as a crutch or tip, for your pre-roll. While some people skip this step, using a filter can make your smoking experience much more enjoyable. It prevents small bits of flower from getting into your mouth and helps maintain the shape of your pre-roll.
You can purchase pre-made filters, or easily make your own using a small piece of cardstock or thick paper. Roll it into a small cylinder, or fold it in an accordion style before rolling it into a cylinder. The filter should fit tightly inside the end of your paper, but not so tight that it restricts airflow.
Packing the Flower
Now comes the fun part—packing your flower into the paper. Start by holding your paper with the adhesive strip facing you and the filter end down. Fill the paper with a generous amount of ground flower, distributing it evenly from end to end. You want enough to ensure a solid pre-roll, but not so much that it becomes difficult to roll.
Gently tap the paper on a flat surface to settle the flower evenly throughout the paper. This will help ensure an even burn and prevent any air pockets from forming. Use your fingers to gently shape the flower into a uniform cylinder, applying light pressure to pack it down evenly.
Rolling the Paper
With your flower packed, it's time to roll the paper. This step can be a bit challenging at first, but practice makes perfect. Hold the paper between your fingers and thumbs, with the adhesive strip facing you. Use your fingers to tuck the unglued side of the paper around the flower, rolling it back and forth to create a tight, even cylinder.
Once you're satisfied with the shape, lick the adhesive strip and seal the paper. Be sure to press down firmly to ensure a good seal. If you're having trouble getting the paper to stick, try wetting it a bit more or using a small amount of honey to help it adhere.
Twisting the End
With your pre-roll sealed, the final step is to twist the open end to lock in the flower. Give the end a tight twist to keep everything secure. This will prevent any flower from falling out and ensure a clean burn when you light up.
Some people like to pinch the end to create a flat, paddle-like shape, which can help with lighting and ensure an even burn. Experiment with different techniques to see what works best for you.
Lighting Your Pre-Roll
Now that you've rolled your pre-roll, it's time to light it up. Hold the twisted end of the pre-roll to a flame, and rotate it slowly to ensure an even burn. Once the end is evenly lit, take a few gentle puffs to get the cherry going. Be patient, and take your time to ensure a smooth, even burn.
If you find that your pre-roll is burning unevenly, you can use the flame to touch up any areas that need a bit more heat. Just be careful not to overdo it, as too much heat can make your pre-roll burn too quickly.
Storing Your Pre-Roll
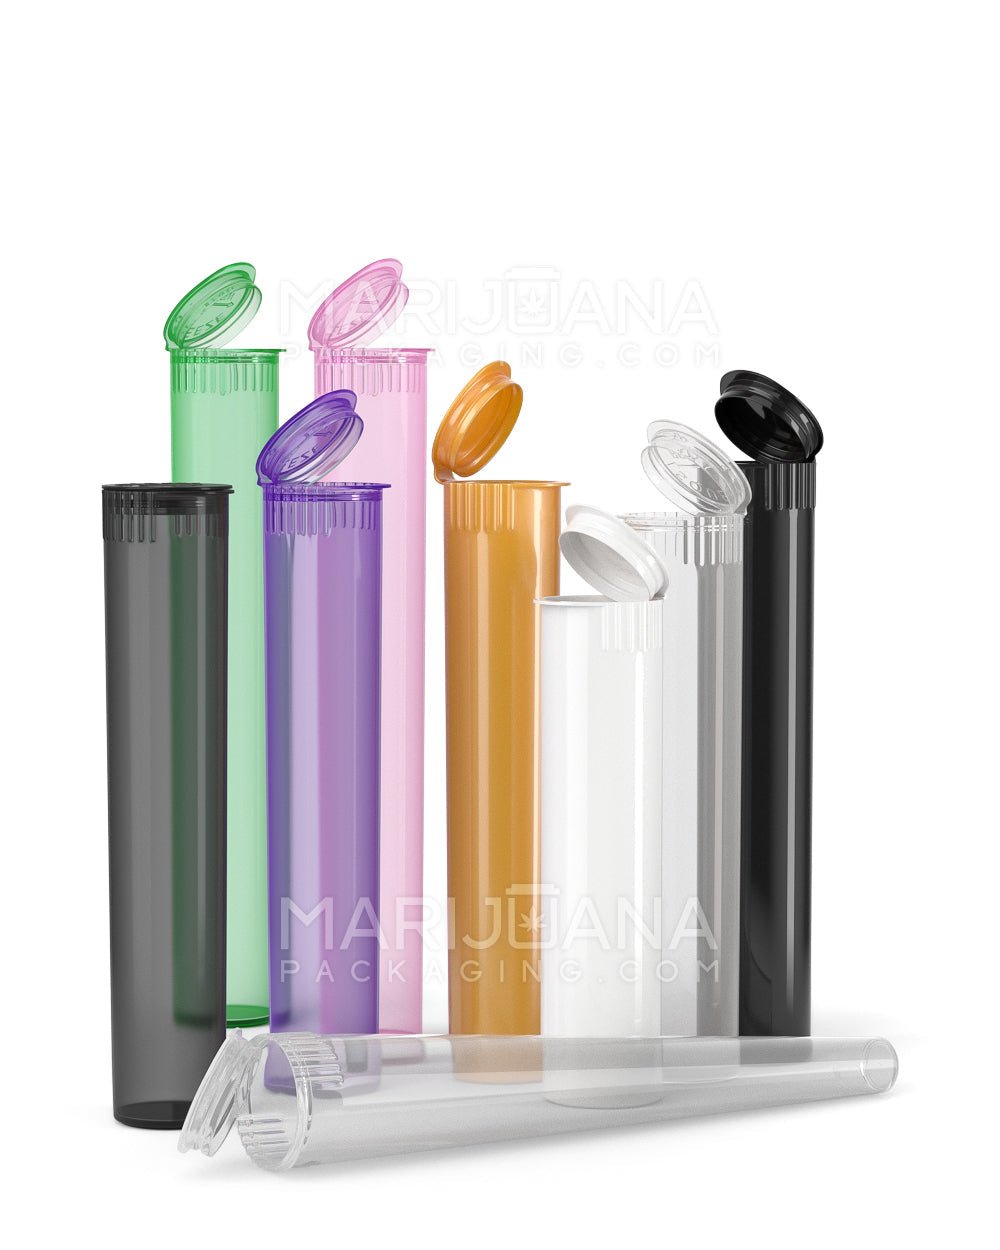
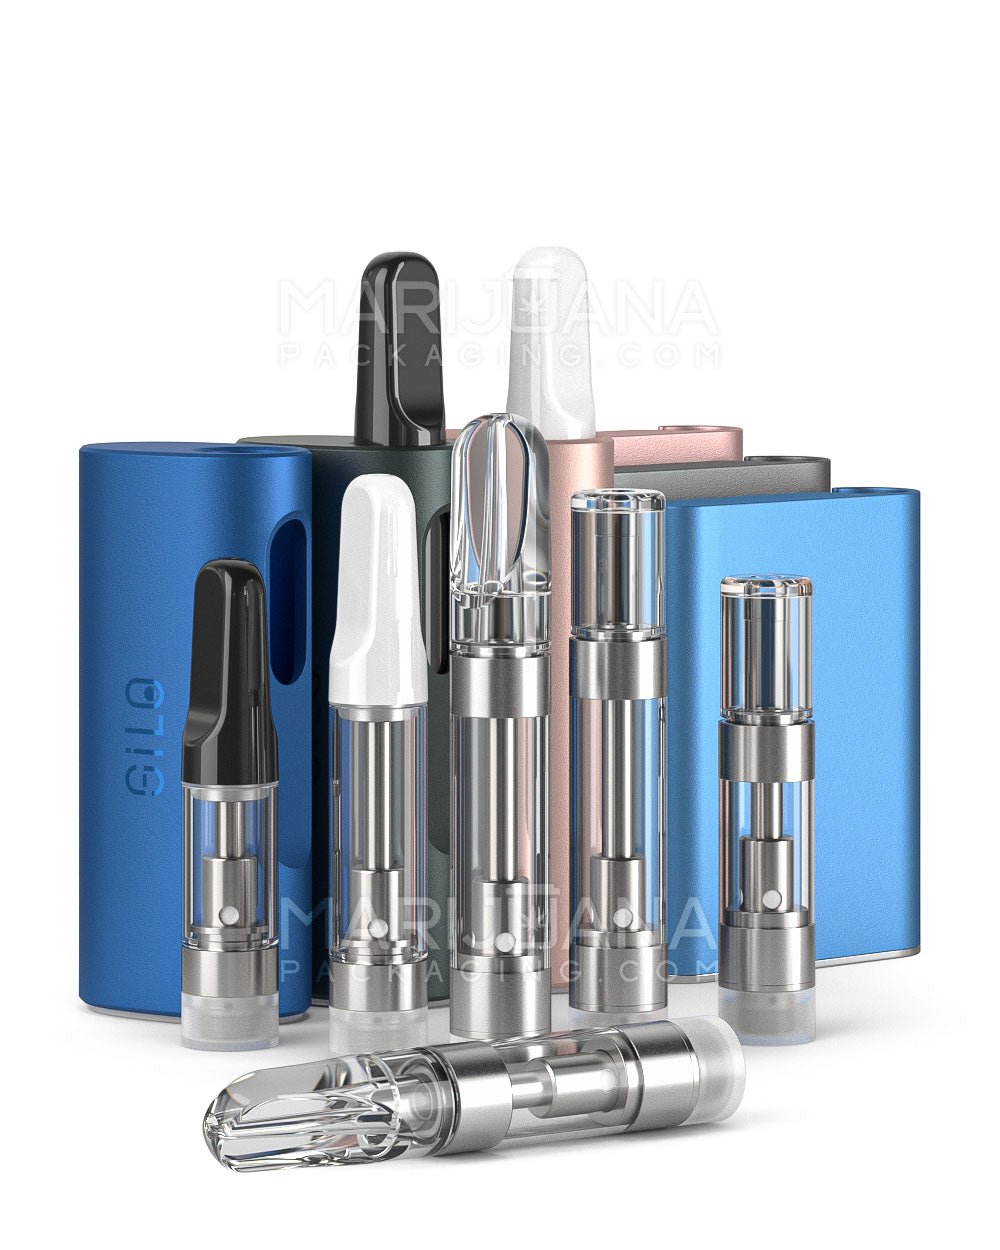
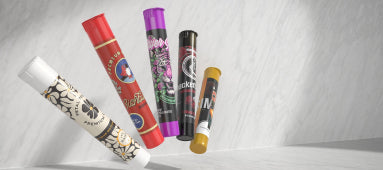
Once you've rolled and enjoyed your pre-roll, you'll want to store any extras properly to keep them fresh. A great option for this is the King Size Pop Top Plastic Pre-Roll Tube. These tubes are airtight and child-resistant, making them perfect for keeping your pre-rolls fresh and secure.
Whether you're a casual smoker or someone who likes to stock up, these tubes are a convenient and reliable way to store your pre-rolls. Plus, they're small enough to fit in your pocket or bag, making them perfect for on-the-go use.
Final Thoughts
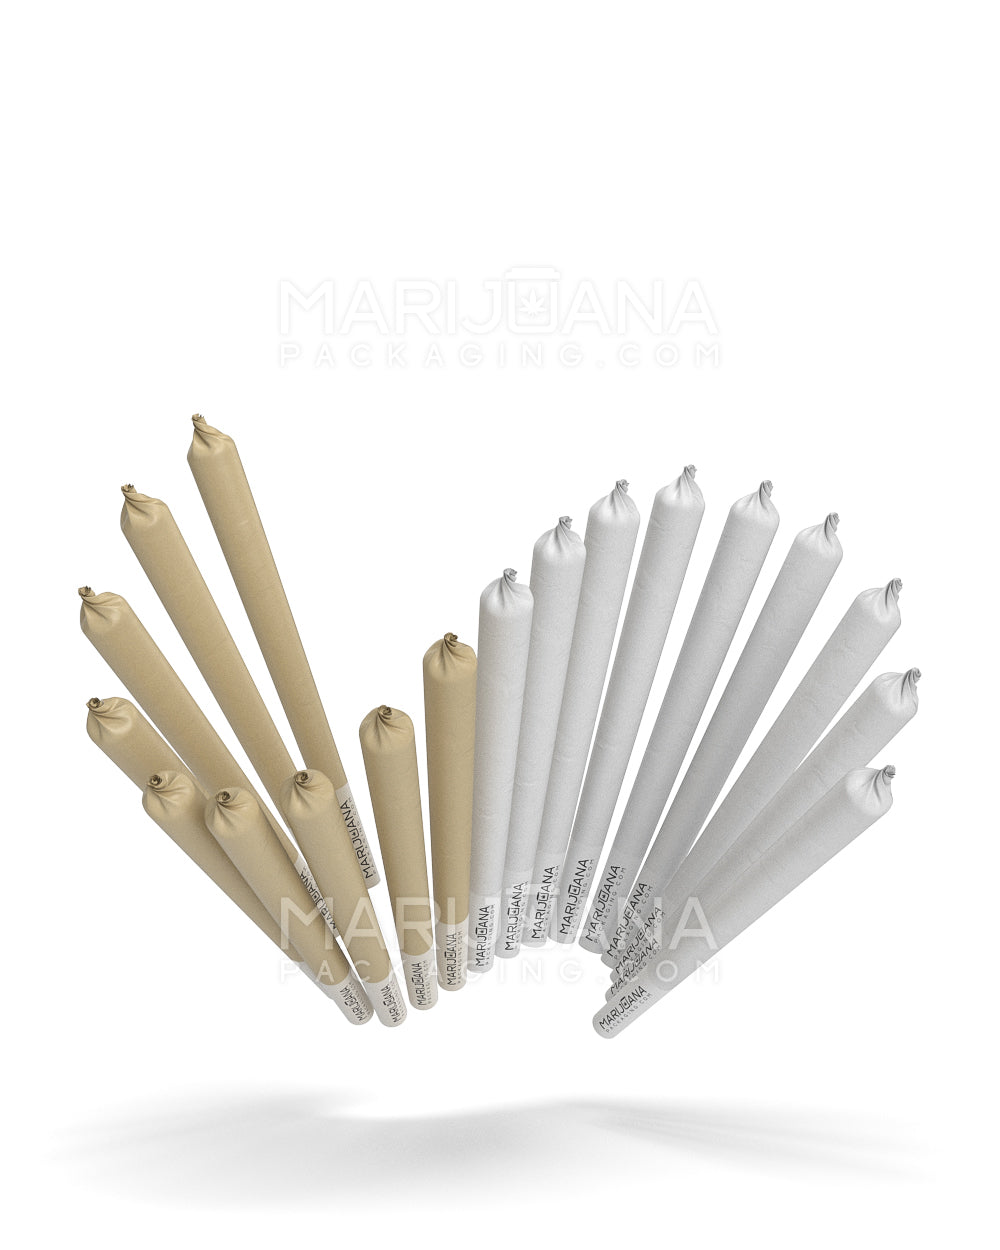
Rolling a hemp pre-roll is a skill that takes a bit of practice, but once you've got the hang of it, you'll be able to enjoy a perfectly rolled smoke every time. Whether you're using a King Size RAW Pre-Rolled Cone or a traditional rolling paper, the key is to be patient and take your time to ensure a smooth, even burn. With the right tools and techniques, you'll be rolling like a pro in no time.