Ever thought about making your own marijuana butter, but felt a bit intimidated by the process? You're definitely not alone. The good news is, there's a simple method that even beginners can master: making marijuana butter in a Mason jar. Not only is this method straightforward, but it also requires minimal equipment, making it perfect for those just starting out.
In this article, we'll walk you through the entire process of creating marijuana butter using a Mason jar. From gathering your ingredients to storing the finished product, we've got all the steps covered. By the end, you'll be ready to whip up your own batch and start exploring the culinary possibilities of marijuana butter.
Why Make Marijuana Butter?
Before we dive into the how-to, let's chat about the why. Marijuana butter, or cannabutter as it's often called, is a staple for anyone interested in making edibles. When you infuse butter with marijuana, you're creating a versatile ingredient that can be used in a variety of recipes—from brownies to pasta sauces. It's a great way to enjoy the benefits of marijuana without having to smoke it.
Plus, making your own cannabutter allows you to control the potency and quality of the product. You can choose your favorite strains, adjust the dosage to your liking, and ensure there are no unwanted additives. It's a fun and rewarding process that combines the joys of cooking with the therapeutic benefits of marijuana.
What You'll Need
To get started, you'll need a few basic supplies and ingredients. Don't worry if you're not a seasoned chef—most of these items are likely already in your kitchen, or can be easily found at your local store.
- Marijuana: Choose a strain that suits your desired effects. Whether you're looking for relaxation or a creativity boost, there's a strain for you. Aim for about 7 to 10 grams.
- Unsalted Butter: You'll need one cup of unsalted butter. It's important to use unsalted to better control the flavor of your final product.
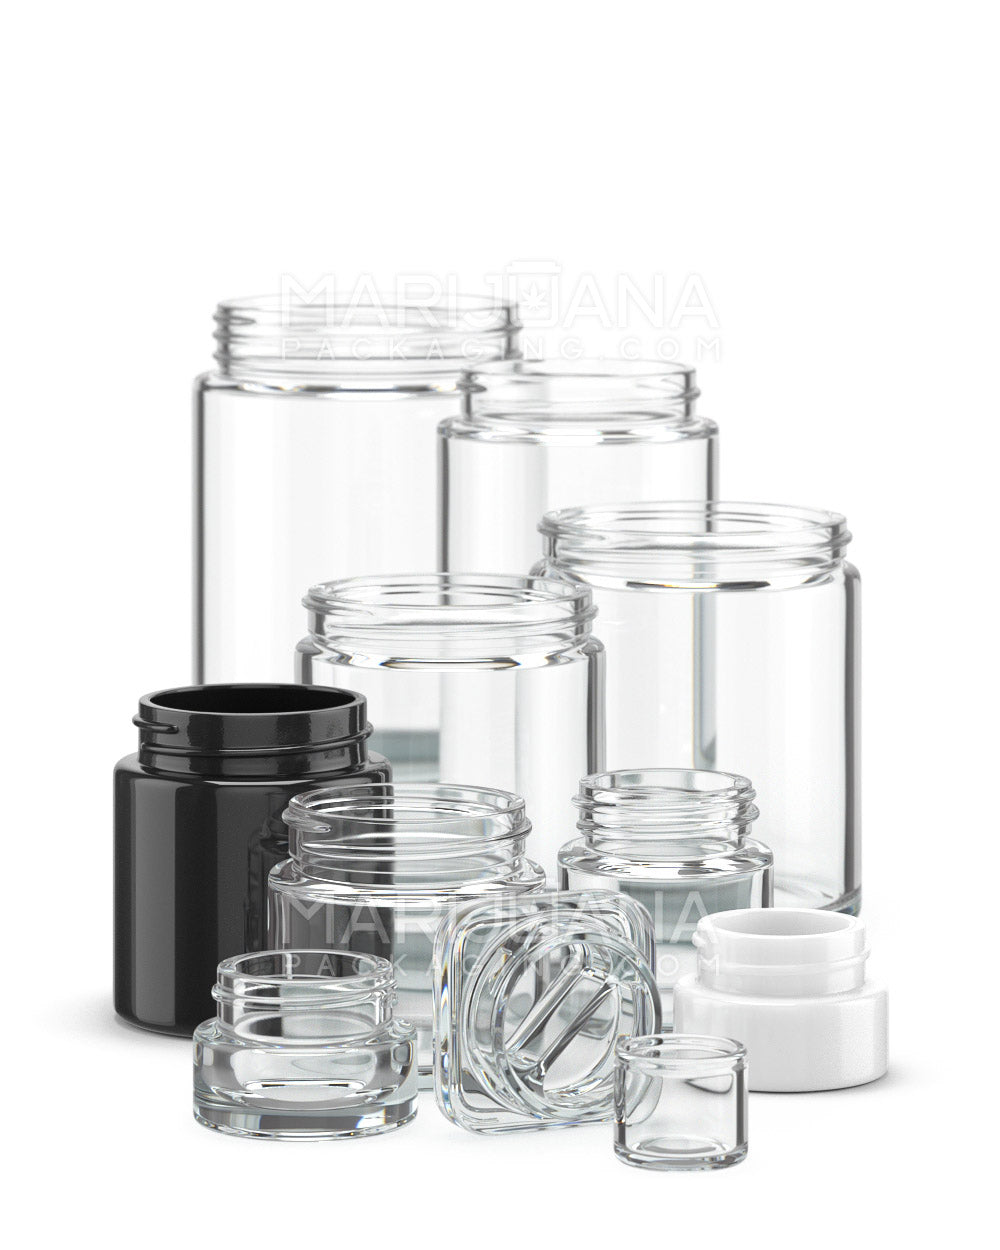
- Mason Jar: A quart-sized Mason jar works best for this recipe. Make sure it has a tight-fitting lid.
- Baking Sheet: For decarboxylating your marijuana, which we'll explain in a bit.
- Oven: You'll use this for both decarboxylation and melting the butter.
- Cheesecloth or Fine Mesh Strainer: This will help you strain out the plant material from your butter.
Now that you've gathered your supplies, let's move on to the first step.
Decarboxylating Your Marijuana
This step is often the most overlooked, but it's crucial for activating the THC in your marijuana. Without decarboxylation, your butter won't be as potent. Don't let the term scare you off—it's simply a process of heating the marijuana to activate its psychoactive properties.
Here's how to do it:
- Preheat Your Oven: Set your oven to 240°F (115°C). This temperature allows for decarboxylation without burning the marijuana.
- Prepare the Marijuana: Break apart your marijuana into smaller pieces and spread them evenly on a baking sheet.
- Bake: Place the baking sheet in the oven and let it bake for about 30-40 minutes. Stir the marijuana every 10 minutes to ensure even heating. You'll notice a slight change in color, which is a sign that it's ready.
Once your marijuana is decarboxylated, let it cool for a few minutes before moving on to the next step.
Infusing the Butter
Now comes the fun part: infusing your decarboxylated marijuana into the butter. This is where the Mason jar comes into play, making the process both easy and efficient.
Follow these steps to infuse your butter:
- Melt the Butter: In a saucepan, melt your one cup of unsalted butter over low heat. You don't want it to boil, just melt.
- Combine in Mason Jar: Add your melted butter and decarboxylated marijuana into the Mason jar. Secure the lid tightly.
- Water Bath: Fill a pot with water and bring it to a simmer. Place the Mason jar in the water, ensuring the water level is high enough to cover the butter inside the jar but not so high that water gets inside.
- Simmer Gently: Keep the jar in the simmering water for about 2-3 hours. Check occasionally to ensure the water level remains adequate.
This gentle heating process helps the THC bind to the fat in the butter, creating a potent infusion.
Straining and Storing Your Butter
After infusing, it's important to strain out the plant material to ensure a smooth, butter-like consistency. Here's how you do it:
- Prepare to Strain: Place a cheesecloth over a bowl or another container.
- Pour Butter: Carefully pour the contents of the Mason jar through the cheesecloth, allowing the butter to strain through while catching the plant material.
- Squeeze Out Extra: Gather the edges of the cheesecloth and squeeze out any remaining butter.
Once strained, transfer your cannabutter to an airtight container and store it in the refrigerator. It should last for several weeks, or you can freeze it for longer storage.
Dosage and Usage Tips
When it comes to using your freshly made marijuana butter, a little goes a long way. It's important to start with a small amount, especially if you're new to edibles. The potency can vary based on the strain and amount used.
Here are some tips for using your cannabutter:
- Start Small: Begin with a small dose, like a quarter or half teaspoon, to see how it affects you.
- Cooking with Cannabutter: You can use it in any recipe that calls for butter. Think cookies, brownies, or even as a topping on your favorite baked potato.
- Storing Safely: Label your cannabutter clearly and keep it out of reach of children and pets.
Remember, it can take up to a couple of hours for the effects of edibles to kick in, so be patient after consuming.
Experimenting with Flavors
One of the joys of making your own marijuana butter is the ability to play around with flavors. Depending on the strain you choose, your butter might have earthy, citrusy, or even floral notes.
Consider these ideas for enhancing the flavor of your cannabutter:
- Add Herbs: Mix in some fresh herbs like rosemary or thyme during the infusion process for a gourmet touch.
- Try Different Strains: Each strain of marijuana has its own unique flavor profile. Experiment with different strains to find your favorite.
- Sweet or Savory: Depending on how you plan to use your cannabutter, you can add a pinch of salt or a dash of vanilla extract to complement your dish.
Your creativity is the limit when it comes to flavoring your marijuana butter!
Legal Considerations
Before you start cooking, it's important to understand the legal landscape surrounding marijuana in your area. While making marijuana butter is perfectly legal in some states, others have strict regulations.
Here's a quick checklist to ensure you're on the right side of the law:
- Know Your State Laws: Check whether recreational or medicinal marijuana is legal where you live.
- Understand Possession Limits: Be aware of how much marijuana you're legally allowed to possess and use.
- Home Cultivation: If you're growing your own marijuana, make sure you're compliant with local cultivation laws.
Staying informed about the laws in your state will help you enjoy your homemade cannabutter responsibly.
Final Thoughts
Making marijuana butter in a Mason jar is a simple and rewarding process that opens up a world of culinary possibilities. From the initial preparation to experimenting with flavors, there's so much to enjoy in the process. With your homemade cannabutter, you can create delicious edibles tailored to your tastes and preferences.
If you're looking to package your creations beautifully, Gamut offers a variety of packaging solutions that can help your products stand out. From jars and bags to custom designs, Gamut provides everything you need to make your brand unforgettable. With their expertise, you can ensure that your homemade cannabutter looks as good as it tastes.
