Hey there, cannabis enthusiasts! If you've ever harvested your own marijuana plants, you know that clippings—those leftover bits of the plant—can seem like a waste. But fear not! There's a fantastic way to turn those clippings into something magical: marijuana butter. This buttery creation can be the key ingredient to infusing your favorite dishes with cannabis goodness.
This article will guide you through the process of making marijuana butter using clippings, from gathering your ingredients to storing the final product. We'll cover everything you'll need to know, so you can create a delicious and potent butter. Whether you're a seasoned pro or just starting out, you'll find helpful tips and tricks along the way.
Gathering Your Materials
Before diving into the kitchen, it's essential to gather all the necessary materials and ingredients. Trust me, having everything ready will make the process smoother and more enjoyable.
- Clippings: These are the leaves and small buds left over from trimming your plants. Make sure they're dry and free from mold.
- Butter: Use unsalted butter for the best flavor. The amount depends on how much clippings you have, but a common ratio is one pound of butter for every ounce of clippings.
- Cheesecloth: This will help strain out plant material from your butter.
- Medium saucepan: You'll use this to melt the butter and simmer the clippings.
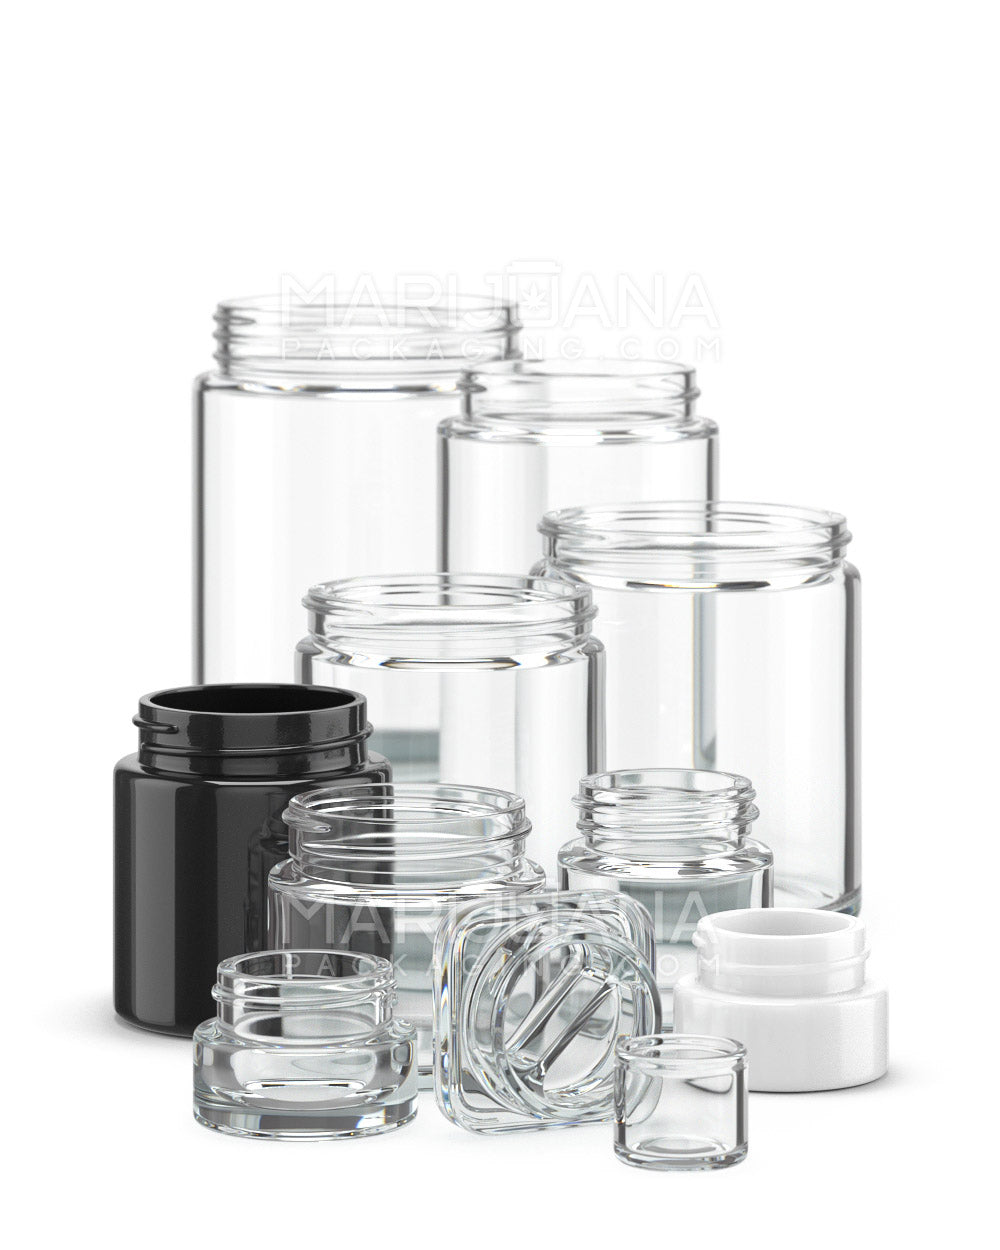
- Storage container: A glass jar or any airtight container will work to store the finished butter.
With your materials ready, you're all set to start making your cannabis-infused butter. Let's get cooking!
Decarboxylating Your Clippings
Decarboxylation might sound fancy, but it's a simple process that activates the THC in your cannabis. This step is crucial for ensuring your butter has the desired potency. Without it, your edibles won't provide the effects you're looking for.
Here's how to decarb your clippings:
- Preheat your oven to 240°F (115°C).
- Spread your clippings evenly on a baking sheet lined with parchment paper. This prevents sticking.
- Bake for about 30-40 minutes, stirring occasionally. You'll know it's done when the clippings turn a light brown color and have a toasted aroma.
Decarboxylation might take a bit of time, but it's a step you won't want to skip. It's what makes your butter effective, so be patient and let the oven work its magic.
Melting the Butter
Once your clippings are decarboxylated, it's time to get the butter ready. This step might remind you of making a simple sauce, as it involves gently melting the butter before infusing it with cannabis.
Here's what you need to do:
- Place your medium saucepan over low heat.
- Add the butter to the pan and let it melt slowly. Stir occasionally to prevent it from burning.
- Once the butter is completely melted, it's time to add the star of the show—your decarboxylated clippings.
Remember, patience is key. Keep the heat low to ensure the butter doesn't burn. If you rush this step, you might end up with a smoky kitchen and a ruined batch of butter. Nobody wants that!
Infusing the Butter
Now that your butter is melted and ready, it's time to combine it with the decarboxylated clippings. This is where the magic happens, as the THC infuses into the butter, creating that sought-after cannabis butter.
Follow these steps to infuse your butter:
- Add the decarboxylated clippings to the melted butter in the saucepan.
- Maintain a low simmer, stirring occasionally. You'll want to let this mixture simmer for about 2–3 hours. Be sure not to let it boil, as this can degrade the THC.
- As it simmers, the butter will change color as it absorbs the cannabinoids from the clippings.
While it might be tempting to speed up the process, slow and steady wins this race. The longer you let it simmer, the more potent your butter will be. So, grab a book or binge-watch a show while keeping an eye on your creation.
Straining the Butter
Once your butter has been infused, it's time to separate the plant material from the liquid. This step is crucial for ensuring a smooth final product, without any bits of clippings floating around.
Here's how to strain your butter:
- Place a cheesecloth over a bowl or another clean saucepan.
- Carefully pour the butter and clippings mixture over the cheesecloth.
- Let the butter strain through, using a spoon to press out as much liquid as possible. Be gentle to avoid tearing the cheesecloth.
After straining, you'll be left with a beautiful, green-tinted butter. Don't forget to discard the leftover plant material, or, if you're feeling creative, use it as compost for your garden.
Storing Your Marijuana Butter
Congratulations! You've made your very own marijuana butter. But hold on—before you start cooking, you'll need to store it properly to maintain its freshness and potency.
Here's how to store your butter:
- Transfer your strained butter into an airtight container, like a glass jar.
- Let it cool at room temperature before sealing the container.
- Store it in the refrigerator for up to two weeks, or in the freezer for longer shelf life.
Proper storage is essential for keeping your butter fresh and ready for whenever culinary inspiration strikes. Just imagine the possibilities—cookies, brownies, or even a simple spread on toast!
Using Your Marijuana Butter
With your marijuana butter ready, the culinary world is your oyster. But remember, this butter is potent, so a little goes a long way. Here are some ideas for using your butter safely and effectively:
- Baking: Replace regular butter in your favorite recipes. Just start with small amounts to gauge the effects.
- Cooking: Use it to sauté vegetables or as a finishing touch on pasta dishes.
- Spreads: Simply spread it on toast or a bagel for a quick and easy treat.
Remember, the effects of edibles can take up to two hours to kick in, so be patient and avoid overindulging. Start with a small amount, and you can always increase the dosage next time.
Legal Considerations
Before you jump into making marijuana butter, it's important to take a moment to consider the legal aspects. Cannabis laws can vary by state, and knowing the rules can help keep you on the right side of the law.
Here are a few things to keep in mind:
- State Laws: Make sure home cultivation and possession are legal in your state. Some states have specific limits on the amount of cannabis you can possess.
- Federal Laws: While cannabis is legal in many states, it's still illegal federally. This means transporting cannabis across state lines is a no-go.
- Consumption: Be aware of where you can legally consume cannabis. Public consumption is often prohibited.
Staying informed about the legal landscape can help you enjoy your culinary creations without any unwanted surprises. When in doubt, check your state's cannabis regulations or consult with a legal professional.
Tips for Success
Making marijuana butter from clippings can be a rewarding process, but like any culinary endeavor, it comes with its challenges. Here are some tips to help ensure a successful batch every time:
- Quality Ingredients: Use fresh clippings and high-quality butter for the best results.
- Temperature Control: Keep the heat low to prevent burning and ensure proper infusion.
- Patience: Allow the mixture to simmer for the full 2–3 hours for optimal potency.
With these tips, you're well on your way to mastering the art of marijuana butter. And who knows? You might even find yourself experimenting with new flavors and recipes.
Common Mistakes to Avoid
While making marijuana butter is relatively simple, there are a few common pitfalls to watch out for. Avoiding these mistakes can save you time and frustration:
- Skipping Decarboxylation: Without decarbing, your butter won't have the desired effects.
- Boiling the Butter: High heat can degrade THC, so keep the temperature low.
- Poor Straining: Not straining properly can leave unwanted plant material in your butter.
By steering clear of these mistakes, you can ensure a smooth, successful butter-making experience, resulting in a product you'll be proud to share with friends.
Final Thoughts
And there you have it—your ultimate guide to making marijuana butter from clippings. We've covered everything from gathering materials to avoiding common mistakes. With this knowledge, you're well-equipped to create your own batch of cannabis-infused butter.
As you embark on your culinary adventures, consider how Gamut can assist you in your endeavors. With over a decade of experience in packaging for consumer goods, Gamut offers a full range of packaging solutions, from jars to bags and more. Whether you're looking for stock options or custom designs, Gamut runs the gamut to meet your needs, helping your brand stand out in any market. Happy cooking!
