Thinking of growing marijuana at home? You're certainly not alone. Many are drawn to cultivating their own plants for a variety of reasons—be it the joy of gardening, the satisfaction of self-sufficiency, or simply having a personal stash. But how do you start this rewarding journey? Don't worry, we'll walk you through the basics and beyond.
In this article, we'll cover everything you need to know to get started with growing marijuana at home. From selecting the right strain to understanding the different growing environments, we'll break down each step in detail. Ready to roll up your sleeves and get growing? Let's get started!
Selecting the Right Strain
Deciding which marijuana strain to grow is like choosing a pet—it’s a personal decision that depends on your preferences and living situation. With countless strains available, each offering unique effects, flavors, and growing characteristics, it can be a little overwhelming. But don’t fret, we’ve got some tips to help you make the right choice.
First, think about the effects you’re looking for. Do you want something that helps you relax, or are you after a strain that boosts creativity and energy? Indicas are known for their calming effects, while sativas can be more energizing. Hybrids offer a mix of both, allowing you to tailor the experience to your needs.
Next, consider the growing conditions. Some strains are more forgiving for beginners and can handle a bit of neglect, while others may require more attention and expertise. Autoflowering strains are perfect for beginners as they flower based on age, not light cycles, making them easier to manage.
Finally, think about the space you have available. If you're growing indoors, a strain that grows tall might not be the best fit for a small apartment. On the other hand, if you have plenty of space, you might enjoy watching a larger plant flourish.
Research is key here. Reading strain reviews and consulting with local growers can provide insights into what might work best for your situation. Remember, there’s no one-size-fits-all answer, so it’s all about finding what suits you and your setup.
Understanding Your Growing Environment
Your growing environment is crucial to your plant’s health and productivity. You can grow marijuana indoors, outdoors, or in a greenhouse, each with its own set of challenges and advantages. Let’s explore these options to help you decide what’s best for your situation.
Indoor Growing: This method gives you complete control over the environment, from temperature to humidity and light. It’s ideal if you want to grow year-round or live in an area with harsh weather. You’ll need grow lights and a well-ventilated space, such as a tent or dedicated room. Indoor growing can be costly and requires a bit of technical know-how, but the reward is a high-quality yield.
Outdoor Growing: If you're blessed with a suitable climate, outdoor growing can be more affordable and less labor-intensive. The sun provides natural light, and the rain can help with watering. However, you’ll need to consider factors like pests, weather changes, and privacy. Outdoor growing is seasonal and can yield large quantities if done correctly.
Greenhouse Growing: This is a hybrid approach, offering some control over the environment while utilizing natural light. Greenhouses can extend the growing season and protect your plants from pests and harsh weather. They’re an excellent choice if you want a balance between indoor and outdoor growing but may require an initial investment to set up.
Regardless of your choice, understanding your growing environment and optimizing it for your plants will make a huge difference in their health and yield. Take time to assess your options and plan accordingly.
Gathering Your Supplies
Now that you’ve chosen your strain and decided on your growing environment, it's time to gather your supplies. Growing marijuana requires a few key items to ensure your plants thrive. Let’s break down the essentials you'll need to get started.
Seeds or Clones: You’ll need to start with quality seeds or clones. Seeds are more readily available and come in different strains, while clones are cuttings from a mature plant and can save you some growing time.
Growing Medium: Your plants need a home—a growing medium. Common choices include soil, hydroponics, and coco coir. Soil is beginner-friendly and provides nutrients naturally, while hydroponics and coco coir offer more control over nutrient intake but require more knowledge and maintenance.
Containers: Whether you’re using pots, grow bags, or hydroponic systems, your plants will need containers. Make sure they have good drainage to prevent root rot.
Lighting: If you’re growing indoors, you’ll need grow lights. LED and HID lights are popular options, each with its pros and cons. LED lights are energy-efficient and produce less heat, while HID lights are more affordable and well-tested.
Nutrients: Marijuana plants require nutrients like nitrogen, phosphorus, and potassium to grow. You can buy ready-made nutrient solutions or make your own mix. Be sure to adjust the nutrients based on the plant's growth stage.
Watering System: Whether it's a simple watering can or a more advanced irrigation system, consistent watering is crucial. The frequency and amount of water will depend on your growing medium and environmental conditions.
Gathering these supplies might seem like a lot, but each one plays a vital role in ensuring your plants grow healthy and strong. Keep a checklist handy to track what you need and what you have.
Setting Up Your Grow Space
With your supplies ready, it's time to set up your grow space. This step involves arranging your equipment and creating an environment where your plants can flourish. Let’s walk through some essential considerations for setting up your grow space.
Lighting: Position your grow lights to ensure even coverage over all your plants. Keep them at the recommended distance to avoid burning or under-lighting your plants. Some lights come with adjustable settings to mimic the natural sunlight cycle.
Ventilation: Good airflow is important to prevent mold and pests. Set up fans to circulate air, and consider an exhaust system to remove excess heat and humidity. If you're using a grow tent, ensure it has proper ventilation ports.
Temperature and Humidity Control: Marijuana plants thrive in temperatures between 70-85°F during the day and slightly cooler at night. Humidity levels should vary based on the growth stage, starting higher in the seedling phase and reducing as the plant matures.
Space Management: Arrange your plants with enough space between them for airflow and access to light. Consider the mature size of your plants to avoid overcrowding, which can lead to competition for resources.
Taking the time to properly set up your grow space will set the stage for a successful grow. It might take a bit of trial and error to get everything just right, but once you do, your plants will thank you for it.
Planting and Germination
With your grow space ready, it’s time to plant your seeds or clones. This is an exciting step, as you'll soon see your plants start to grow. Here’s how to get started with germination and planting.
Germinating Seeds: To germinate seeds, place them between damp paper towels in a warm, dark place. Check daily and keep the towels moist. Within a few days, you should see a taproot emerge. Once the taproot is about a quarter-inch long, it's time to plant.
Planting Seeds: Plant your germinated seeds in your chosen growing medium about a half-inch deep with the taproot facing down. Keep the soil moist but not soaked, and place the pots under your grow lights.
Transplanting Clones: If you're using clones, plant them directly into your growing medium. Be gentle with the roots, and ensure they're covered with soil or the chosen medium.
During the initial stages, your plants are delicate, so take care to avoid overwatering and watch for any signs of stress or disease. With patience and care, you'll soon see your plants develop into strong, healthy seedlings.
The Vegetative Stage
Once your plants have settled into their growing medium, they’ll enter the vegetative stage. This is where the magic happens, as your plants will start to grow leaves, branches, and roots. Here’s what you need to know about this critical growth phase.
Light Requirements: During the vegetative stage, your plants will need 18-24 hours of light per day. This encourages growth and prepares your plants for the flowering stage. Adjust your lights as needed to maintain optimal distance.
Nutrient Needs: Your plants will require more nutrients during this stage, with a focus on nitrogen to support leafy growth. Follow the instructions on your nutrient solution and adjust based on your plants' response.
Training Techniques: This is a good time to start training your plants to maximize yield. Techniques like topping, low-stress training, and super cropping can help control plant size and shape, ensuring even light distribution.
The vegetative stage is all about growth and development. Monitor your plants closely, and don’t be afraid to make adjustments as needed. Healthy plants at this stage lay the groundwork for a successful flowering phase.
The Flowering Stage
The flowering stage is where your hard work pays off as your plants start to produce buds. This stage requires some changes in care, so let’s go over what you need to know to make the most of it.
Light Cycle: Switch your light cycle to 12 hours of light and 12 hours of darkness to trigger flowering. This mimics the natural reduction in daylight as the seasons change.
Nutrient Changes: During flowering, your plants will need more phosphorus and potassium. Adjust your nutrient solution accordingly, and be careful not to overfeed, which can lead to nutrient burn.
Monitoring Bud Development: Keep an eye on your plants for signs of bud development and any potential issues like mold or pests. Ensure good airflow and maintain optimal temperature and humidity levels.
The flowering stage can vary in length depending on the strain, typically lasting 6-10 weeks. Patience is key here, as you'll want to wait until the buds are fully developed before harvesting.
Harvesting and Curing
After weeks of care and attention, it’s finally time to harvest your plants. Proper harvesting and curing are essential to preserving the quality and potency of your buds. Here’s what you need to do.
When to Harvest: The best time to harvest is when the majority of the trichomes (tiny resin glands on the buds) are milky white with some turning amber. This indicates peak potency.
Harvesting Process: Cut down your plants and trim away the large fan leaves. You can choose to wet trim (trimming before drying) or dry trim (trimming after drying), depending on your preference.
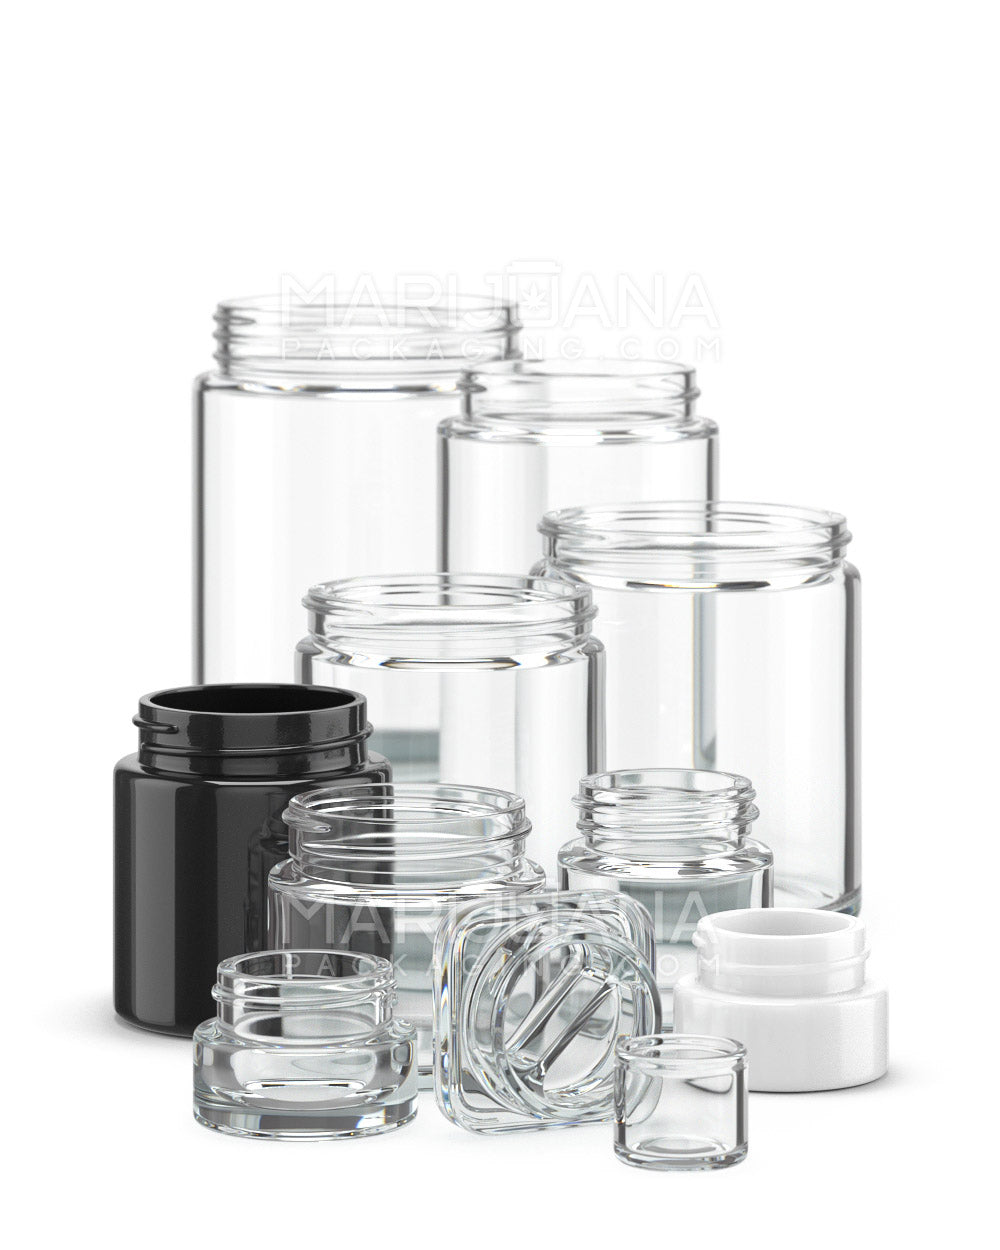
Curing: After trimming, hang the branches upside down in a dark, well-ventilated space to dry for about a week. Once dry, remove the buds from the stems and place them in airtight jars. Open the jars daily to release moisture, a process known as burping, for about 2-3 weeks.
Patience during curing is crucial to enhance the flavor and smoothness of your marijuana. Rushing through this process can leave you with harsh-tasting buds, so take your time to do it right.
Final Thoughts
Growing marijuana at home can be a fulfilling and educational experience. From choosing the right strain to harvesting and curing, each step offers its own challenges and rewards. With patience and dedication, you can enjoy the fruits of your labor with a personal supply of high-quality cannabis.
If you're looking to make your growing experience even more seamless, consider the packaging solutions offered by Gamut. With over a decade of expertise in packaging for consumer goods, Gamut provides a full range of solutions, from design to delivery. Whether you need stock options, custom designs, or industry-specific solutions, Gamut can help your brand stand out in any market, making it unforgettable.


