Growing marijuana that matches dispensary quality is more than just planting seeds and hoping for the best. It requires a bit of know-how, the right environment, and a sprinkle of patience. Whether you're a budding enthusiast or someone looking to refine your skills, understanding the process can help elevate your cultivation game.
This guide will walk you through the essentials of growing high-quality cannabis at home. From choosing the right seeds to mastering the drying process, each step will bring you closer to harvesting top-notch buds that rival those found in dispensaries.
Choosing the Right Seeds
Everything starts with the seed. The quality of your cannabis is heavily influenced by the strain you choose. Think of it like selecting ingredients for a recipe—better ingredients lead to a better end product. So, how do you pick the right seeds?
First, decide on the strain type. Are you looking for a sativa, indica, or hybrid? Sativa strains are known for their uplifting effects, making them perfect for daytime use. Indicas, on the other hand, are more relaxing and are often used in the evening. Hybrids offer a mix of both worlds. Consider what effects you're aiming for.
Once you have a strain type in mind, look for reputable seed banks. These companies ensure that their seeds are of high quality and have good germination rates. Reading reviews and asking for recommendations can be helpful. Pay attention to the plant's growing requirements. Some strains are more challenging to grow than others, especially for beginners.
Finally, make sure your seeds are legal to grow in your state. Regulations vary widely in the U.S., and you don't want to run afoul of the law. It's always a good idea to double-check your local laws before starting your garden.
Setting Up the Growing Environment
Now that you have your seeds, it's time to create a cozy home for them to flourish. The environment plays a crucial role in cannabis cultivation, affecting everything from growth rate to potency.
If you're growing indoors, you'll need to set up a grow room or tent. This space should be clean, secure, and have excellent ventilation. Proper airflow prevents mold and pests from wreaking havoc on your plants. You'll also need grow lights. LED lights are a popular choice because they are energy-efficient and produce less heat, reducing the risk of burning your plants.
Temperature and humidity control are also essential. Cannabis plants thrive in temperatures between 70-85°F during the day and slightly cooler at night. Humidity levels should be adjusted based on the plant's growth stage, starting higher for seedlings and gradually decreasing as the plant matures.
For those growing outdoors, choose a location that receives plenty of sunlight and has good soil drainage. Be mindful of the climate in your area, as extreme weather can impact plant health. Protect your plants from pests and wildlife with appropriate fencing or netting.
Watering and Nutrient Management
Like any living creature, cannabis plants need water and nutrients to thrive. However, too much or too little can be detrimental. Finding the right balance is key to producing dispensary-quality weed.
Watering is more than just drenching the soil. Cannabis plants prefer a wet-dry cycle. Water them thoroughly, then let the top inch of soil dry out before watering again. This mimics natural rainfall patterns and prevents root rot. Pay attention to the plant's leaves—drooping can be a sign of over-watering, while wilting may indicate a need for more water.
As for nutrients, cannabis plants need a mix of macronutrients (nitrogen, phosphorus, potassium) and micronutrients (such as calcium and magnesium). During the vegetative stage, they require more nitrogen to support leafy growth. As they transition to flowering, reduce nitrogen and increase phosphorus and potassium to encourage budding.
There are many nutrient products available, but it's important to follow the manufacturer's instructions. Over-fertilizing can lead to nutrient burn, which manifests as brown tips on the leaves. If you're using organic soil, you may require fewer additional nutrients.
Understanding the Growth Stages
Cannabis plants go through distinct growth stages, each requiring different care. Recognizing these stages will help you provide the right environment and nutrients at the right time.
The seedling stage is the plant's infancy. This phase lasts about 2-3 weeks, during which the plant develops its first true leaves. Seedlings are delicate and require high humidity and gentle lighting. Be careful not to over-water them, as their roots are still developing.
Once the plant has established a few sets of leaves, it enters the vegetative stage. This is where growth accelerates. The plant focuses on developing strong stems and foliage, setting the foundation for future buds. Increase the intensity of the light and adjust nutrients to support leafy growth.
The flowering stage is the final phase, where the plant shifts its energy towards producing buds. This stage is triggered by changing light cycles, typically 12 hours of light and 12 hours of darkness. During this time, you'll notice the formation of buds and an increase in resin production. It's crucial to maintain stable temperatures and reduce humidity to prevent mold.
Cloning and Training Techniques
To maximize your yield and ensure uniformity, consider cloning and training your cannabis plants. Cloning involves taking a cutting from a healthy plant and rooting it to create a genetically identical copy. This technique allows you to preserve the traits of a particularly good plant.
Training techniques like topping, low-stress training (LST), and defoliation help control the plant's shape and improve light penetration. Topping involves cutting the main stem to encourage the plant to grow multiple colas instead of one main bud. LST is a gentler method where you bend and tie down branches to spread them out. Defoliation involves removing excess leaves to improve airflow and light distribution.
These techniques are best applied during the vegetative stage. They require a bit of practice but can significantly improve your harvest if done correctly. Remember, every plant is different, so observe how your plant responds and adjust your methods accordingly.
Pest and Disease Management
Even with the best care, cannabis plants can fall prey to pests and diseases. Being vigilant and taking preventive measures can save you a lot of heartache.
Common pests include spider mites, aphids, and fungus gnats. These tiny invaders can be controlled with natural predators like ladybugs or with insecticidal soaps. Regularly inspecting your plants for signs of infestation can help you catch problems early.
Diseases like powdery mildew and root rot are often linked to poor environmental conditions. Maintain good air circulation and avoid overwatering to prevent these issues. If a plant does get sick, isolate it from the others to prevent the disease from spreading.
Integrated pest management (IPM) is a strategy that combines various methods to keep pests and diseases at bay. This includes maintaining a clean grow space, using resistant strains, and applying biological controls.
Harvesting at the Right Time
Timing your harvest is crucial for achieving dispensary-quality weed. Harvesting too early or too late can affect the potency and flavor of your buds.
The best way to determine the right time to harvest is by examining the trichomes on your buds. These tiny, crystal-like structures contain the plant's cannabinoids and terpenes. A magnifying glass or jeweler's loupe can help you get a closer look.
When the trichomes are clear, the plant is not ready. As they turn milky white, the THC content is at its peak. If they begin to turn amber, the THC is degrading into CBN, which can produce a more sedative effect. Most growers aim for a mix of cloudy and amber trichomes for a balanced high.
Once you've determined it's time to harvest, cut down the plant and remove the large fan leaves. Be gentle as the buds are sticky and can be damaged easily.
Drying and Curing Your Buds
After harvesting, it's time to dry and cure your buds. This process is crucial for developing the flavor and potency of your cannabis.
Drying involves hanging the trimmed branches upside down in a dark, well-ventilated room. This process should take about a week, depending on the humidity. The goal is to reduce the moisture content without drying out the buds too quickly, which can degrade their quality.
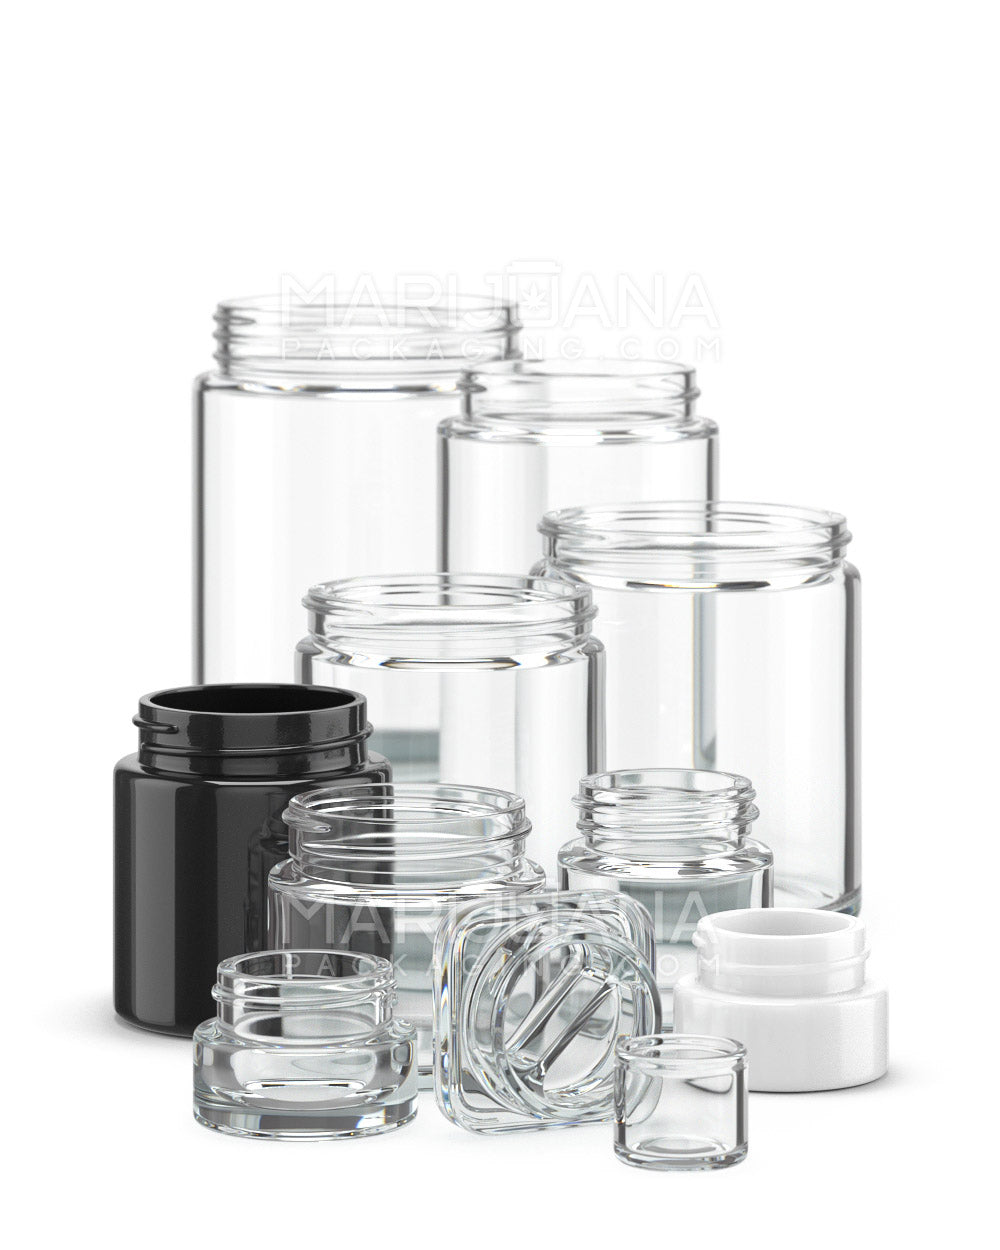
Once the buds feel dry to the touch but still slightly sticky, it's time to cure them. Place the buds in airtight glass jars, filling them about 75% full to allow for air circulation. Store the jars in a cool, dark place and open them daily for the first week to let out excess moisture.
Curing can take anywhere from two weeks to a month. The longer you cure, the better the flavor and smoothness. Be patient—this step is essential for transforming your homegrown cannabis into dispensary-quality weed.
Final Thoughts
Growing dispensary-quality cannabis at home is an art that requires attention to detail and a bit of patience. By choosing the right seeds, setting up an ideal environment, and mastering the growth stages, you can produce top-notch buds that rival those found in any dispensary.
As you embark on this journey, consider Gamut for all your packaging needs. Their full spectrum packaging solutions ensure that your homegrown cannabis is stored properly, preserving its quality and potency. With Gamut's full range of packaging solutions, you'll have everything you need to showcase your hard work and make your brand unforgettable.


