


Growing autoflower marijuana can be a rewarding journey, especially for anyone looking to cultivate cannabis without the fuss of light schedules. These plants are known for their quick life cycle and ability to flower automatically, making them a favorite among both novice and experienced growers.
In this article, we'll walk through the essential steps of growing autoflower marijuana, from selecting the right seeds to harvesting your plants. You'll find practical advice, relatable examples, and useful tips to make your growing experience as smooth as possible.
Selecting the Right Autoflower Seeds
The first step in growing autoflower marijuana is choosing the right seeds. Autoflowers are unique because they don't rely on light cycles to begin flowering, unlike their photoperiod counterparts. This means they flower based on time, typically between two to four weeks after planting. When selecting seeds, consider the following factors:
- Genetics: The genetic makeup of a seed determines its growth pattern, yield, and resistance to pests and diseases. Look for seeds from reputable breeders with a history of producing high-quality strains.
- Flavor and Effects: Think about the kind of experience you want. Are you looking for a relaxing indica or an energizing sativa? Different strains offer different flavors and effects, so choose one that aligns with your preferences.
- Growing Conditions: Some strains are better suited for specific climates. If you're growing outdoors, make sure the strain can thrive in your local weather conditions.
Interestingly enough, many seed banks provide detailed information about each strain, including expected height, yield, and growing difficulty. This can be a helpful resource when making your choice.
Setting Up Your Growing Space
Whether you choose to grow indoors or outdoors, setting up your growing space is crucial. Each environment has its own set of requirements, but they share some common principles.
Indoor Growing
If you're growing indoors, you'll need to create a controlled environment. Here's what to consider:
- Grow Tent: A grow tent helps maintain the right temperature, humidity, and light levels. It's an investment that can pay off in healthier plants and bigger yields.
- Lighting: Autoflowers don't need a strict light schedule, but they do benefit from consistent light. LED lights are popular for their efficiency and low heat output.
- Ventilation: Good airflow prevents mold and pests. Use fans to circulate air and exhaust fans to remove excess heat and humidity.
Outdoor Growing
Outdoor growing relies more on natural conditions, which can be both a blessing and a challenge. Consider these tips:
- Location: Choose a spot with plenty of direct sunlight and some protection from strong winds.
- Soil Quality: Autoflowers thrive in well-draining soil with a balanced pH. Amend your soil with compost or other organic matter to improve its quality.
- Protection: Be prepared to protect your plants from pests and harsh weather. This might include using natural pest deterrents or building simple shelters.
Understanding Nutrient Needs
Feeding your plants the right nutrients at the right time is just as important as choosing the right seeds. Autoflowers have specific nutrient needs because of their rapid growth cycle.
During the early stages, autoflowers require more nitrogen to support vegetative growth. As they transition to flowering, the focus shifts to phosphorus and potassium. Many growers find success with a balanced nutrient plan that adjusts as the plant matures.
Here are some nutrient tips:
- Start Light: Autoflowers can be sensitive to nutrients, especially early on. Begin with a half-strength solution and adjust as needed.
- Monitor pH Levels: Nutrients are best absorbed within a specific pH range. For soil, aim for a pH of 6.0 to 7.0. For hydroponics, aim for 5.5 to 6.5.
- Observe Your Plants: Keep an eye on your plants for signs of nutrient deficiencies or excesses, such as yellowing leaves or burnt tips.
Remember, less is often more when it comes to feeding autoflowers. It's easier to correct a deficiency than to fix nutrient burn.
Watering Your Plants
Watering may seem straightforward, but it's an art in itself. Autoflowers, like all cannabis plants, thrive with the right balance of moisture.
Here's how to master watering:
- Frequency: Allow the top inch of soil to dry out between waterings. Overwatering is a common mistake that can lead to root rot.
- Quality: Use filtered or distilled water to avoid chlorine and other chemicals found in tap water.
- Timing: Water your plants in the morning to give them time to absorb moisture and nutrients throughout the day.
Interestingly, the "lift test" is a simple way to gauge when your plants need water. Lift the pot to feel its weight. A light pot means it's time to water, while a heavy pot indicates the soil is still moist.
Managing Pests and Diseases
Pests and diseases can be a grower's nightmare, but with some vigilance, you can keep your plants healthy. Prevention is the best approach, so regularly inspect your plants for any signs of trouble.
Here are some common issues and how to deal with them:
- Aphids and Spider Mites: These tiny pests can cause significant damage. Use organic insecticidal soap or neem oil to keep them at bay.
- Powdery Mildew: This fungal disease appears as white powder on leaves. Ensure good airflow and remove affected leaves to manage it.
- Root Rot: Caused by overwatering, root rot can be prevented by ensuring proper drainage and allowing soil to dry between waterings.
Always keep an eye out for unusual spots, discolorations, or stunted growth, as these can be early signs of pests or disease. The sooner you catch an issue, the easier it is to manage.
Harvesting Your Autoflowers
Harvesting at the right time ensures you get the best potency and flavor from your autoflowers. But how do you know when they're ready?
Here are signs your plants are ready to harvest:
- Trichomes: Using a magnifying glass, inspect the trichomes on the buds. They should be milky white with some turning amber.
- Pistils: The hair-like pistils on your buds will turn from white to a reddish-brown color.
- Overall Plant Health: The fan leaves may start yellowing as the plant directs energy to the buds.
Once you've determined it's time to harvest, cut the plants at their base and hang them upside down in a cool, dark place to dry. Proper drying and curing are vital for enhancing flavor and potency.
Drying and Curing for Best Results
After harvesting, drying and curing your buds is the final step before enjoying your hard-earned product. This process can make a big difference in the quality of your marijuana.
Here's how to do it:
Drying
- Environment: Hang your buds in a dark room with good airflow and a temperature between 60-70°F. Aim for a humidity level of 45-55%.
- Time: Allow your buds to dry for 7-10 days. They should feel dry to the touch and the stems should snap, not bend.
Curing
- Containers: Place your dried buds in airtight containers, like mason jars. Fill them about three-quarters full.
- Process: Open the jars daily for the first week to let excess moisture escape. After that, open them every few days.
- Duration: Curing can take anywhere from 2-8 weeks. The longer you cure, the smoother and more flavorful your buds will become.
Patience is key here. Proper curing enhances the taste, aroma, and overall quality of your cannabis.
Legal Considerations
Before you start growing, it's essential to familiarize yourself with the legal status of marijuana cultivation in your area. While autoflowers are easy to grow, understanding the laws will keep you on the right side of the law.
Here are some things to keep in mind:
- State Laws: Each state has its own regulations regarding how many plants you can grow and where you can grow them.
- Home Cultivation: Some states allow home cultivation, while others do not. Check your local laws to see what's permitted.
- Medical vs. Recreational: The rules may differ for medical marijuana patients compared to recreational users.
Staying informed about the laws in your area will help you enjoy your growing experience without any legal issues.
Common Mistakes and How to Avoid Them
Even seasoned growers make mistakes, but learning from them is part of the process. Here are some common pitfalls to watch out for when growing autoflowers:
- Overfeeding: It's easy to overestimate how much your plants need. Start with light nutrients and adjust as necessary.
- Ignoring pH Levels: pH affects nutrient uptake. Regularly check and adjust pH levels to avoid nutrient lockout.
- Harvesting Too Early: Patience is crucial. Harvesting too soon can result in lower potency and less desirable effects.
By staying vigilant and adaptable, you can avoid these common mistakes and enjoy a successful grow.
Final Thoughts
Growing autoflower marijuana can be an immensely satisfying endeavor. By selecting the right seeds, setting up your grow space, and taking care of your plants, you're well on your way to a successful harvest. Remember to pay attention to your plants' needs and stay informed about the latest growing practices.
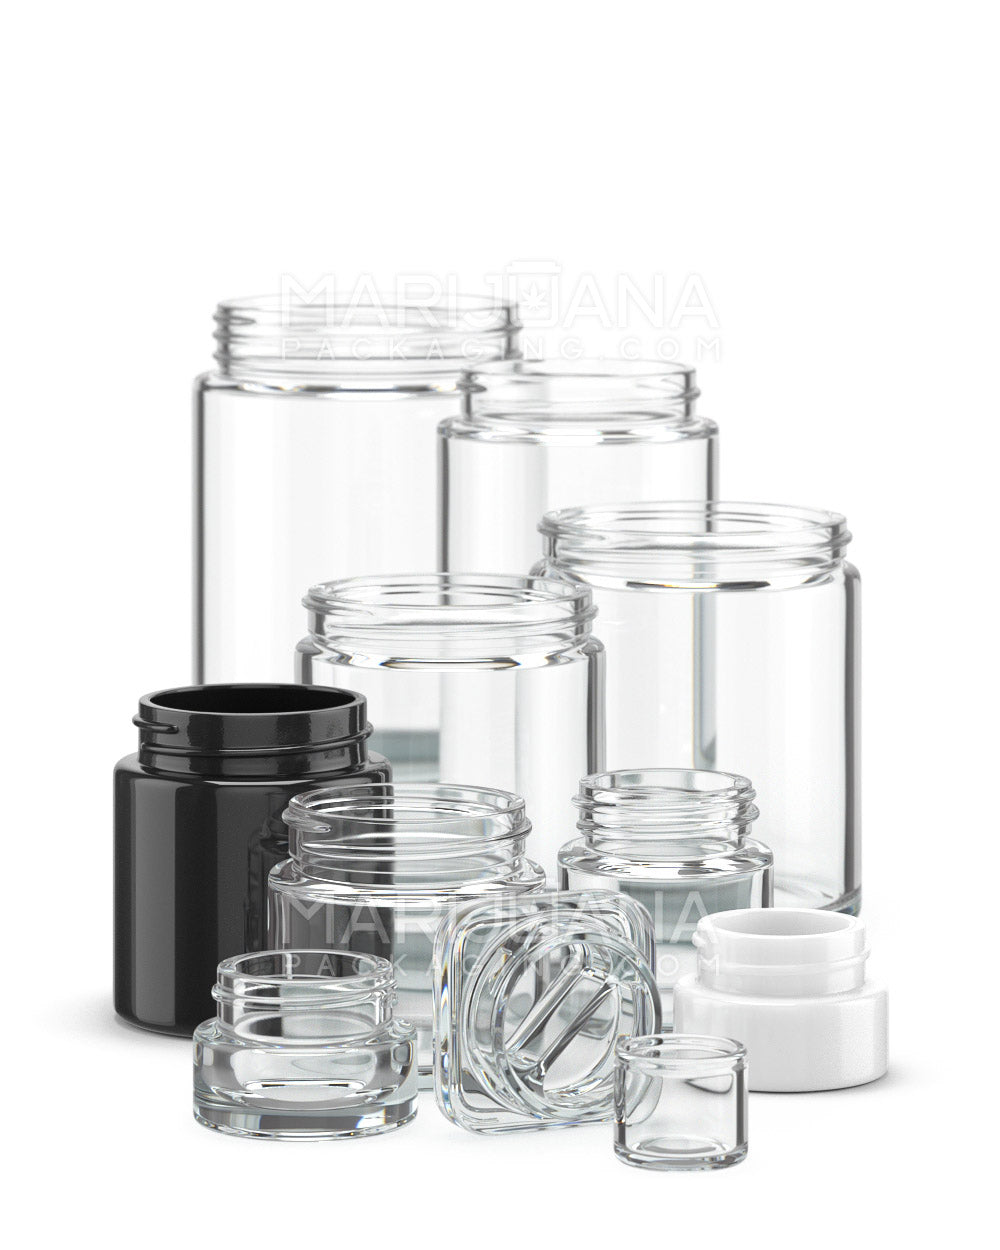
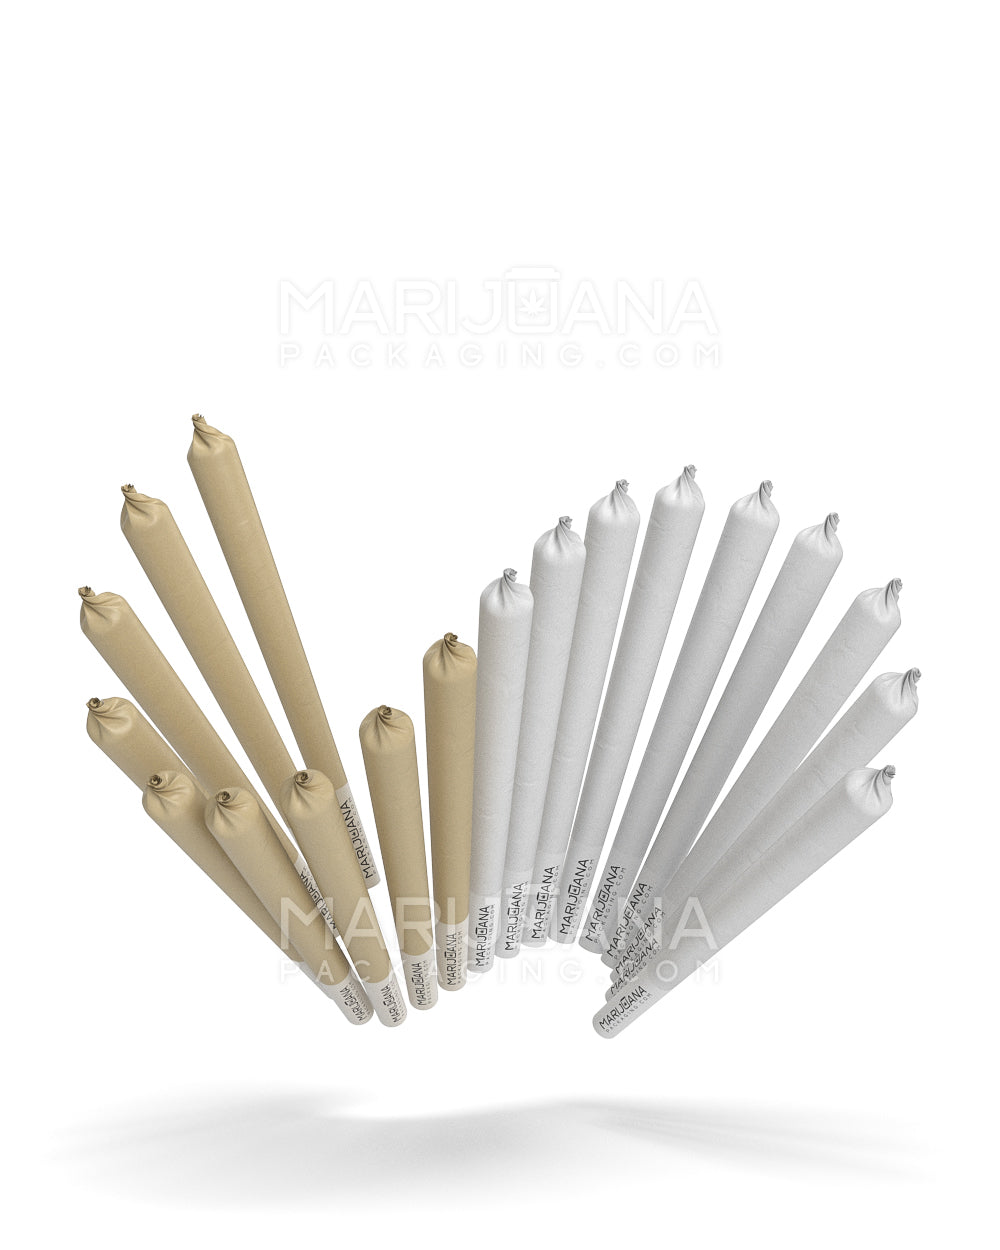
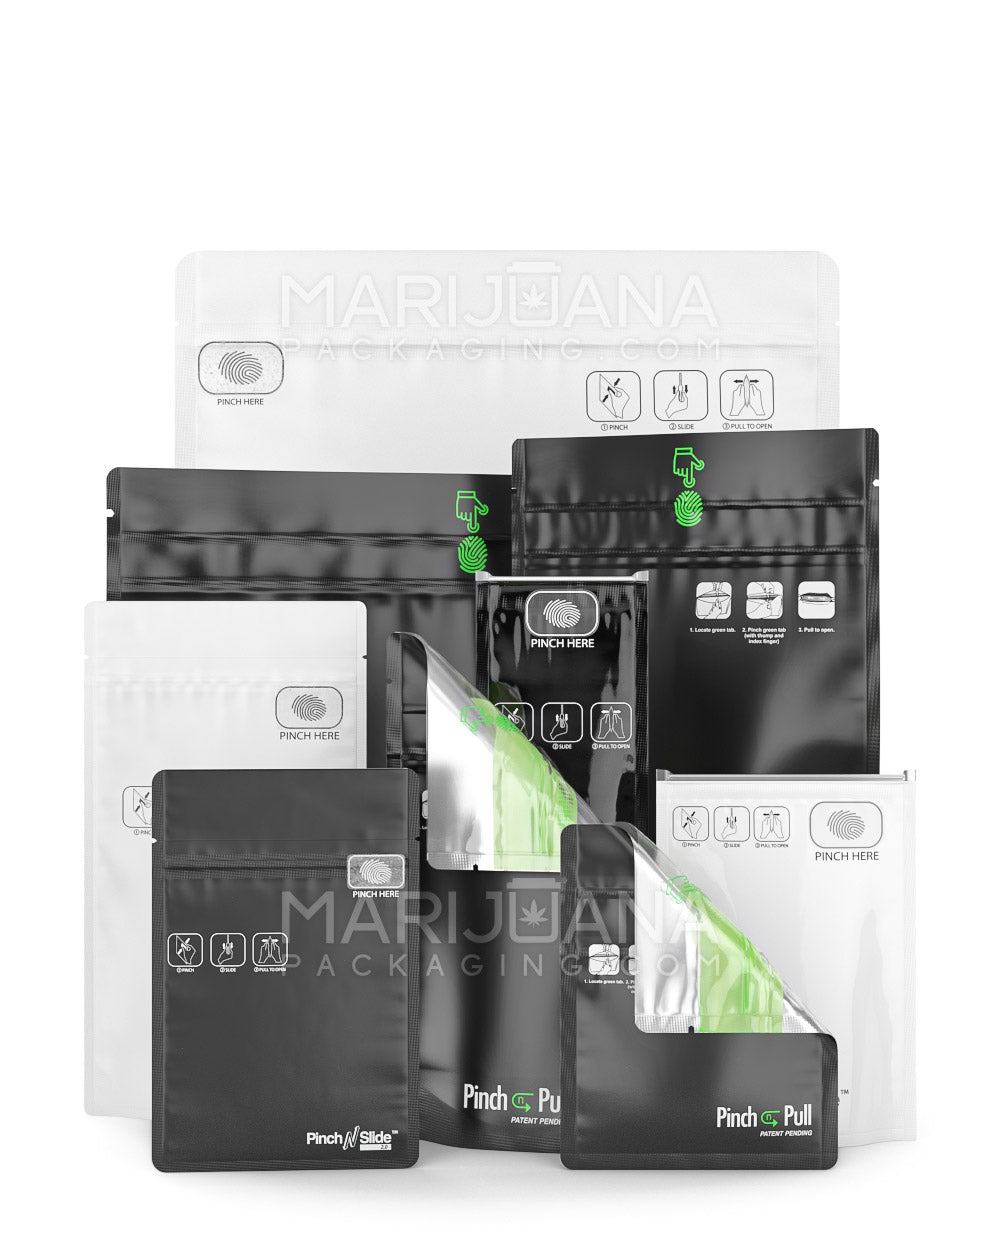
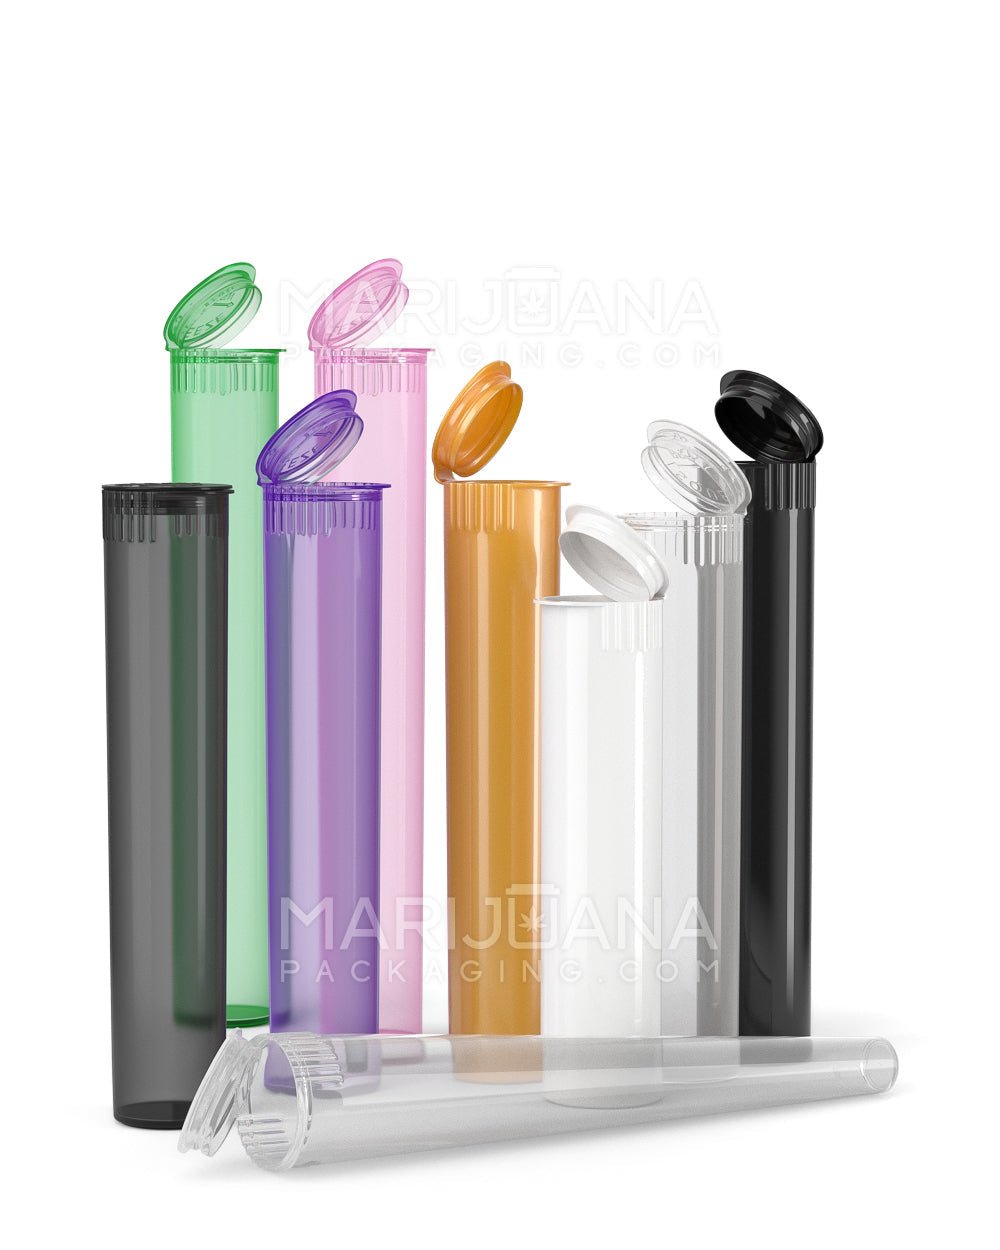
And when it comes to packaging your finished product, consider Gamut's full spectrum packaging solutions. With over a decade of expertise, Gamut offers a wide range of options—from jars and bags to tubes and bottles—that can help your product stand out. Whether you need stock options, custom designs, or industry-specific solutions, Gamut has you covered, ensuring your brand remains unforgettable in the market.