


Harvesting your marijuana plant might seem like a daunting task, but it’s one of the most rewarding moments in the growing process. After months of nurturing and care, the time has finally come to reap the benefits of your hard work. But how exactly do you go about cutting down your marijuana plant properly?
In this article, we’ll walk through the entire process of cutting down your marijuana plant, from recognizing when it’s time to harvest to the best techniques for trimming. We’ll break it down into simple steps, so you’ll feel confident and prepared when the time comes.
Recognizing the Right Time to Harvest
Before you get your scissors ready, it’s crucial to know when your marijuana plant is ready for harvest. Timing is everything, and harvesting at the right moment ensures you get the best quality buds. But how do you tell when the time is right?
First, take a close look at the trichomes, those tiny, crystal-like structures on the buds. They’re your best indicator. When the trichomes are mostly milky white with a few amber ones, your plant is ready for harvest. Why not before? If harvested too early, the THC levels might not be at their peak, reducing the potency of your buds.
Another sign is the color of the pistils, those hair-like structures. When about 70-90% of the pistils have turned from white to a darker color (often orange or red), it’s usually time to start harvesting. Remember, patience is key. Rushing the process can lead to a less satisfying product.
Gathering Your Tools
Now that you’re sure it’s time to harvest, let’s talk tools. Having the right equipment on hand will make the process smoother and more efficient. Here’s what you’ll need:
- Pruning shears: These are perfect for cutting through thicker branches. Make sure they’re sharp and clean to avoid damaging the plant.
- Scissors: Smaller scissors are great for trimming the buds once they’re off the plant.
- Gloves: Cannabis plants can be sticky, so gloves will help keep your hands clean and minimize the transfer of oils.
- Trays or containers: You’ll need something to catch the trimmed buds and sugar leaves.
With these tools ready, you’ll be prepared to handle the harvest without any hiccups.
Cutting Down the Main Stems
Now, the moment of truth: cutting down the plant. It’s best to start with the main stems. Using your pruning shears, begin cutting the main branches where they meet the stalk. Don’t rush this process. The goal is to gently remove the branches without causing unnecessary stress to the plant.
As you cut, handle the branches carefully to avoid knocking off trichomes. This is where wearing gloves can be especially helpful. Once the main branches are removed, you can hang them upside down to begin the drying process.
Why upside down? Hanging the branches upside down allows moisture to escape more evenly, which is crucial for the drying process. This step is an important precursor to trimming and curing, which we’ll get into next.
Trimming the Buds
Trimming is an art in itself. It’s your chance to shape and refine the buds, removing excess leaves and preparing them for drying and curing. You’ll need your smaller scissors for this task.
Start by gently removing the fan leaves, the larger leaves that are easy to spot. Then, move on to the sugar leaves, which are smaller and covered in trichomes. Be careful not to cut into the bud itself, as this can damage the trichomes and reduce potency.
Trimming can be a time-consuming process, especially if you’re meticulous about it. However, this attention to detail pays off in the quality of your final product. Many growers find trimming to be a meditative process, so take your time and enjoy the fruits of your labor.
Drying Your Harvest
Drying is a critical step that can affect the flavor, potency, and burn quality of your marijuana. After trimming, it’s time to let your buds dry slowly and evenly. This usually takes about 7-14 days, depending on the climate and conditions.
Find a dark, well-ventilated space to hang your trimmed branches. The ideal humidity level is around 45-55%, and the temperature should be between 60-70°F. A simple way to check the drying progress is by bending a small branch. If it snaps rather than bends, your buds are ready for the next step.
Drying too quickly can lead to harsh smoke, while drying too slowly can encourage mold growth. It’s a balancing act, but with careful monitoring, you’ll get it just right.
Curing for Maximum Flavor and Potency
After drying, curing is the final step to bring out the best in your buds. Curing enhances the flavor and potency while also reducing harshness. It’s like letting a fine wine breathe before savoring a sip.
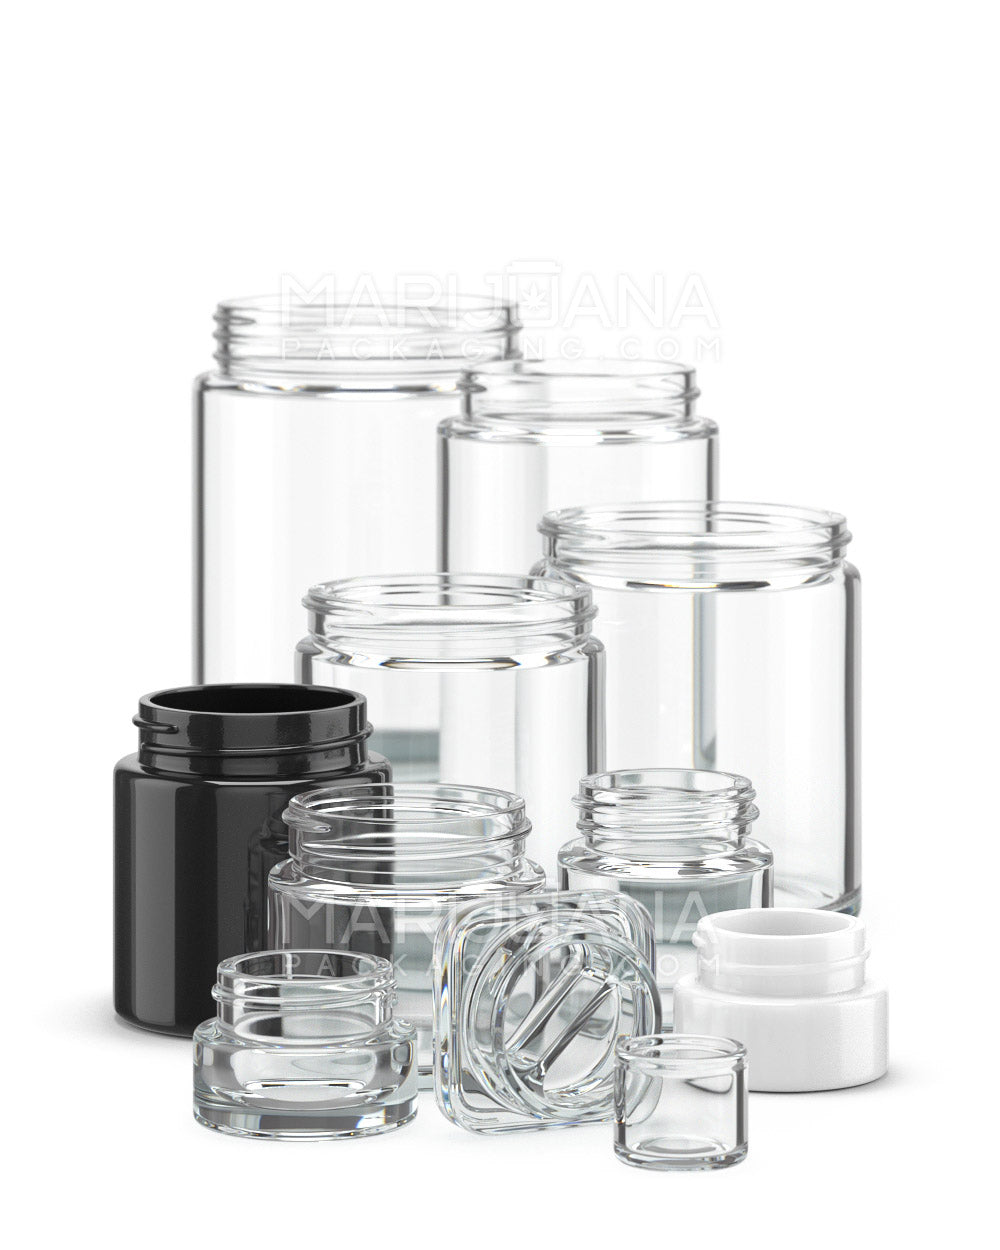
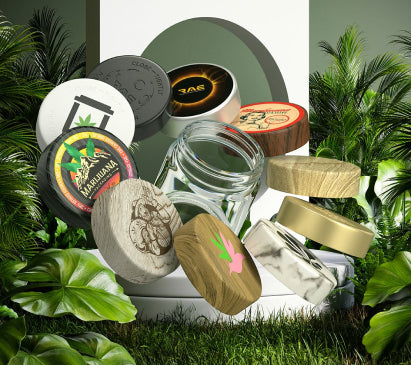
To start curing, place the dried buds in airtight glass jars. Fill the jars about three-quarters full to allow some air circulation. Store the jars in a cool, dark place, and open them daily for the first couple of weeks to let fresh air in. This process is known as “burping” and helps to prevent mold while allowing the buds to continue drying slowly.
After two to four weeks, your buds should be well-cured and ready to enjoy. Some connoisseurs swear by a longer cure, even up to six months, for the richest flavor profiles.
Dealing with Leftover Plant Material
After harvesting, you’ll likely have some leftover plant material. Don’t just toss it out! There are several ways to make use of these remnants.
The sugar leaves, for instance, can be used to make homemade cannabis-infused oils or butter. These can be great for cooking or baking your own edibles. Simply decarboxylate the leaves by heating them in the oven at a low temperature, then infuse with your choice of fat.
Fan leaves, on the other hand, can be composted to enrich your garden soil. They don’t contain much THC, but they’re full of nutrients that can benefit your next crop or other plants in your garden.
Storing Your Finished Product
Once your buds are dried and cured, proper storage is important to maintain their quality. Use airtight containers, preferably glass jars, to keep your marijuana fresh. Store them in a cool, dark place to protect them from light and heat, which can degrade THC over time.
If stored correctly, your marijuana can stay potent and flavorful for up to a year or even longer. Be sure to label your jars with the strain and harvest date, especially if you’re storing multiple strains.
Learning From the Experience
Every harvest offers a chance to learn and improve. Reflect on what went well and what could be better next time. Were your plants healthy throughout the growing cycle? Did you encounter any challenges during the drying process?
Keeping a grow journal can be immensely helpful. Note down the conditions, any issues that arose, and how you addressed them. This documentation will be invaluable for future grows, helping you refine your techniques and troubleshooting skills.
Final Thoughts
Harvesting your marijuana plant is a satisfying culmination of your growing efforts. From recognizing the right time to harvest and gathering your tools, to cutting, trimming, drying, and curing, each step is a valuable part of the process. With practice, you'll become more skilled and efficient, resulting in a higher quality final product.
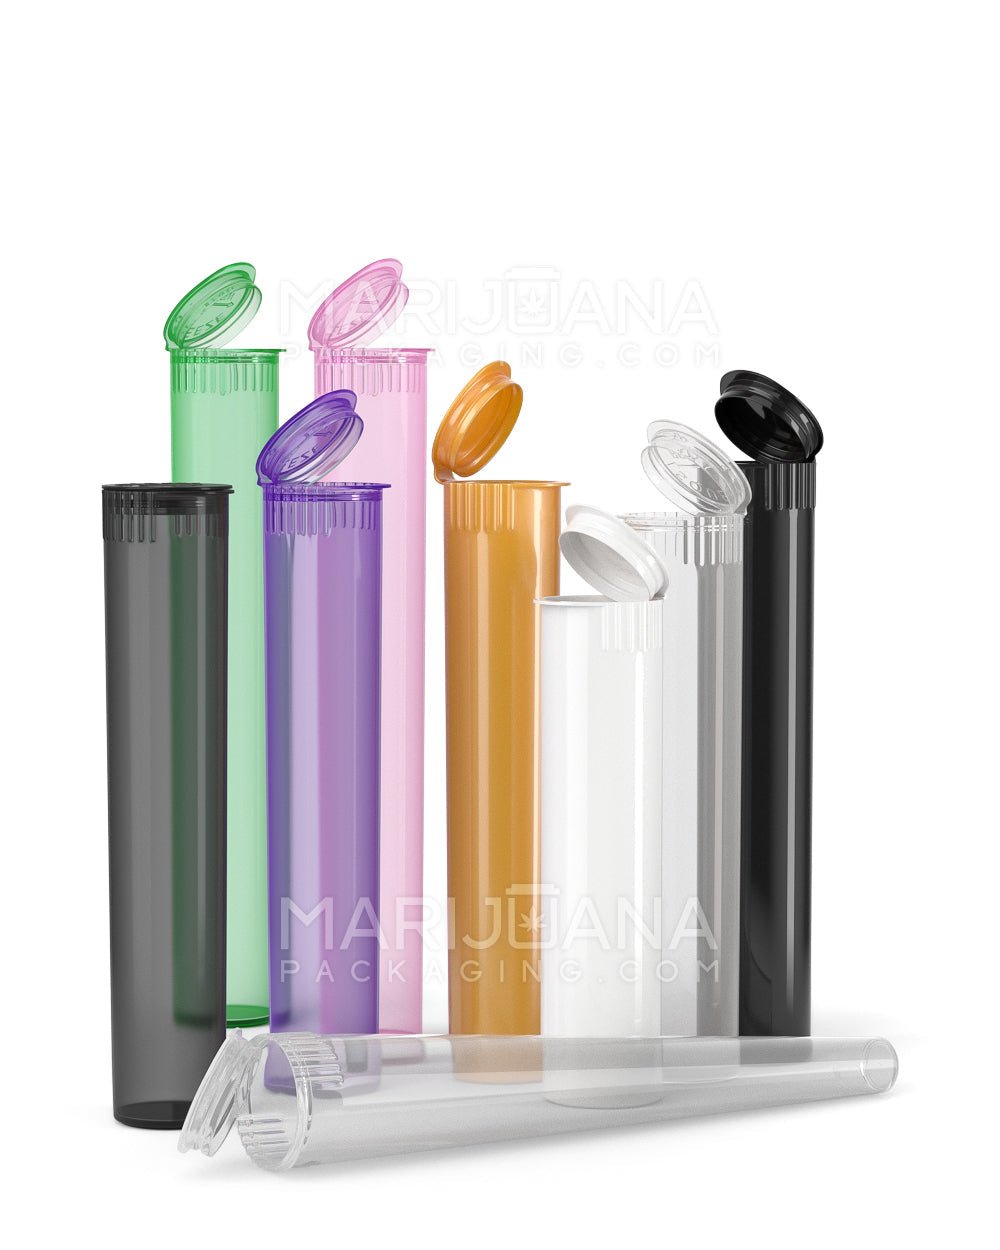
If you're looking for a reliable partner in packaging your harvest, Gamut offers a wide range of solutions. Whether you need jars, bags, or custom designs, Gamut's end-to-end services ensure your product stands out. From design to delivery, Gamut covers the entire spectrum of packaging solutions, helping your brand make a lasting impression.