


Getting a pre-rolled joint just right may seem trivial at first, but it can actually make a huge difference in your smoking experience. Whether you're a seasoned enthusiast or a curious newcomer, knowing how to properly close a pre-rolled joint is a valuable skill. This article will break down the steps to ensure your joint burns evenly and smoothly, avoiding the dreaded canoe effect where one side burns faster than the other.
Choosing the Right Paper
The first step to a perfectly finished pre-roll is selecting the right rolling paper. The type of paper you use can significantly affect how your joint burns. It's like picking the right tool for the job. You wouldn't use a wrench to drive a nail, right? Here’s what you need to know about rolling papers:
- Material: Papers come in various materials like hemp, rice, and wood pulp. Hemp papers are popular for being eco-friendly and providing a slow, even burn.
- Thickness: Thicker papers are easier to roll with but might affect the taste. Thinner papers burn smoother and are less intrusive on flavor.
- Size: The size of the paper should match your intended joint size. For example, king size papers are great for larger joints, while 1 1/4 size is ideal for a personal smoke.
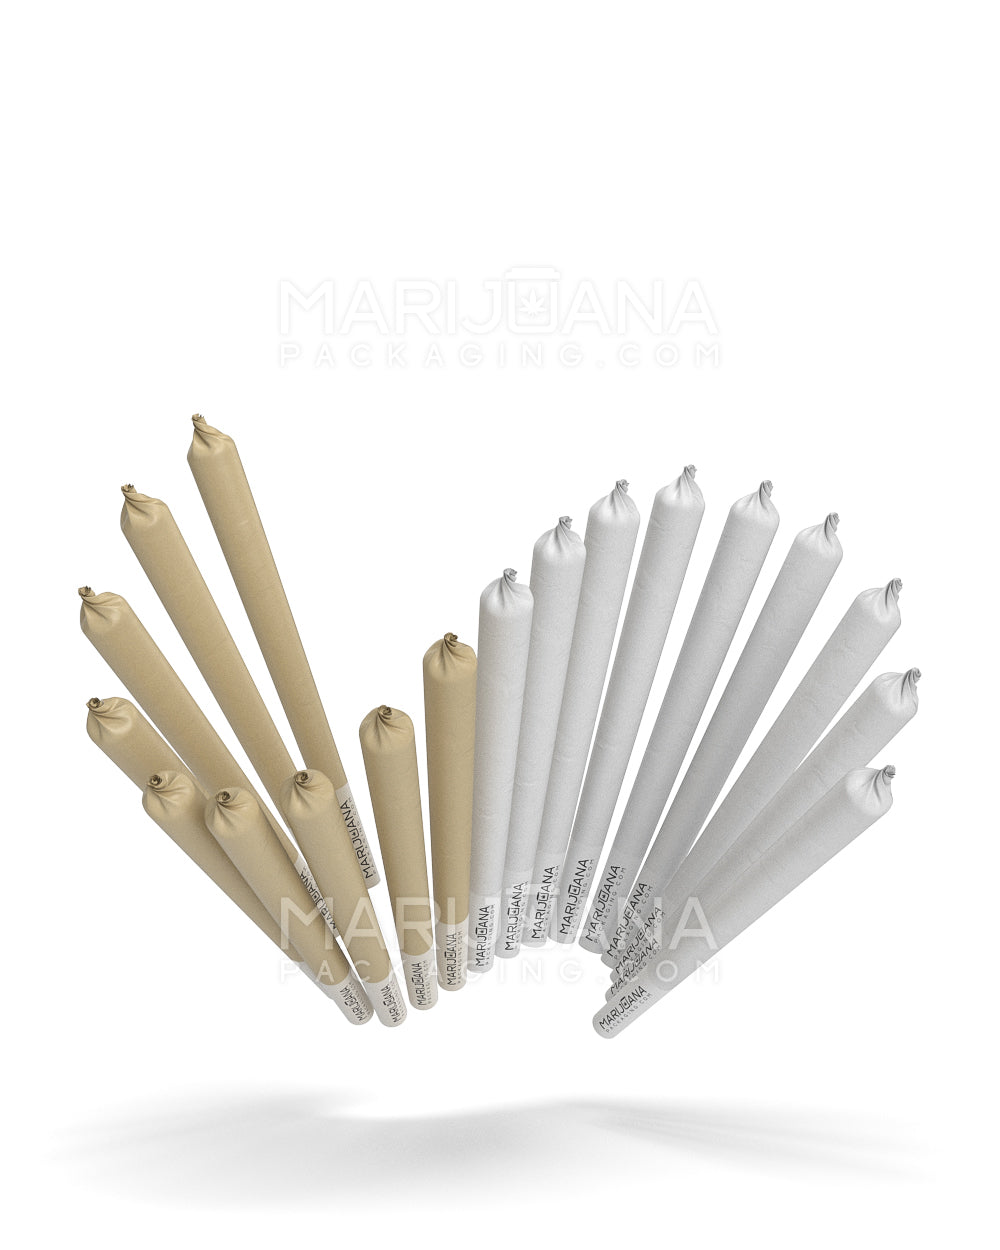
Once you've got the right paper, you're already halfway to a well-rolled joint. For those looking for convenience and consistency, RAW Pre-Rolled Cones are a great option. They come ready to fill and are made from natural, unbleached fibers, offering a pure smoking experience.
Packing Your Pre-Roll
Packing your joint is where the magic really starts to happen. A well-packed joint ensures an even burn and prevents the dreaded canoeing. Here’s how you can do it:
- Grind Your Weed: Use a quality grinder to break down your cannabis into a fine, even consistency. This ensures that the joint burns smoothly.
- Fill the Cone: Hold the pre-rolled cone upright and use a small scoop or your fingers to fill it with the ground cannabis. Don't overfill it, as this can make it difficult to close.
- Pack It Down: Gently tap the base of the joint on a hard surface to help the cannabis settle. Use a packing tool or the end of a pen to even it out. Avoid packing it too tightly, or it won't burn well.
At this stage, the joint should be firm but not too tight, allowing for good airflow. If you're using King Size RAW Pre-Rolled Cones, you'll find they offer plenty of space for a generous amount of cannabis, perfect for sharing or for a long solo session.
Twisting the Top
Once your cannabis is packed, it's time to seal the deal—literally. Twisting the top of your joint is a simple but essential step:
- Pinch the Paper: Hold the edge of the paper between your thumb and forefinger.
- Twist Gently: Twist the excess paper at the top in a clockwise or counterclockwise direction. This helps keep your cannabis securely inside.
- Don’t Overdo It: Avoid twisting too tight, as it can restrict airflow. You want the twist to be snug but not so tight that it compresses the cannabis too much.
This step is like putting a lid on a pot. You want it to be secure but not so tight that it traps all the steam inside. A well-twisted top ensures that your joint stays intact until you're ready to light it up.
Adding a Filter
Filters, or crutches, as they're sometimes called, are not mandatory but can enhance your smoking experience. They provide structure to the joint and prevent bits of cannabis from being inhaled. Here's how to add one:
- Create the Filter: Use a piece of cardboard or a pre-made filter tip. Roll it into a tight cylinder.
- Insert the Filter: Place the filter at the end of the joint. It should fit snugly to prevent any loose cannabis from slipping through.
- Roll and Adjust: Roll the joint between your fingers to make sure the filter is secure. Adjust as needed for comfort and fit.
Filters also keep your joint from getting soggy, especially if you're sharing. They act as a barrier between your lips and the cannabis, ensuring a clean, enjoyable smoke every time.
Checking for Airflow
Before lighting up, give your joint a quick test for airflow. This step can save you from a frustrating experience later on. Here's how:
- Test Draw: Place the filter end in your mouth and take a gentle draw. You should feel a smooth flow of air.
- Adjust as Necessary: If it's difficult to draw, your joint might be too tight. Loosen it slightly by rolling it between your fingers.
- Seal Any Gaps: If air is escaping, try adjusting the twist at the top or the fit of the filter.
Think of this as a dress rehearsal before the main event. Ensuring everything is in place means you can sit back and enjoy without interruptions.
Lighting Up
Lighting your joint correctly ensures an even burn. It's a bit like lighting a candle; you want to do it carefully to avoid uneven melting. Follow these steps:
- Hold the Joint Horizontally: This helps distribute the flame evenly across the tip.
- Use a Lighter or Hemp Wick: Rotate the joint as you light it to ensure an even burn.
- Take Slow, Steady Puffs: This helps the cherry form evenly without burning too quickly.
Lighting a joint is an art form in itself. Take your time, and you'll be rewarded with a smooth, enjoyable smoke.
Storing Your Pre-Roll
If you're not planning to smoke your joint immediately, proper storage is key to maintaining its freshness. Here are some tips:
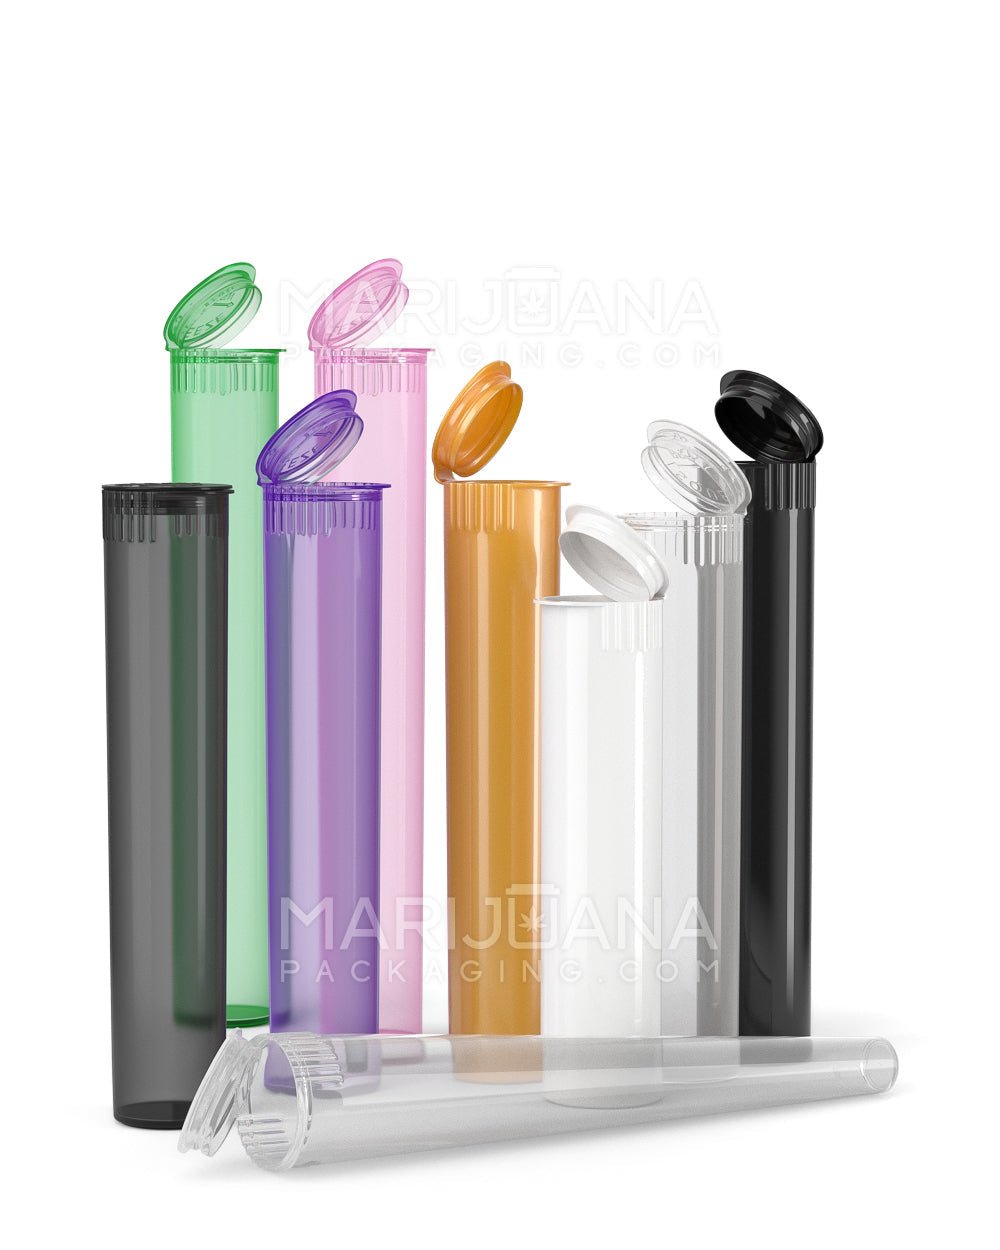
- Use a Tube: A storage tube keeps your joint fresh and prevents it from getting crushed. Check out our King Size Pop Top Plastic Pre-Roll Tube for a reliable option.
- Avoid Humidity: Store your joint in a dry place to prevent mold or degradation.
- Keep Away from Light: Light can degrade cannabis over time. Store your joint in a dark place to preserve its potency.
Proper storage is like putting your leftovers in the fridge. It keeps everything fresh and flavorful for when you're ready to enjoy it again.
Common Mistakes and How to Avoid Them
Even experienced rollers make mistakes. Here are some common pitfalls and how to avoid them:
- Overpacking: Filling the joint too tightly can restrict airflow. Ensure your cannabis is evenly packed but not overly compressed.
- Uneven Twisting: An uneven twist can cause the joint to burn unevenly. Take your time to twist the top properly.
- Poor Storage: Leaving your joint exposed can lead to dryness and loss of flavor. Always store it properly to maintain freshness.
Learning from these mistakes can make your next rolling session smoother and more enjoyable.
Why Practice Makes Perfect
Like any skill, rolling and closing a pre-roll takes practice. Don't be discouraged if your first few attempts aren't perfect. Here's why practice is essential:
- Muscle Memory: The more you roll, the more natural the process becomes.
- Improved Technique: You'll learn to adjust your technique for different paper sizes and cannabis types.
- Personal Preference: Over time, you'll discover what works best for you in terms of size, packing density, and filters.
Remember, even the pros started as beginners. With a little patience and practice, you'll be rolling like a pro in no time.
Final Thoughts
Closing a pre-rolled joint might seem simple, but it can greatly impact your smoking experience. By choosing the right papers, packing correctly, and using a proper twist, you ensure a smooth and enjoyable session. For those looking to store their joints conveniently, consider our King Size Pop Top Plastic Pre-Roll Tubes. They're perfect for maintaining freshness and offer a child-resistant seal for peace of mind. Whether you're a seasoned pro or a novice, the right techniques and tools can make all the difference.