


Decarboxylation might sound like a mouthful, but it's a crucial step in preparing marijuana for consumption, especially if you're aiming to make edibles or tinctures. This process converts the non-psychoactive THCA in raw cannabis into THC, the compound that gives cannabis its psychoactive effects. But how long should you actually decarb your marijuana to get it just right?
In this article, we’ll break down the decarboxylation process, including the time it takes to get things perfect, why it's essential, and how you can do it at home with ease. We'll also look at common pitfalls to avoid and some handy tips to ensure your decarb process is successful every time.
Why Decarboxylation is Important
First things first, let's tackle why decarbing your marijuana is necessary. Raw cannabis contains THCA and CBDA, which are the acidic forms of THC and CBD, respectively. These compounds are not psychoactive on their own, which means they won't give you the high associated with THC unless they're transformed through heat.
Decarboxylation is this magical transformation process. By applying heat, you remove a carboxyl group from the THCA molecule, turning it into THC. This process also works for CBDA to become CBD, which is particularly useful if you're making CBD-rich products. Skipping this step could result in products that are less potent or don’t have the desired psychoactive effects.
The Science Behind Decarboxylation
When you apply heat to cannabis, a chemical reaction occurs that changes its molecular structure. Specifically, decarboxylation involves removing a carbon atom from a carboxyl group, releasing carbon dioxide and leaving behind the active cannabinoids we’re after.
Temperature and time are the two main factors in this process. The heat needs to be just right—not too high to prevent burning off cannabinoids and not too low to ensure full conversion. Typically, the process happens efficiently between 220°F to 245°F (104°C to 118°C). The time it takes can vary, but most agree that between 30 to 45 minutes is ideal for achieving full decarboxylation without degrading the cannabinoids or terpenes.
Decarbing Methods: Oven vs. Other Techniques
While the most common method for decarbing marijuana is using an oven, there are other techniques that might suit your needs better. Each method has its pros and cons, so let's take a closer look.
Oven Method
- Pros: Easily accessible and straightforward. Most kitchens already have the necessary equipment.
- Cons: Can be less precise in maintaining a consistent temperature, which might lead to uneven decarboxylation.
Other Techniques
- Slow Cooker: This method allows for decarbing at lower temperatures for longer periods, which can help preserve terpenes. However, it's less common and might not be as effective for full decarboxylation.
- Sous Vide: This involves vacuum sealing cannabis and placing it in a water bath at a controlled temperature. It's precise but requires more specialized equipment.
- Decarboxylation Machines: These are designed specifically for decarbing cannabis and offer precise temperature control. They can be expensive but are very reliable.
Step-by-Step: How to Decarb Marijuana in the Oven
Decarbing marijuana in the oven is straightforward, and you likely have everything you need at home. Here’s a simple guide to get you started:
What You Need
- Cannabis flower
- Baking sheet
- Parchment paper or aluminum foil
- Oven
Instructions
- Preheat Your Oven: Set it to 240°F (115°C). This temperature is generally safe to ensure that cannabinoids are activated without burning them off.
- Prepare the Cannabis: Break your cannabis buds into small pieces, but don’t grind them into a powder. This helps with even heating.
- Line the Baking Sheet: Use parchment paper or aluminum foil to line your baking sheet. Spread the cannabis evenly over the sheet.
- Bake: Place the baking sheet in the oven and let it bake for about 30 to 40 minutes. Stir the cannabis every 10 minutes to ensure even heating.
- Cool Down: Once done, let it cool completely before using it in your recipes or storing it for later use.
And there you have it—a simple way to decarb cannabis at home using your oven. Remember, the key here is temperature control and timing to make sure you don’t lose any precious cannabinoids.
Common Mistakes to Avoid
Even though the process seems straightforward, a few common errors can lead to less than ideal results. Here’s what to watch out for:
- Incorrect Temperature: Either too high or too low can result in incomplete decarboxylation or cannabinoid degradation.
- Overcrowding the Baking Sheet: Ensure the cannabis is spread out evenly to allow for proper air circulation and even heating.
- Skipping the Stirring: This can lead to uneven heating, where some parts of your cannabis might not be fully decarbed.
- Using Wet Cannabis: Make sure your cannabis is dry, as moisture can interfere with the decarboxylation process.
Storing Decarbed Marijuana
Once you've decarbed your cannabis, proper storage is essential to preserve its potency. Here are some tips:
- Airtight Containers: Use jars with airtight seals to prevent exposure to air and moisture.
- Dark Location: Store in a cool, dark place to avoid light exposure, which can degrade cannabinoids over time.
- Labeling: Always label your containers with the strain and date to keep track of freshness.
By following these guidelines, your decarbed cannabis can stay potent and ready for use whenever you need it.
Tips for Perfect Decarboxylation
Consistency is key when it comes to decarbing marijuana. Here are a few more tips to help ensure you get it right every time:
- Invest in an Oven Thermometer: Ovens can be notoriously inaccurate. A thermometer ensures you’re hitting the right temperature.
- Don’t Rush the Process: It might be tempting to increase the temperature to speed things up, but patience is your friend here.
- Experiment with Timing: Depending on the strain and moisture content, you might need to adjust the time slightly. Keep notes of your results to fine-tune your process.
These tips can help you avoid common pitfalls and make the most out of your cannabis decarbing experience.
Decarbing for Different Cannabis Products
The end product you're aiming to create can influence your decarbing process. Different products might require slight tweaks in technique:
- Edibles: These require fully decarbed cannabis to ensure potency in your final product.
- Tinctures: A full decarb will ensure your tincture is as potent as possible, but some might prefer a lighter decarb for a more nuanced effect.
- Topicals: While not all topicals require decarboxylated cannabis, doing so can enhance the effects if you're looking for pain relief.
Knowing your end goal can help you tailor the decarb process to suit your needs, ensuring you get the best results every time.
Final Thoughts
Decarboxylation is a vital step in preparing marijuana for consumption, especially if you're venturing into the world of edibles and tinctures. By understanding the time, temperature, and techniques involved, you can master the process and enjoy your cannabis products to their fullest potential.
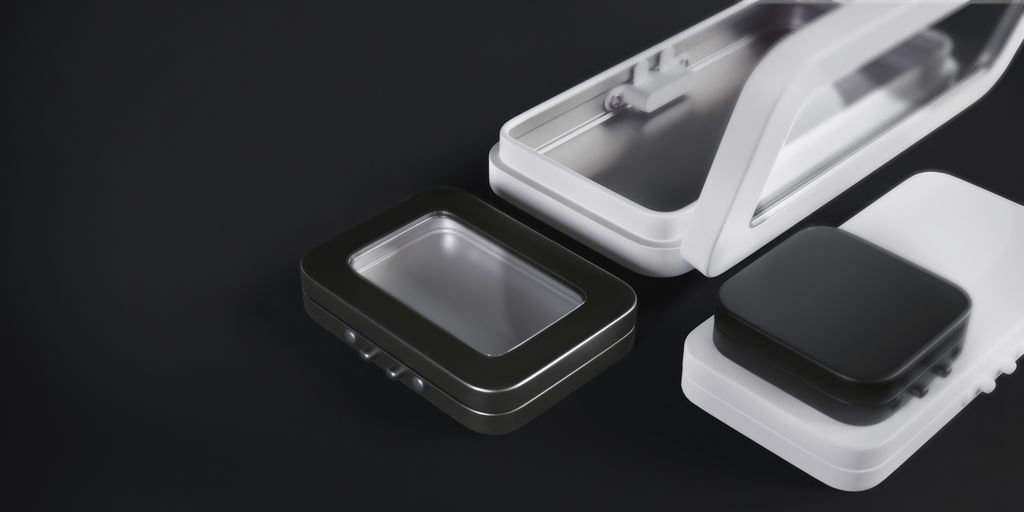
If you're looking to package your decarbed cannabis or any other cannabis products, Gamut offers a wide range of packaging solutions tailored to meet your needs. Whether you need stock options or custom designs, Gamut has got you covered, ensuring your products stand out and remain fresh.