Growing marijuana indoors can be an exciting venture, whether you're aiming for a personal stash or looking to dive into the commercial side. But if you're new to this, you might be wondering just how long it takes to nurture those seeds into healthy, harvestable plants. It’s a journey that requires patience, but the rewards can be well worth the wait.
This article will guide you through the indoor growing process, breaking down each phase of growth, from germination to harvest. We'll also share tips on optimizing your setup to ensure your plants thrive, helping you achieve a successful yield without stepping outside the law.
Germination: Getting Started
Every great plant begins with a tiny seed, and the germination phase is where your journey kicks off. This phase typically takes anywhere from 24 hours to a week, depending on the method you choose and the quality of your seeds. Here’s a quick breakdown of popular germination methods:
- Paper Towel Method: Place seeds between damp paper towels, keep them warm, and check daily. You'll see sprouts in a couple of days if conditions are right.
- Direct Planting: Plant seeds directly into your growing medium. This method takes a bit longer, usually up to a week.
- Water Soaking: Initially soak seeds in water for 24-48 hours until they crack open, then transfer them to a growing medium.
Whichever method you choose, ensure your seeds are kept in a warm, moist environment to encourage sprouting. Remember, patience is key here. Once your seeds have sprouted, they’re ready to be transplanted into their growing pots.
Seedling Stage: Tender Care
After germination, your marijuana plants enter the seedling stage, which lasts about 2-3 weeks. During this time, your plants are quite delicate and require plenty of care. They need sufficient light, warmth, and moisture to grow strong. Here are some tips for nurturing seedlings:
- Lighting: Use fluorescent lights like T5s, which provide enough light without overheating the young plants.
- Watering: Keep the soil moist but not waterlogged. Overwatering can lead to root rot.
- Temperature: Maintain a temperature range of 70-85°F to keep your seedlings cozy.
- Nutrients: Avoid heavy nutrients at this stage. Seedlings need very little to thrive.
During this period, the plants develop their first true leaves and start to establish a root system. Keep an eye out for any signs of stress or disease, as early intervention can help prevent more significant issues later on.
Vegetative Stage: Growth Spurt
The vegetative stage is where your plants really start to take off, typically lasting between 3 to 16 weeks. This phase is all about growth, so your plants will focus on developing stems and leaves. Here’s how you can support them:
- Lighting: Increase light intensity. Many growers switch to LED or HID lights to provide the full spectrum needed for robust growth.
- Watering: As plants grow, their water needs increase. Ensure the soil dries out a bit between waterings to prevent overwatering.
- Nutrients: Introduce nutrients high in nitrogen, which helps support leafy growth.
- Pruning and Training: Consider topping or training techniques like LST (Low-Stress Training) to encourage bushy growth and maximize light exposure.
During the vegetative phase, you'll notice your plants developing multiple branches and a strong stem. This is also the time to set up a solid air circulation system to strengthen plant structure and prevent mold.
Pre-Flowering: Transition Time
Before you know it, your plants will start showing signs of pre-flowering, usually occurring around the 4th to 6th week of the vegetative stage. This transition phase lasts about 1-2 weeks and is crucial for determining your plants' sex. Here's what to look for:
- Identifying Sex: Look for pre-flowers at the nodes. Female plants will display small white pistils, while males develop tiny pollen sacs.
- Separation: If you're not breeding, remove male plants to prevent them from pollinating the females.
During this stage, it's vital to adjust your lighting schedule to 12 hours of light and 12 hours of darkness. This change signals to your plants that it's time to start flowering.
Flowering Stage: Bud Time
The flowering stage is the most exciting part of growing marijuana, lasting about 6 to 10 weeks. This is when your plants focus on producing buds, and the aroma begins to fill the air. Here’s how to make the most out of this phase:
- Lighting: Maintain the 12/12 light schedule to encourage flowering.
- Nutrients: Shift to nutrients higher in phosphorus and potassium to support bud development.
- Environmental Control: Keep humidity levels lower to prevent mold, especially as buds thicken.
- Support: Consider using stakes or nets to support heavy branches laden with buds.
During the flowering phase, your plants will need consistent monitoring. Watch for pests and diseases, and keep an eye on the trichomes to determine the perfect harvest time.
Harvest Time: Reaping the Rewards
Harvesting your marijuana plants is a rewarding moment, but timing is everything. The harvest window is typically 6 to 10 weeks after flowering begins. To decide when to harvest, consider these factors:
- Trichome Appearance: Check for milky white trichomes with some turning amber, indicating peak potency.
- Pistil Color: Observe the pistils. They should be mostly brown or orange instead of white.
Once you've determined it's time to harvest, prepare to cut the plants and begin the drying and curing process. This post-harvest stage is crucial for developing flavor and potency.
Drying and Curing: Enhancing Quality
After harvesting, drying and curing your buds is essential for preserving flavor and potency. Here's a brief guide to these processes:
- Drying: Hang buds upside down in a dark room with good airflow. Aim for a temperature of 60-70°F and humidity of 45-55%. This process takes about 7-14 days.
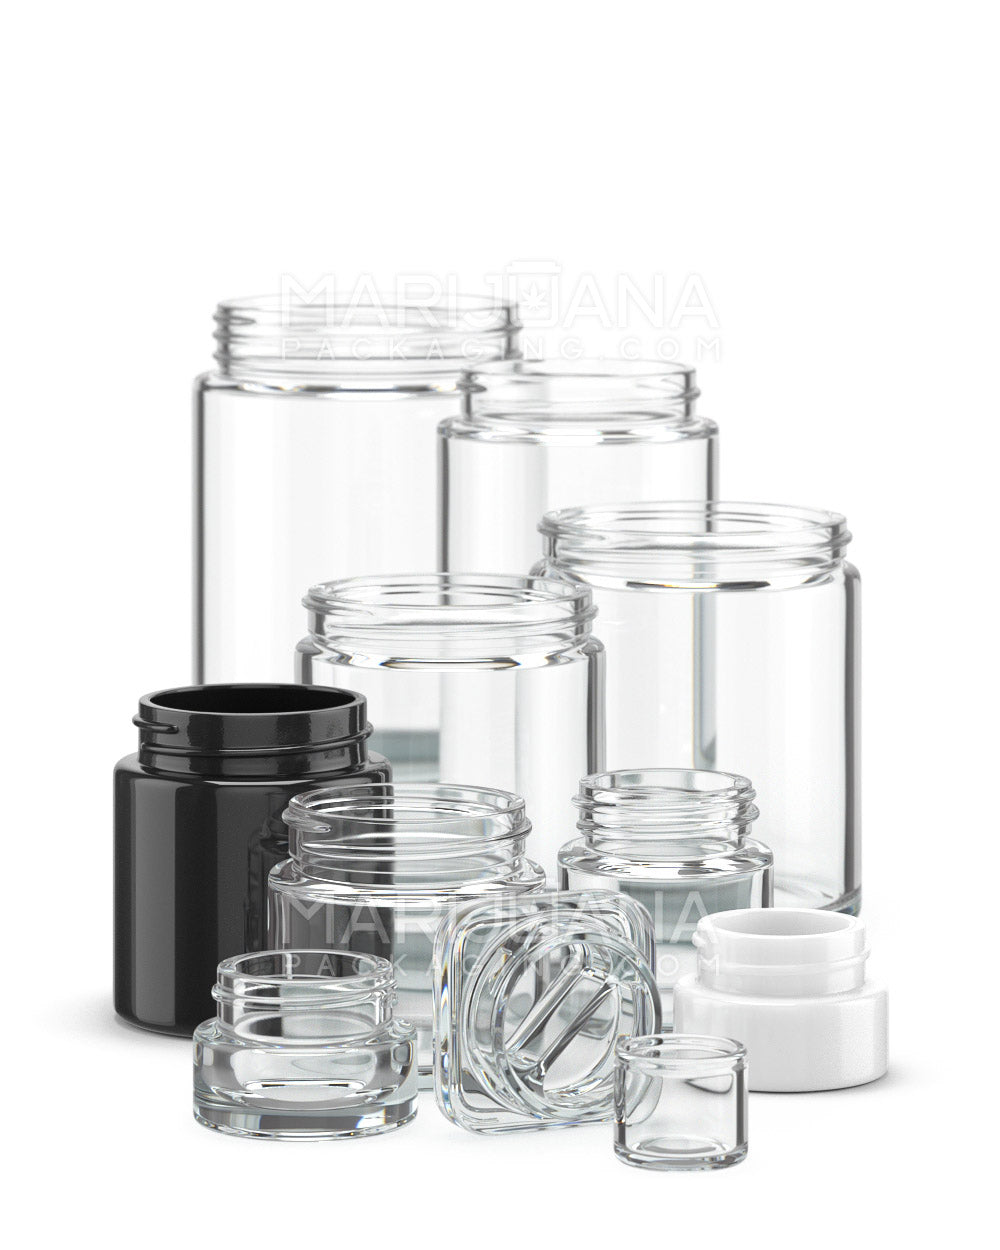
- Curing: Once dry, place buds in airtight jars and store them in a cool, dark place. Open the jars daily for the first week to release moisture, then less frequently. Curing can take 2-8 weeks.
A good cure enhances the flavor and potency of your buds, making them smoother to smoke. Be patient, as curing is an art that can greatly influence your final product’s quality.
Potential Challenges: What to Watch For
Growing marijuana indoors isn't without its challenges. Here are some common issues and how to handle them:
- Pests: Regularly inspect plants for pests like spider mites and aphids. Use natural remedies or neem oil for control.
- Nutrient Deficiencies: Monitor for signs like yellowing leaves, which can indicate a lack of nutrients. Adjust your feeding schedule as needed.
- Mold and Mildew: Keep humidity low and ensure good airflow to prevent mold growth.
Each challenge provides a learning opportunity. Keep a journal to track what works and what doesn’t, refining your approach with each grow cycle.
Legal Considerations: Staying Within the Law
Before planting your first seed, it's crucial to understand the legal landscape of growing marijuana in your state. Laws vary significantly, and staying informed will keep your operation above board. Here are some general tips:
- Research Local Laws: Check your state's regulations regarding plant limits and grow licenses.
- Secure Your Grow Area: Ensure your indoor grow is private and secure, especially if you’re in a state with strict laws.
- Keep Documentation: If required, maintain any necessary paperwork or licenses for legal protection.
Staying informed and compliant with local laws will allow you to grow your plants with peace of mind, focusing on the joy of cultivation rather than legal worries.
Final Thoughts
Growing marijuana indoors is a rewarding process that takes time, patience, and attention to detail. From germination to harvest, each stage offers its own unique challenges and joys. By understanding each phase and tending to your plants' needs, you'll be well on your way to a successful grow.
When it comes to packaging your harvest, Gamut's full-scale packaging services can help you stand out. Whether you're seeking stock options, custom designs, or industry-specific solutions, Gamut offers a wide range of packaging solutions tailored to meet your needs. Their expertise in packaging ensures your product remains unforgettable in any market.


