Ever found yourself peeking into your plant pots, eagerly waiting for those tiny marijuana seeds to break through the soil? You're not alone. Many aspiring growers and seasoned cannabis enthusiasts alike wonder about the timeline for their seeds to sprout. But, how long should you actually expect to wait for those first green tips to appear?
This article unpacks everything you need to know about the germination process—how long it takes, the factors that can impact your seeds’ breakthrough, and some practical tips to help you along the way. So, let’s get started and see what’s going on beneath the soil surface.
What Happens During Germination?
Germination is the magic moment when a dormant cannabis seed turns into a living plant. Think of it like waking up from a long winter nap, ready to soak up the sun and grow. During this phase, the seed absorbs water, swells, and eventually cracks open, allowing the root to push out and anchor into the soil.
Here's a simplified rundown of the stages:
- Water absorption: The seed absorbs moisture, which swells the seed and triggers the germination process.
- Root emergence: The root (or radicle) breaks through the seed coat.
- Shoot development: The shoot starts to grow upwards, seeking light.
- First leaves: These initial leaves, known as cotyledons, unfurl and begin the photosynthesis process.
In ideal conditions, this entire process can happen within 3-10 days. However, several factors can influence this timeframe.
Factors That Affect Germination Time
While a general timeline exists, several elements can speed up or slow down germination. Let’s dive into some of these factors that affect how long it takes for your marijuana seeds to break soil.
Seed Quality
Starting with high-quality seeds is crucial. Seeds that are fresh, mature, and dark in color are more likely to germinate quickly and successfully. Old or immature seeds might be slow to sprout—or may not sprout at all. Think of it like planting a garden; you want the best seeds for the healthiest plants.
Moisture Levels
The right amount of moisture is essential. Too little, and the seed won’t sprout. Too much, and you risk drowning it. It’s a delicate balance, much like watering a delicate houseplant. Aim to keep the soil damp but not waterlogged.
Temperature
Seeds are sensitive to temperature. Ideally, you should keep them in a warm environment, around 70-85°F (21-29°C). If they’re too cold, they might take longer to germinate. Too hot, and you might cook them. It’s like the Goldilocks principle—everything has to be just right.
Light Conditions
While seeds don’t need light to germinate, they do need it once they break soil. Providing a light source can encourage them to grow upwards and start photosynthesizing right away. It’s like giving a newborn a cozy blanket; it helps them feel secure and ready to face the world.
Preparing Your Seeds for Germination
Now that you know what affects germination, let’s talk about how to prepare your seeds to give them the best chance at a speedy breakthrough.
Soak Your Seeds
Soaking seeds in water for 12-24 hours can help kickstart the germination process. This is like giving them a nice, relaxing bath before they get to work. Just be careful not to leave them soaking for too long, as they might rot.
Use a Medium
Decide on a growing medium. Soil is the most common choice, but some growers prefer rockwool or peat pellets. Each medium has its pros and cons, so choose one that fits your growing style and environmental conditions.
Planting Depth
Plant seeds about half an inch deep. It’s not a deep dive, just a little nudge into the soil. This depth allows the seed to access moisture while being close enough to the surface to break through easily.
Common Mistakes and How to Avoid Them
Even with the best intentions, things can go wrong. Here are some common missteps and how to steer clear of them.
Overwatering
It’s easy to think that more water equals faster growth, but that’s not the case. Overwatering can suffocate the seeds and prevent them from sprouting. Keep the soil lightly moist, like a wrung-out sponge.
Planting Too Deep
If seeds are planted too deep, they might struggle to reach the surface. Stick to the half-inch rule to give your seeds a fighting chance.
Ignoring Temperature Needs
Remember, seeds are picky about temperature. Too cold or too hot can delay germination or even kill the seed. Keeping a consistent, warm temperature is key.
Signs Your Seeds Are Ready to Break Soil
After all your careful preparation, how do you know when your seeds are about to surface? Here are a few signs to watch for:
- Swollen Seed: A swollen seed is a good sign that it’s absorbing moisture and getting ready to sprout.
- Cracked Seed Coat: If the seed coat is cracked, it’s a clear indication that the root is about to push through.
- Root Visibility: Sometimes, you might see the root poking out before the seedling emerges. This is a surefire sign that it’s on its way.
What to Do Once Your Seeds Have Sprouted
Congratulations! Your seeds have broken through the soil. Now what? Here’s what you need to do next.
Provide Light
Once seedlings emerge, they need light to start photosynthesizing. Place them under a grow light or in a sunny spot. Aim for about 16-18 hours of light per day to keep them happy and healthy.
Maintain Moisture
Keep the soil moist, but be careful not to overwater. Seedlings are delicate, and too much water can still cause problems. A spray bottle can help you control the amount of water they’re getting.
Monitor Growth
Keep an eye on your seedlings as they grow. Look for healthy, green leaves and strong stems. If they start to look weak or discolored, it might be a sign of a problem.
When Things Don’t Go as Planned
Sometimes, despite your best efforts, things don’t go as planned. Here’s what to do if your seeds aren’t sprouting.
Check Conditions
First, check your conditions. Is the temperature right? Are you keeping the soil too wet or too dry? Small adjustments can make a big difference.
Try Different Seeds
If conditions are ideal and nothing’s happening, the seeds themselves might be the issue. Try using a different batch of seeds to see if that makes a difference.
Be Patient
Sometimes, seeds just need a little more time. If you’ve checked everything and it seems right, patience might be the only thing needed. It’s a waiting game, but often a rewarding one.
Caring for Your Seedlings
Once your seeds have sprouted and are growing strong, the next phase begins: caring for your seedlings. This stage is all about nurturing them into thriving young plants.
Feeding Your Seedlings
Initially, seedlings get nutrients from the seed itself, but very soon, they’ll need a little extra help. Start with a mild nutrient solution to support their growth without overwhelming them.
Transplanting
As your plants grow, they’ll eventually outgrow their pots. Transplant them to larger containers to give their roots space to expand. This move is a bit like upgrading from a tiny apartment to a spacious house.
Regular Monitoring
Keep a close eye on your seedlings. Look for signs of pests or diseases, and ensure they’re getting enough light and water. Think of it as a regular health check-up to keep them on track for a healthy life.
Final Thoughts
Growing marijuana from seed is an exciting journey. While the exact time it takes for seeds to break soil can vary, understanding the factors involved and how to manage them can help you succeed. From preparing your seeds to nurturing seedlings, each step is an opportunity to learn and grow as a cultivator.
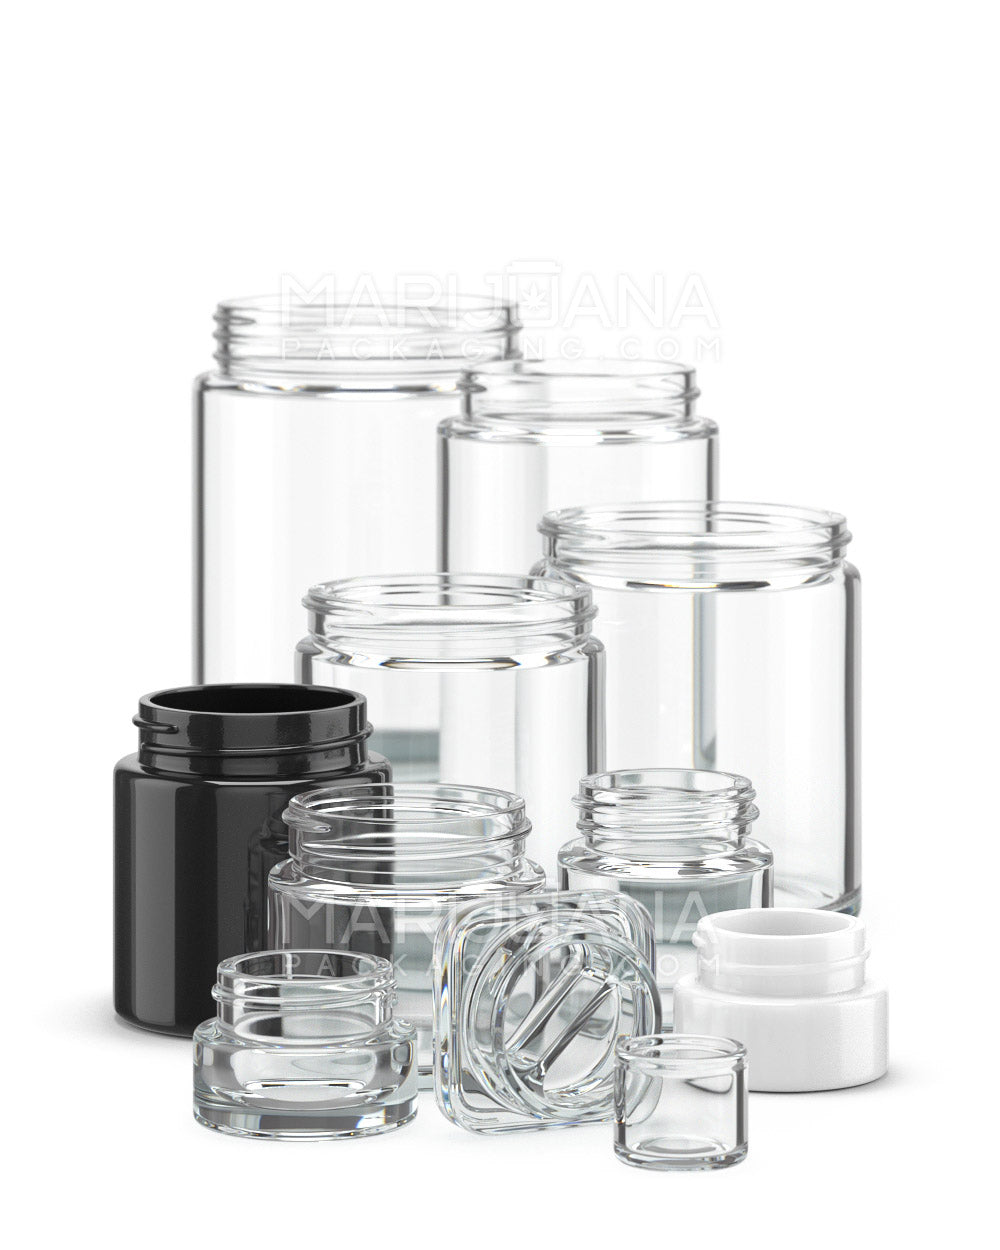
And if you’re looking to package your successful grow, Gamut can help you find the right solution. With over a decade of expertise in packaging, Gamut offers a full range of options for all your needs, ensuring your product stands out in the market. Whether you need jars, bags, tubes, or something custom, Gamut covers the full spectrum of packaging solutions to make your brand unforgettable.


