Growing a marijuana plant from seed to harvest can be an exciting journey filled with anticipation and learning. Whether you're a seasoned grower or a curious newbie, understanding the timeline of this process is essential to planning your cultivation strategy. From germination to harvest, each phase of growth presents its unique challenges and rewards.
This article will walk you through the typical stages of a marijuana plant's life cycle, offering practical tips and insights along the way. We'll cover everything from germination to the final harvest, helping you set realistic expectations and prepare for each stage of the plant's development.
Starting with Seeds: Germination
The journey of growing a marijuana plant begins with the humble seed. Germination is the first step, where the seed cracks open and begins to grow into a seedling. This stage is all about waking up the seed and encouraging it to sprout, which typically takes about 3 to 10 days, depending on conditions.
To get started, you’ll need to provide the right environment for germination. Here are a few tips:
- Moisture: Seeds need moisture to germinate. You can soak them in water for 24 hours or place them between damp paper towels.
- Warmth: A warm environment, around 70-85°F, is ideal. You can use a heat mat if necessary.
- Darkness: Seeds germinate best in the dark, so cover them if they’re exposed to light.
Once you see a tiny white root (taproot) emerging, your seed is ready to be planted in soil or a growing medium. This marks the start of the seedling stage.
The Seedling Stage
Congratulations! Your tiny seed has transformed into a seedling. This stage is crucial as it's the foundation for the plant's future growth. Seedlings are delicate and require careful attention for the first 2 to 3 weeks.
During this period:
- Lighting: Seedlings need about 16-18 hours of light per day. LED or CFL lights are gentle options that won’t scorch young plants.
- Watering: Keep the soil moist but not drenched. Overwatering can lead to root rot.
- Temperature and Humidity: Aim for temperatures between 70-80°F and humidity levels around 65-70%.
As your plant develops its first true leaves, you’ll notice it growing stronger and more vigorous. This is a sign it's ready to move on to the vegetative stage.
The Vegetative Phase
The vegetative phase is where your plant really starts to take off. This stage can last anywhere from 3 to 16 weeks, depending on the strain and growing conditions. It's all about building a strong structure and lush foliage to support future buds.
Here’s how to support your plant during this stage:
- Lighting: Vegetative plants thrive under 18-24 hours of light per day. More light means more growth.
- Nutrients: Now's the time to introduce nutrients, focusing on nitrogen-rich formulas to support leaf growth.
- Training: Techniques like topping or low-stress training (LST) can help shape your plant and maximize light exposure.
During the vegetative phase, your plant will focus on growing taller and wider, preparing itself to switch to flowering when the time is right.
The Transition to Flowering
When your plant reaches the desired size, it’s time to switch it to the flowering phase. This transition is usually triggered by changing the light cycle to 12 hours of light and 12 hours of darkness, mimicking the natural shift in daylight hours.
The transition period lasts about 1 to 2 weeks, during which you'll notice changes like pre-flowering (early signs of bud development) and growth spurts.
- Lighting: Switch to a 12/12 light cycle to stimulate flowering.
- Nutrients: Shift to a bloom formula with higher phosphorus and potassium levels to support budding.
- Environment: Maintain temperatures between 65-80°F and lower humidity to around 40-50% to prevent mold.
This stage is exciting as your plant starts showing signs of what’s to come, with little buds beginning to form.
The Flowering Stage
The flowering stage is where the magic happens. This phase typically lasts 6 to 10 weeks, depending on the strain. During flowering, your plant focuses all its energy on developing buds.
Here’s what to keep in mind:
- Lighting: Continue with the 12/12 light cycle throughout this stage.
- Feeding: Use bloom nutrients to support bud development and resin production.
- Monitoring: Keep an eye out for pests or mold, which can be more prevalent during this stage.
As the weeks progress, you'll see buds fattening up, trichomes (tiny resin glands) becoming more prominent, and the aroma intensifying. It’s a sight to behold!
Knowing When to Harvest
Deciding when to harvest is both an art and a science. Timing can influence the potency and flavor of your buds. A general rule of thumb is to harvest when the majority of trichomes are milky white, with some turning amber.
Factors to consider include:
- Trichome Color: Use a magnifying glass to inspect trichomes. Milky white indicates peak potency.
- Pistil Color: When 70-90% of pistils (hair-like structures) have darkened, it’s a good sign of maturity.
- Leaf Color: Fan leaves may yellow towards the end of flowering, signaling the plant is using up its nutrients.
Harvesting too early can result in less potent buds, while waiting too long might lead to a more sedative effect. It’s all about finding the sweet spot based on your preferences.
The Harvest Process
Harvesting involves more than just chopping down your plants. It’s a careful process to ensure the quality of your final product. Here's a quick guide:
- Cutting: Use sharp scissors to cut branches, making sure not to damage the buds.
- Trimming: Remove excess leaves to improve bud appearance and reduce drying time.
- Drying: Hang branches upside down in a dark, cool, and well-ventilated space for 7-14 days.
Proper harvesting techniques preserve the aroma, flavor, and potency of your buds, setting the stage for curing.
Curing Your Harvest
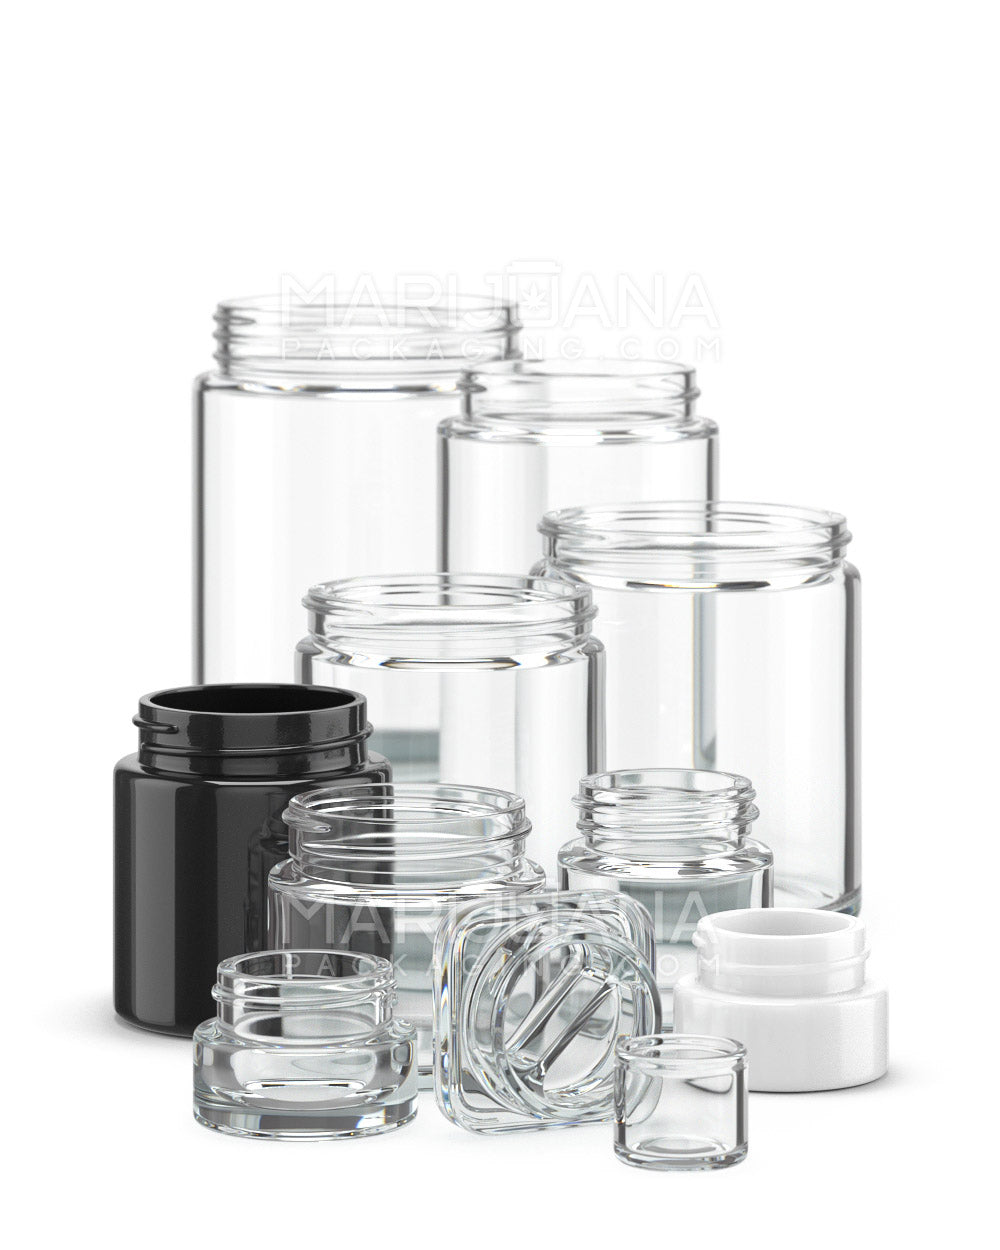
Curing is the final step to enhance the flavor and smoothness of your marijuana. It involves storing dried buds in airtight containers, allowing them to mature over several weeks.
- Jars: Mason jars work well for curing. Fill them loosely to about 75% full.
- Burping: Open jars daily for the first week to release moisture and introduce fresh air.
- Patience: Curing can take 2-8 weeks, but longer cures often result in better-tasting buds.
While it's tempting to sample your harvest right away, patience during curing can lead to a more enjoyable experience.
Factors Influencing Growth Time
The time it takes to grow marijuana from seed to harvest can vary widely due to several factors, such as:
- Strain: Indica strains often flower faster than sativas.
- Growing Environment: Indoor setups allow more control, potentially speeding up growth compared to outdoor grows.
- Experience Level: Seasoned growers may optimize their setup for quicker cycles.
Understanding these factors can help you set realistic expectations and tailor your approach to suit your needs and resources.
Final Thoughts
Growing marijuana from seed to harvest is a rewarding journey that involves careful planning, patience, and dedication. By understanding each stage of the plant's life cycle, from germination to curing, you'll be better equipped to nurture your plants and enjoy a bountiful harvest.
For those looking to enhance their cultivation process, Gamut offers an array of packaging solutions tailored to meet your needs. With over a decade of experience, Gamut's full-scale packaging services can help your brand stand out, providing everything from design to delivery. Whether you need stock options or custom designs, Gamut runs the gamut to ensure your packaging needs are met seamlessly.


