Growing marijuana can feel like watching a science experiment unfold in your own backyard or indoors. It's an art that combines biology, chemistry, and a touch of patience. Whether you're dreaming of cultivating the perfect plant or just curious about the process, this guide will take you through the essentials of marijuana cultivation.
We'll cover everything from choosing the right seeds to the harvesting process. Each step is vital to ensure a healthy plant and a bountiful yield. Ready to dig in? Let's get started on this green journey!
Choosing the Right Seeds
The first step in growing marijuana is picking the right seeds. Think of seeds as the foundation of your entire operation. Without quality seeds, you're like a chef trying to cook a gourmet meal with expired ingredients—it just won't turn out as expected.
Marijuana seeds come in three main types: regular, feminized, and auto-flowering. Regular seeds have a 50/50 chance of being male or female. Since only female plants produce the buds we all love, this can be a bit of a gamble. Feminized seeds are bred to eliminate male chromosomes, which means almost all the seeds will grow into female plants. Auto-flowering seeds are a bit different. They're designed to bloom automatically with age, regardless of light cycles.
Choosing between these depends on your needs and experience. If you're new to growing, feminized seeds are usually a safe bet. They simplify the process by ensuring you don’t accidentally nurture a male plant that could pollinate your females, turning all your hard work into seed production rather than bud development. Auto-flowering seeds are great if you're looking for a quicker harvest or have less control over your light exposure.
When selecting seeds, consider the strain as well. Indica, sativa, and hybrid strains offer different effects and growing characteristics. Indicas tend to be bushy and short, making them ideal for indoor growing. Sativas grow tall and require more space and light, suitable for outdoor cultivation. Hybrids bring together traits of both, offering variety in terms of effects and growth patterns.
Setting Up Your Growing Environment
Once you've got your seeds, it's time to set up the growing environment. This step is crucial because marijuana plants are quite picky about their surroundings. Whether you choose to grow indoors or outdoors will affect everything from the equipment you need to the maintenance involved.
Indoor Growing: If you decide to grow indoors, you'll need to create a space that mimics the plant's natural environment. This involves controlling light, temperature, humidity, and ventilation. Grow tents are a popular choice for indoor growers as they provide a controlled environment and are relatively easy to set up.
- Lighting: LED lights are energy-efficient and provide the full spectrum of light needed for growth. Place them at the right height to avoid burning the plants.
- Temperature and Humidity: Cannabis plants generally thrive in temperatures between 70-85°F during the day and slightly cooler at night. Humidity should be around 40-60% during the vegetative stage and reduced to 30-40% during flowering.
- Ventilation: Fresh air is essential to prevent mold and pest infestations. Use fans to ensure air circulation and maintain a steady CO2 supply.
Outdoor Growing: Outdoor cultivation is more straightforward but requires a suitable climate. Cannabis prefers a Mediterranean climate with long sunny days. Your plants will rely on natural sunlight, so choose a location with ample sun exposure and protection from strong winds.
Regardless of your choice, cleanliness is vital. Keep your growing area tidy to prevent pests and diseases from taking hold.
Germinating Your Seeds
Germination is the process of getting your seeds to sprout. It's like waking them up from a long nap, and it's fascinating to see them come to life. There are several methods to germinate seeds, but we'll focus on two popular ones: the paper towel method and the direct soil method.
Paper Towel Method: This method is simple and effective. Moisten a paper towel (not dripping wet) and place your seeds on it. Cover them with another moist paper towel and put them in a warm, dark place. Check them daily, keeping the paper towels moist. In a few days, you should see a small white root emerging from the seeds. Once the root is about 0.5 to 1 inch long, it's time to plant them in soil.
Direct Soil Method: If you prefer a more natural approach, plant your seeds directly into their growing medium. Make a small hole about 0.25 inches deep, place the seed inside, and cover it lightly with soil. Keep the soil moist and warm, and the seeds should sprout within a week.
Whichever method you choose, handle the seeds with care. They're delicate, and rough handling can damage them.
The Vegetative Stage
After the seeds have sprouted, your plants enter the vegetative stage. This phase is all about growth and getting your plants to develop strong roots and stems. It's like the teenage years for your plants—rapid growth and transformation.
During this stage, your focus should be on providing ample light, water, and nutrients. For indoor growers, keep the lights on for 18-24 hours a day. This extended light period encourages faster growth. Water the plants regularly but avoid overwatering, which can lead to root rot. Let the top inch of soil dry out before watering again.
When it comes to nutrients, marijuana plants need nitrogen, phosphorus, and potassium (NPK) in varying amounts. During the vegetative stage, they require more nitrogen to support leafy growth. You can find specialized nutrients for this stage at gardening stores, which simplify the feeding process.
Pruning and training techniques can also be employed during this stage to shape your plants and increase yield. Techniques like topping or FIMing can encourage bushier growth, while low-stress training (LST) can help maximize light exposure to all parts of the plant.
The Flowering Stage
The flowering stage is where the magic happens. It's when your plants start to produce the buds that contain the cannabinoids and terpenes we seek. For indoor growers, you initiate this stage by switching the light cycle to 12 hours of light and 12 hours of darkness. This change simulates the natural decrease in daylight hours as summer turns to fall.
During flowering, you’ll notice your plant's growth slowing and the development of pistils (the hair-like structures) on female plants. These pistils are early signs of bud formation. As the buds grow, they become covered in trichomes—tiny, crystal-like structures that contain the plant's potent compounds.
Nutrient needs change during this stage. Your plants will require less nitrogen and more phosphorus and potassium to support bud development. Adjust your feeding regimen accordingly, using flowering-specific nutrients.
Keep an eye on humidity levels, as high humidity can lead to mold and mildew issues. Aim for around 30-50% humidity. Good airflow and proper spacing between plants can help prevent these problems.
Dealing with Pests and Diseases
Just like any other plant, marijuana is susceptible to pests and diseases. These can be a real headache for growers, but with a bit of vigilance and care, you can keep your plants healthy.
Pest Control: Common pests include spider mites, aphids, and whiteflies. Introducing beneficial insects like ladybugs can help control these pests naturally. Alternatively, insecticidal soaps and neem oil are safe options for treating infestations.
Disease Management: Fungal diseases like powdery mildew and root rot are common concerns. Good ventilation and proper watering practices can prevent these issues. If you spot signs of disease, act quickly by removing affected leaves and applying fungicides if necessary.
Regular checks and maintaining a clean growing environment are your best defenses against pests and diseases. It's like running regular maintenance checks on your car—catching issues early can save you from bigger problems down the line.
Harvesting Your Crop
Harvest time is the moment every grower looks forward to. It's the payoff for all your hard work. But how do you know when your plants are ready to harvest?
Look at the trichomes with a magnifying glass or jeweler's loupe. When they turn from clear to milky white, and some start to turn amber, it's time to harvest. The ratio of milky to amber trichomes will affect the final product's potency and effects.
Harvesting involves cutting down the plants and trimming the buds. Remove the large fan leaves first, and then trim the sugar leaves (the smaller leaves close to the buds). This process can be a bit tedious, but it's essential for a smooth-smoking final product.
Once trimmed, hang the buds upside down in a dark, cool place with good airflow to dry. This process can take 7-14 days. The buds are ready when the stems snap rather than bend.
Curing for Quality
Curing is the final step to ensure your marijuana is flavorful and potent. It's like letting a good wine age to bring out its full potential.
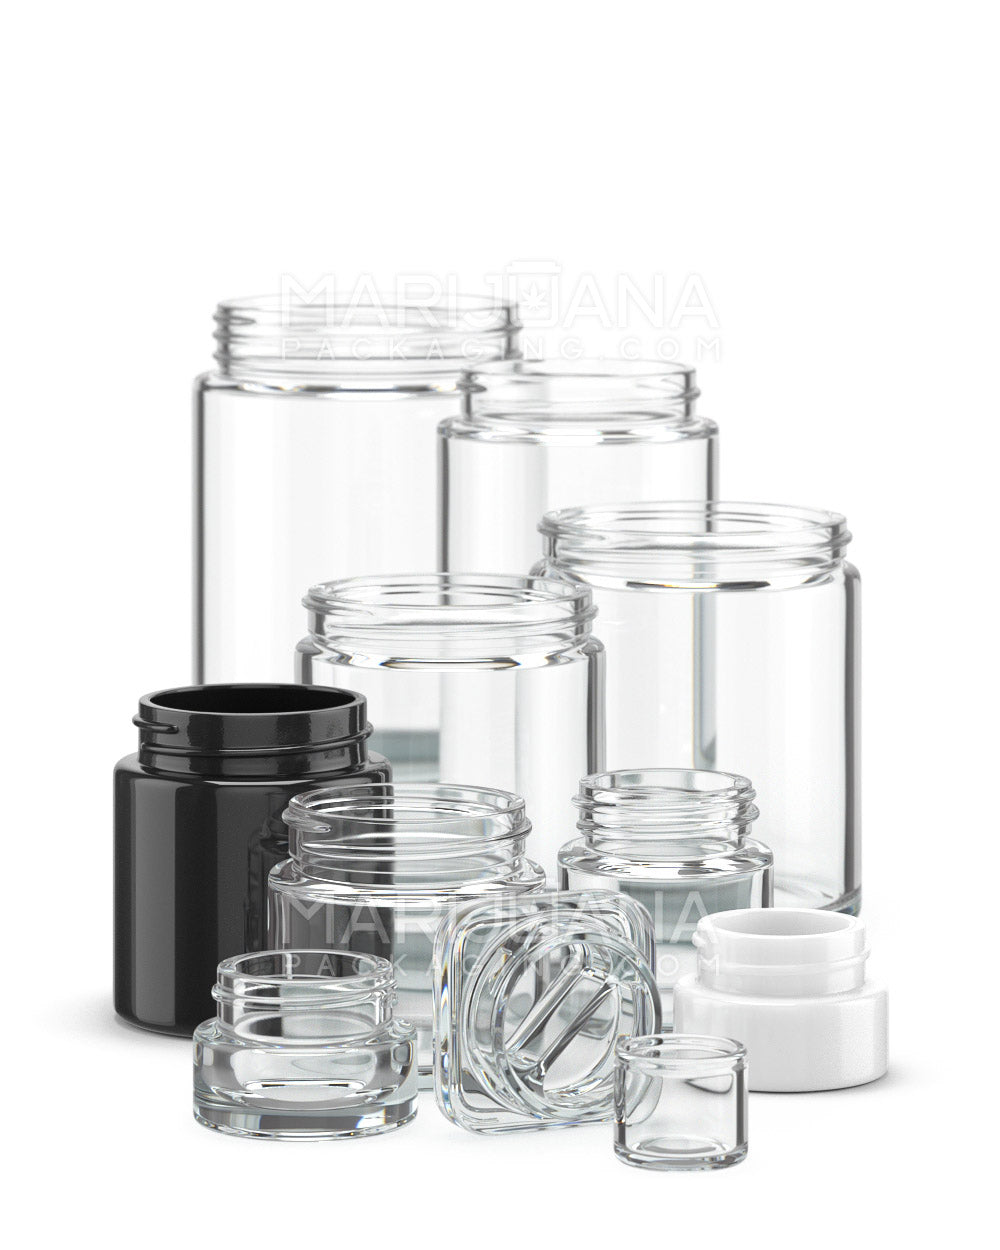
Place the dried buds in airtight jars, filling them about 75% full. Store the jars in a cool, dark place, opening them daily for the first week to let moisture escape. This process is called "burping" and prevents mold from forming. After the first week, burp the jars every few days.
Curing can take anywhere from two weeks to two months. The longer you cure, the better the flavor and smoothness of the smoke. Patience here pays off with a superior product.
Final Thoughts
Growing marijuana is as much a science as it is an art. From selecting the right seeds to curing your final product, each step plays an important role in determining the quality of your harvest. While it might seem daunting at first, with a little patience and practice, you'll find the process quite rewarding.
And if you're looking for top-notch packaging solutions for your freshly harvested buds, Gamut offers a full spectrum of options to meet your needs. Whether it’s jars, bags, or custom designs, Gamut's full-scale packaging services ensure your product stands out on the shelf and reaches customers in pristine condition. With their expertise, your brand can truly shine in any market.


