


Drying marijuana buds might seem like a straightforward task, but doing it right can really make a difference in your final product. Whether you're growing for personal use or planning to sell, understanding how to properly dry your buds is key to achieving the best flavor, potency, and overall experience.
In this article, we'll guide you through the entire process of drying marijuana buds, from the initial harvest to the final cure. We'll cover the essential steps, common mistakes to avoid, and some handy tips that'll help you get the most out of your cannabis crop.
Why Drying Marijuana Buds Matters
Drying your cannabis correctly is crucial for a few reasons. First, it helps prevent mold and bacteria from ruining your harvest. Freshly harvested buds are full of moisture, and if not dried properly, they can become a breeding ground for unwanted microbes. Nobody wants that! Moldy weed is not only unpleasant to smoke, but it can also be harmful to your health.
Beyond safety, drying also plays a big role in determining the quality of your weed. Properly dried buds will have a smooth smoke, good flavor, and potent effects. On the flip side, poorly dried weed can taste harsh, burn unevenly, and lose its potency. Essentially, drying is the bridge between harvesting your cannabis and enjoying it at its best.
When to Harvest Your Cannabis
Before you can dry your marijuana, you need to know when to harvest it. Timing is important here because it affects the potency and flavor of your buds. Generally, the best time to harvest is when the trichomes—those tiny, crystal-like structures on the buds—are at their peak maturity.
To check the trichomes, you might want to use a magnifying glass or a jeweler's loupe. You're looking for a shift in color from clear to milky white, with a few starting to turn amber. This is when the THC levels are highest. If you wait too long and most trichomes turn amber, the THC starts to degrade, which can lead to a more sedative effect.
Keep an eye on the pistils, too. These are the hair-like structures that change from white to reddish-brown as the plant matures. When about 70-80% of the pistils have changed color, it's usually a good time to harvest.
Preparing for the Drying Process
Once you've decided it's time to harvest, a little preparation goes a long way. Start by gathering the tools you'll need, such as sharp scissors or pruning shears, gloves to protect your hands, and a clean area to work in. Hygiene is important, so make sure everything is clean to avoid contamination.
Next, consider where you'll be drying your buds. You'll need a space that's dark, well-ventilated, and able to maintain a consistent temperature and humidity. A closet, spare room, or dedicated grow tent can work well. The ideal temperature is around 60-70°F with humidity levels between 45-55%.
If you're drying a lot of cannabis, you might want to invest in a drying rack or some clothesline to hang your branches. Hanging is the most common method as it allows for even drying and easy airflow around each bud.
Trimming Before Drying: To Do or Not to Do?
One of the big decisions you'll face is whether to trim your buds before or after drying. There are pros and cons to each approach, so it really depends on your personal preference.
Pre-trimming, or "wet trimming," involves cutting away the fan leaves and smaller sugar leaves right after harvesting. This can make the drying process a bit faster and helps prevent mold since there’s less plant material to retain moisture. However, some people find trimming wet buds more tedious since the leaves can be limp and sticky.
On the other hand, "dry trimming" means leaving the leaves on during the drying process and trimming them off later. This can be easier for some as the leaves become crisp and easier to work with. Plus, leaving the leaves on can help protect the buds during drying.
Whichever method you choose, make sure to handle your buds gently to avoid damaging the trichomes. These are the parts rich in cannabinoids and terpenes, which are the compounds that give cannabis its effects and flavor.
The Drying Process: Step-by-Step
Now, let’s get into the nitty-gritty of drying your cannabis. Here's a simple step-by-step guide to help you through the process:
- Step 1: Start by hanging your branches upside down in your drying space. If you've opted for a drying rack, lay the buds out evenly.
- Step 2: Ensure good airflow around all parts of the buds. You can use a fan to circulate air in the room, but avoid pointing it directly at the buds to prevent them from drying too quickly.
- Step 3: Maintain a steady temperature and humidity as mentioned earlier. You might need a dehumidifier or air conditioning if your environment is too humid or hot.
- Step 4: Be patient. The drying process usually takes 7-14 days, depending on the conditions. You’ll know they’re ready when the smaller branches snap rather than bend.
Remember, slow and steady wins the race here. Rushing the drying process can lead to harsh, unpleasant-tasting buds.
Common Mistakes to Avoid
Even experienced growers can make mistakes, but being aware of common pitfalls can help you avoid them. Here are a few things to watch out for:
- Too Much Heat: Some growers try to speed up drying with heaters or direct sunlight. This can damage the cannabinoids and terpenes, reducing potency and flavor.
- High Humidity: If the humidity is too high, your buds can develop mold. Regularly check your drying space and use a dehumidifier if necessary.
- Overcrowding: Make sure your buds have space to breathe. Crowding can lead to uneven drying and increase the risk of mold.
Being mindful of these issues can save you a lot of heartache and help you achieve the best possible results.
The Cure: Why It’s Important
Once your buds are dry, the next step is curing. Curing is all about enhancing the flavor and smoothness of your cannabis. It involves storing your dried buds in airtight containers for a few weeks to allow the remaining moisture to distribute evenly and the flavors to develop.
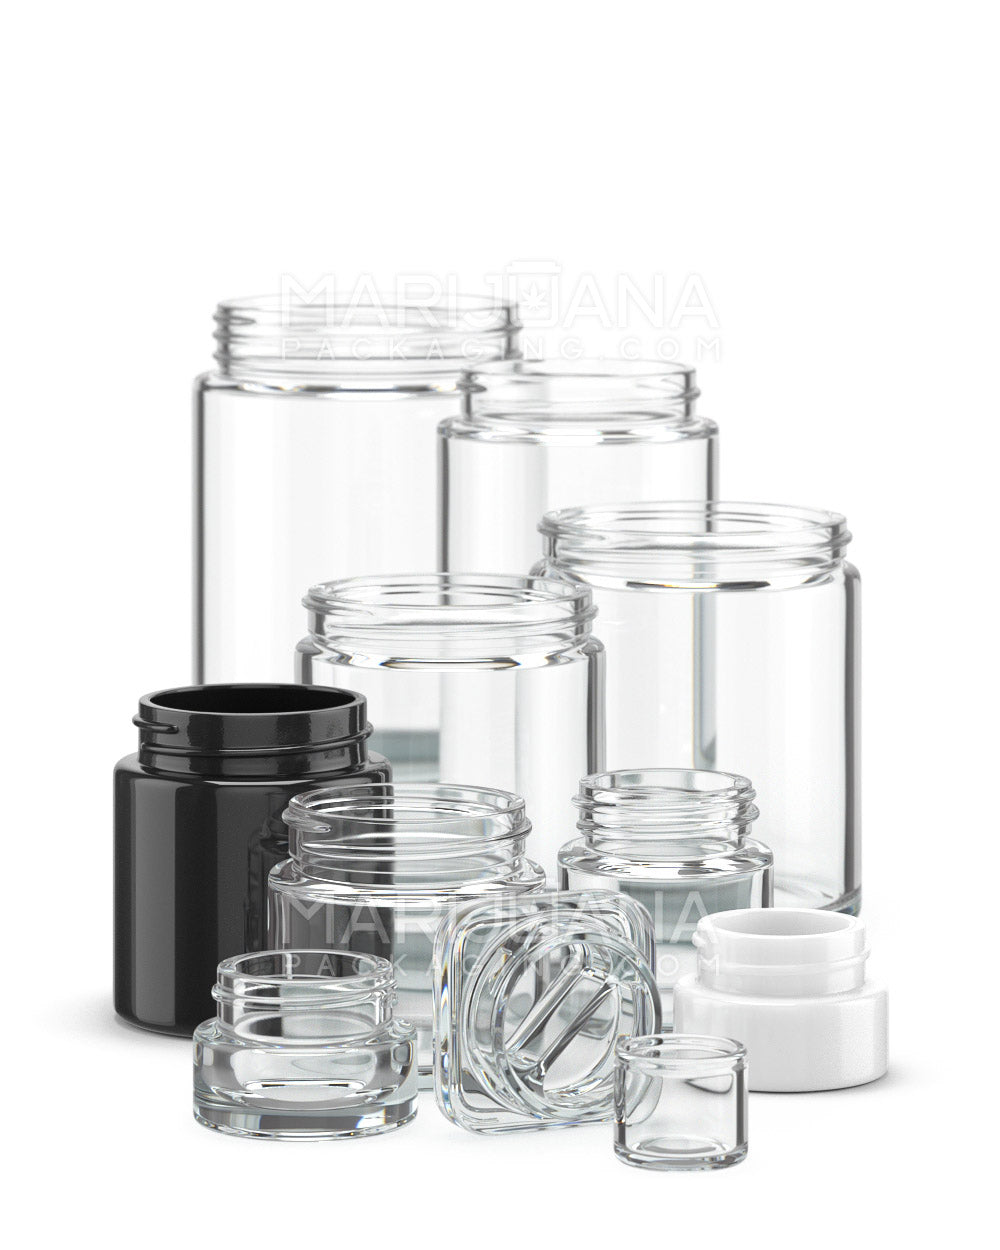
Place your dried buds in glass jars, filling them about 75% full to allow some air circulation. Open the jars daily for the first week to let fresh air in, a process called "burping." This helps prevent mold and allows gases produced during curing to escape. Over time, you can open the jars less frequently.
Properly cured weed can last longer without losing its potency and provides a much smoother smoking experience. It's definitely worth the extra time and effort!
Storing Your Finished Product
After all your hard work, you'll want to store your cannabis properly to maintain its quality. Store your cured buds in a cool, dark place in airtight containers. Light and heat can degrade THC, while excess moisture can lead to mold.
Mason jars are often the go-to choice for storage. They're airtight and easy to find. You can also use vacuum-sealed bags or specialized cannabis storage containers if you prefer.
Keep your stash away from direct sunlight and extreme temperatures. A cupboard or closet is usually a good spot. If you're storing for a long time, consider adding humidity packs to your jars to maintain the optimal moisture level.
Tips for a Better Drying Experience
Drying cannabis can be a bit of an art, but here are some tips to make the process smoother and improve your results:
- Monitor Closely: Keep a close eye on your drying environment. Small changes in temperature and humidity can have a big impact.
- Stay Organized: Label your jars with the strain and harvest date. It helps keep track of your curing progress and ensures you know what you're smoking.
- Experiment: Don't be afraid to try different drying and curing techniques to find what works best for your specific strains and conditions.
With these tips, you can refine your process over time and enjoy better results with each harvest.
Final Thoughts
Drying marijuana buds is a crucial step in the cultivation process that can greatly affect the quality and enjoyment of your cannabis. By following these steps and avoiding common pitfalls, you can ensure your weed is tasty, potent, and ready to enjoy.
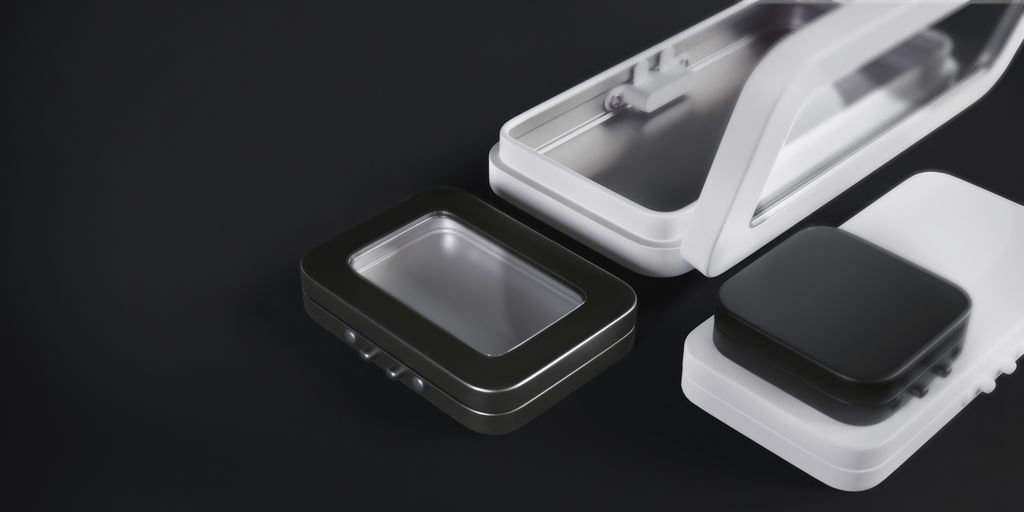
On a related note, if you're looking for ways to package and present your cannabis, Gamut has got you covered. With their full range of packaging solutions, from jars to bags and more, they're your one-stop shop for making your product stand out. Whether you need stock options or custom designs, Gamut is ready to help your brand leave a lasting impression.