Table of Contents
Mastering DIY Soap: From Kits to Curing Techniques
DIY soap making has surged in popularity as crafters seek personalized, natural alternatives to commercial products. Whether you're interested in basic bar soaps, specialized liquid formulations, or eco-friendly laundry solutions, the art of soap making offers creative fulfillment and practical benefits. This comprehensive guide walks you through everything from selecting your first DIY soap kit to understanding the crucial curing process.
Getting Started with DIY Soap Making
Soap making combines science and creativity, allowing you to control ingredients while expressing artistic flair. Before diving in, understanding the basic methods is essential:
- Melt and Pour: Ideal for beginners, using pre-made soap bases
- Cold Process: Traditional method requiring lye and oils
- Hot Process: Accelerated version of cold process using heat
- Liquid Soap Making: Creates pourable soap using potassium hydroxide
Each method requires specific tools and ingredients. For beginners, this step-by-step guide offers valuable insights into getting started safely.
Choosing the Right DIY Soap Kit for Beginners
A quality DIY soap making kit provides everything needed for your first batches. When selecting a kit, consider these factors:
Essential Components of a Good Soap Kit
- Pre-measured ingredients for foolproof results
- Safety equipment (gloves, goggles)
- Detailed instructions with troubleshooting tips
- Molds in various shapes and sizes
- Basic tools like thermometers and stirring implements
Beginners should start with melt-and-pour kits, which eliminate the need to handle lye directly. More advanced DIY soap kits include cold process supplies for those ready to experiment with customized recipes and techniques.
Creating Your Own DIY Liquid Soap
DIY liquid soap offers versatility for hand washing, shower use, and household cleaning. Unlike bar soap, liquid formulations require potassium hydroxide rather than sodium hydroxide (lye).
The process involves creating a soap paste that's later diluted to achieve the desired consistency. For a complete walkthrough of this process, this liquid body soap guide provides detailed instructions.
Common Ingredients in DIY Liquid Soap
- Oils (coconut, olive, castor)
- Potassium hydroxide
- Distilled water
- Essential oils for fragrance
- Natural preservatives for extended shelf life
DIY Foaming Soap: Simple and Effective
DIY foaming soap is perhaps the easiest soap project, perfect for those new to soap making. Unlike traditional liquid soap, foaming varieties use specialized dispensers that mix air with diluted soap to create a light, frothy texture.
To make basic DIY foaming soap:
- Fill a foaming dispenser 1/4 full with liquid castile soap
- Add 10-15 drops of essential oil
- Fill the remainder with distilled water
- Gently shake to combine
This simple formula can be customized with different scents, colors, and beneficial additives like aloe vera or vitamin E.
Crafting DIY Laundry Soap for Eco-Friendly Washing
DIY laundry soap presents an economical, environmentally conscious alternative to commercial detergents. Most homemade formulations use a combination of grated bar soap, washing soda, and borax.
Basic DIY Laundry Soap Recipe
- 1 bar of grated soap (unscented for sensitive skin)
- 1 cup washing soda
- 1/2 cup borax
Simply combine ingredients and use 1-2 tablespoons per load. For liquid versions, the mixture can be dissolved in water and stored in repurposed containers. Many crafters use specialized soap bases for enhanced cleaning power.
How Long Does Soap Take to Cure?
The curing process is crucial for cold and hot process soaps. During curing, excess water evaporates, creating a harder, longer-lasting bar. Additionally, the pH level gradually decreases, resulting in milder soap.
Typical Curing Times by Method
- Melt and Pour: No curing needed, ready to use when hardened (24 hours)
- Cold Process: 4-6 weeks minimum
- Hot Process: 1-2 weeks, though longer improves quality
- Liquid Soap: 2 weeks for the paste to sequester
Proper curing requires good air circulation in a cool, dry environment. Many soap makers use dedicated curing racks or repurposed shelving to maximize airflow around each bar. Rushing this process results in soap that dissolves quickly and may cause skin irritation.
Packaging Solutions for Homemade Soaps
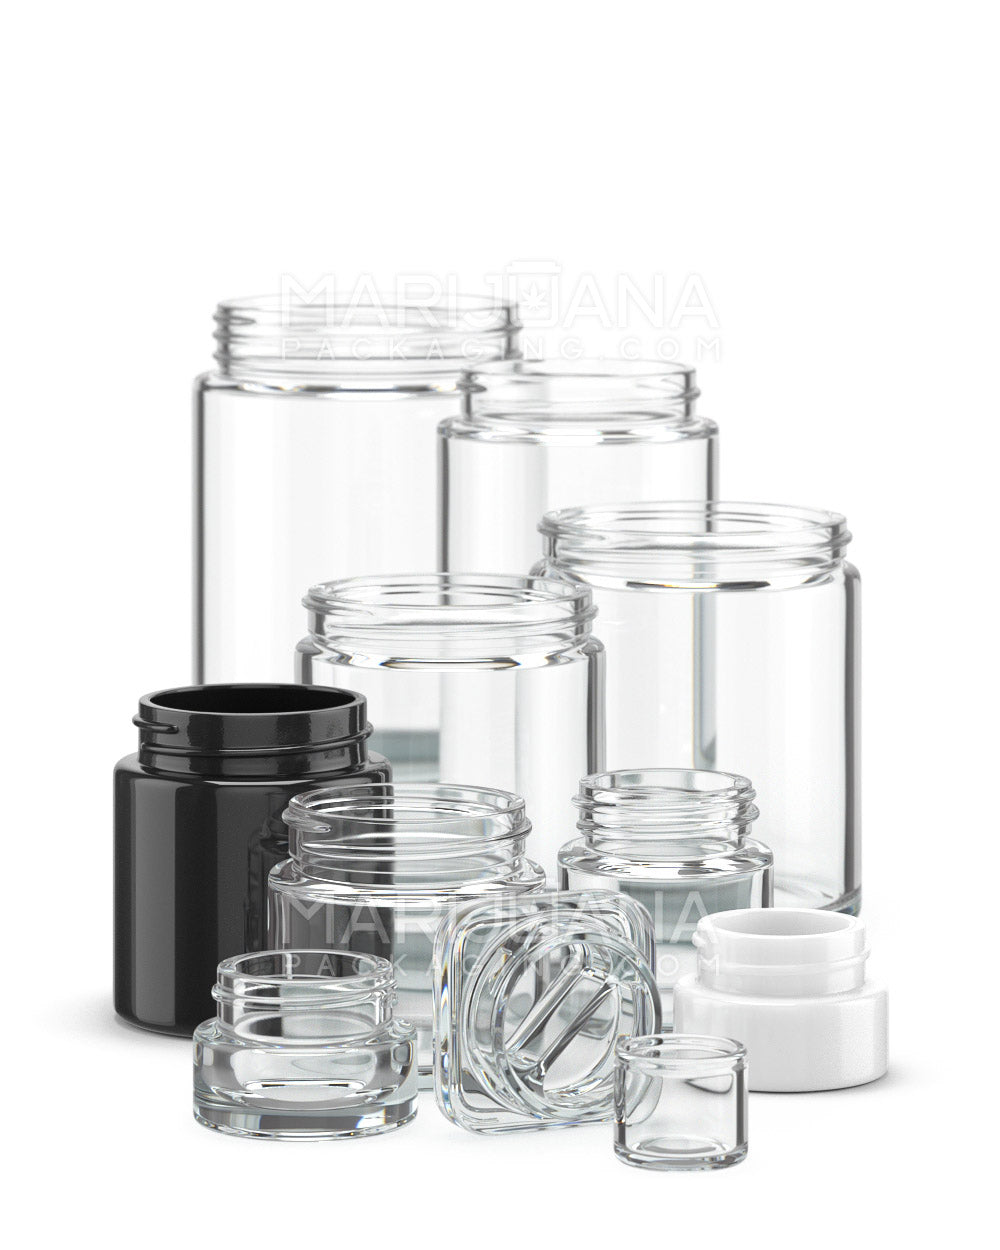
Once your soaps have properly cured, appropriate packaging preserves quality and enhances presentation. Many crafters seek protective packaging options like blister packs that showcase their products while providing a barrier against moisture and contaminants.
Sustainable packaging options include:
- Recyclable kraft paper wrapping
- Compostable cellulose bags
- Reusable tins or wooden soap dishes
- Muslin or cotton drawstring bags
For liquid soaps, amber glass bottles or recyclable plastic containers with secure pumps prevent leakage and extend shelf life. Whatever packaging you choose, clear labeling with ingredients and usage instructions enhances the professional appearance of your DIY soaps.
The journey of crafting perfect homemade soap from selection of ingredients to final packaging represents a fulfilling creative process that yields practical, personalized products. Whether you're making simple melt-and-pour bars or complex liquid formulations, the satisfaction of using your own handcrafted soaps makes the effort worthwhile.
