Growing marijuana in a grow tent can be a rewarding experience for both beginners and seasoned growers. It offers a controlled environment where you can manage every aspect of your plants' growth, from light and temperature to humidity and airflow. But how do you get started, and what do you need to know to ensure healthy, thriving plants?
In this article, we'll walk you through the essential steps and considerations for setting up and maintaining a successful marijuana grow tent. From selecting the right equipment to troubleshooting common issues, we've got you covered. Let's dive into the fascinating world of indoor cannabis cultivation!
Choosing the Right Grow Tent
The first step in your indoor growing journey is selecting the right grow tent. This will be the home for your cannabis plants, so it's important to choose wisely. Grow tents come in various sizes, materials, and features, so consider your specific needs before making a decision.
When choosing a grow tent, think about the available space you have and how many plants you want to grow. A small tent might be suitable for just a couple of plants, while a larger tent could accommodate a bigger harvest. Also, consider the height of the tent, especially if you're growing strains known for their tall growth.
- Size: Measure your available space and decide how many plants you plan to grow. A 2x2 tent is great for beginners, while a 4x4 tent can handle more plants.
- Material: Look for tents made of durable materials with reflective interiors to maximize light efficiency. Canvas is a popular choice for its sturdiness.
- Features: Ventilation ports, observation windows, and sturdy zippers are important features that enhance functionality and ease of use.
Once you've chosen the right grow tent, you'll be ready to start setting up your indoor garden.
Setting Up Your Grow Tent
After selecting your grow tent, it's time to set it up properly to create an ideal environment for your marijuana plants. This involves assembling the tent, installing necessary equipment, and ensuring everything is in working order.
Begin by following the instructions provided with your grow tent for assembly. Most tents come with metal poles and connectors that make it easy to set up. Once assembled, position your tent in a location that has easy access to power outlets and water sources.
Next, consider the following components for a successful setup:
- Lighting: LED grow lights are energy-efficient and produce less heat, making them a popular choice. Position lights above the plants and adjust as they grow.
- Ventilation: Proper ventilation is crucial to prevent mold and mildew. Install an exhaust fan and use ducting to direct airflow. An oscillating fan inside can help circulate air as well.
- Temperature and Humidity Control: Use a thermometer and hygrometer to monitor conditions inside the tent. Aim for temperatures between 70-85°F and humidity levels around 40-60% during the vegetative stage.
By carefully setting up your grow tent, you create a stable environment where your cannabis plants can thrive.
Choosing the Right Marijuana Strains
Choosing the right marijuana strains for your grow tent is a vital step in the growing process. Different strains have different growth characteristics, flavors, and effects, so it's important to select those that align with your goals and experience level.
If you're new to growing, consider starting with strains known for their resilience and ease of cultivation. Autoflowering strains are a great option for beginners because they automatically transition from the vegetative stage to flowering without needing a change in light cycles.
Here are a few factors to consider when selecting strains:
- Growth Characteristics: Indica strains are typically shorter and bushier, while Sativa strains tend to grow taller and require more vertical space.
- Flowering Time: Some strains flower faster than others. Autoflowering strains usually have a shorter growth cycle than photoperiod strains.
- Desired Effects: Think about what you want from your harvest. Indicas are often associated with relaxation, while Sativas are known for their uplifting effects.
By selecting strains that fit your growing conditions and personal preferences, you're setting yourself up for a successful and satisfying harvest.
Germinating Cannabis Seeds
Once you've chosen your strains, it's time to germinate your cannabis seeds. Germination is the process of getting your seeds to sprout, and it's the first stage of the growing cycle.
There are several methods for germinating seeds, but one of the most popular and straightforward is the paper towel method. Here's how you can do it:
- Moisten a few sheets of paper towels and place them on a plate.
- Place your seeds on the damp paper towels, leaving some space between each seed.
- Cover the seeds with another layer of damp paper towels.
- Place a second plate on top to create a dark, humid environment.
- Check the paper towels daily to ensure they remain moist.
After a few days, you should see tiny roots emerging from the seeds. At this point, they're ready to be planted in your grow medium.
Germinating seeds successfully lays the foundation for a healthy cannabis plant, so take your time and be patient during this critical stage.
Transplanting and Early Growth
After your seeds have germinated, it's time to transplant them into their growing medium. This is a delicate process, so handling them with care is essential to avoid damaging the young roots.
Choose a growing medium that suits your needs and experience level. Soil is a forgiving option for beginners, while hydroponics can offer faster growth for those with more experience. Whichever medium you choose, make sure it's nutrient-rich and well-draining.
Here's a simple guide to transplanting your seedlings:
- Create small holes in your growing medium, about half an inch deep.
- Gently place each germinated seed into a hole, root down, and cover it lightly with soil or your chosen medium.
- Water the seedlings carefully, ensuring the soil remains moist but not waterlogged.
- Position your grow lights around 18 inches above the seedlings to provide adequate light without causing heat stress.
During the early growth phase, monitor your plants closely for signs of stress or nutrient deficiencies. Healthy seedlings should grow rapidly, and soon you'll be able to enjoy the sight of your young cannabis plants thriving in their new environment.
Managing Light Cycles
Light is one of the most important factors for cannabis growth, affecting everything from size to potency. In a grow tent, you have the advantage of controlling the light cycle to mimic the natural seasons.
During the vegetative stage, cannabis plants benefit from long light periods. Aim for 18 hours of light followed by 6 hours of darkness each day. This encourages rapid growth and prepares your plants for the flowering stage.
When you're ready for your plants to flower, switch the light cycle to 12 hours of light and 12 hours of darkness. This change signals to the plants that it's time to start producing buds.
Keep these tips in mind for managing light cycles:
- Consistency: Use a timer to automate your light cycles and ensure consistency.
- Light Distance: Adjust your lights as your plants grow to prevent them from getting too close and causing heat stress.
- Light Type: Consider using full-spectrum LEDs for a balanced light source that mimics natural sunlight.
By managing your light cycles effectively, you'll help your cannabis plants reach their full potential and produce a generous harvest.
Feeding and Watering Your Plants
Providing the right nutrients and water is vital for healthy cannabis growth. Marijuana plants have specific nutrient requirements, and meeting these needs will ensure robust growth and high-quality buds.
Begin by selecting a nutrient solution designed for cannabis. These solutions are typically divided into two phases: vegetative and flowering. During the vegetative phase, focus on nutrients high in nitrogen, while the flowering phase requires more phosphorus and potassium.
Here are some tips for feeding and watering your plants:
- Watering Schedule: Water your plants when the top inch of soil feels dry. Overwatering can lead to root rot, so be cautious.
- Nutrient Strength: Start with a diluted nutrient solution and gradually increase the strength. Too many nutrients can cause nutrient burn.
- pH Levels: Monitor the pH of your water and nutrient solution, aiming for a range of 6.0 to 7.0 for soil and 5.5 to 6.5 for hydroponics.
Regularly feeding and watering your plants will keep them healthy and vigorous, leading to a more successful harvest.
Monitoring and Troubleshooting Common Issues
Even with the best setup and care, marijuana plants can encounter problems. Being proactive and attentive is the best way to identify and address any issues before they become serious.
Common problems include nutrient deficiencies, pests, and mold. Each of these issues has distinct symptoms, so it's important to familiarize yourself with them.
Here's how you can monitor and troubleshoot these common issues:
- Nutrient Deficiencies: Yellowing leaves can indicate a lack of nitrogen, while purple stems might signal a phosphorus deficiency. Adjust your nutrient regimen accordingly.
- Pests: Spider mites, aphids, and fungus gnats are common invaders. Inspect your plants regularly and use organic pest control methods if needed.
- Mold and Mildew: High humidity can lead to mold growth. Maintain proper ventilation and consider using a dehumidifier if necessary.
By staying vigilant and ready to act, you can keep your plants healthy and ensure a successful harvest.
Harvesting and Curing Your Cannabis
After months of care and attention, it's finally time to harvest your cannabis plants. This is an exciting stage, but it requires careful timing and technique to achieve the best results.
Harvesting too early or too late can affect the potency and flavor of your buds, so pay attention to the trichomes on your plants. These tiny, resinous glands change color as the plant matures and provide a visual cue for the optimal harvest time.
Once you've determined it's time to harvest, follow these steps:
- Cutting: Use sharp scissors to cut branches from the main stem, handling them gently to avoid damaging the buds.
- Trimming: Trim away the fan leaves and sugar leaves, leaving only the buds. This can be done before or after drying.
- Drying: Hang the branches upside down in a dark, well-ventilated space with temperatures around 60-70°F and humidity levels between 45-55%.
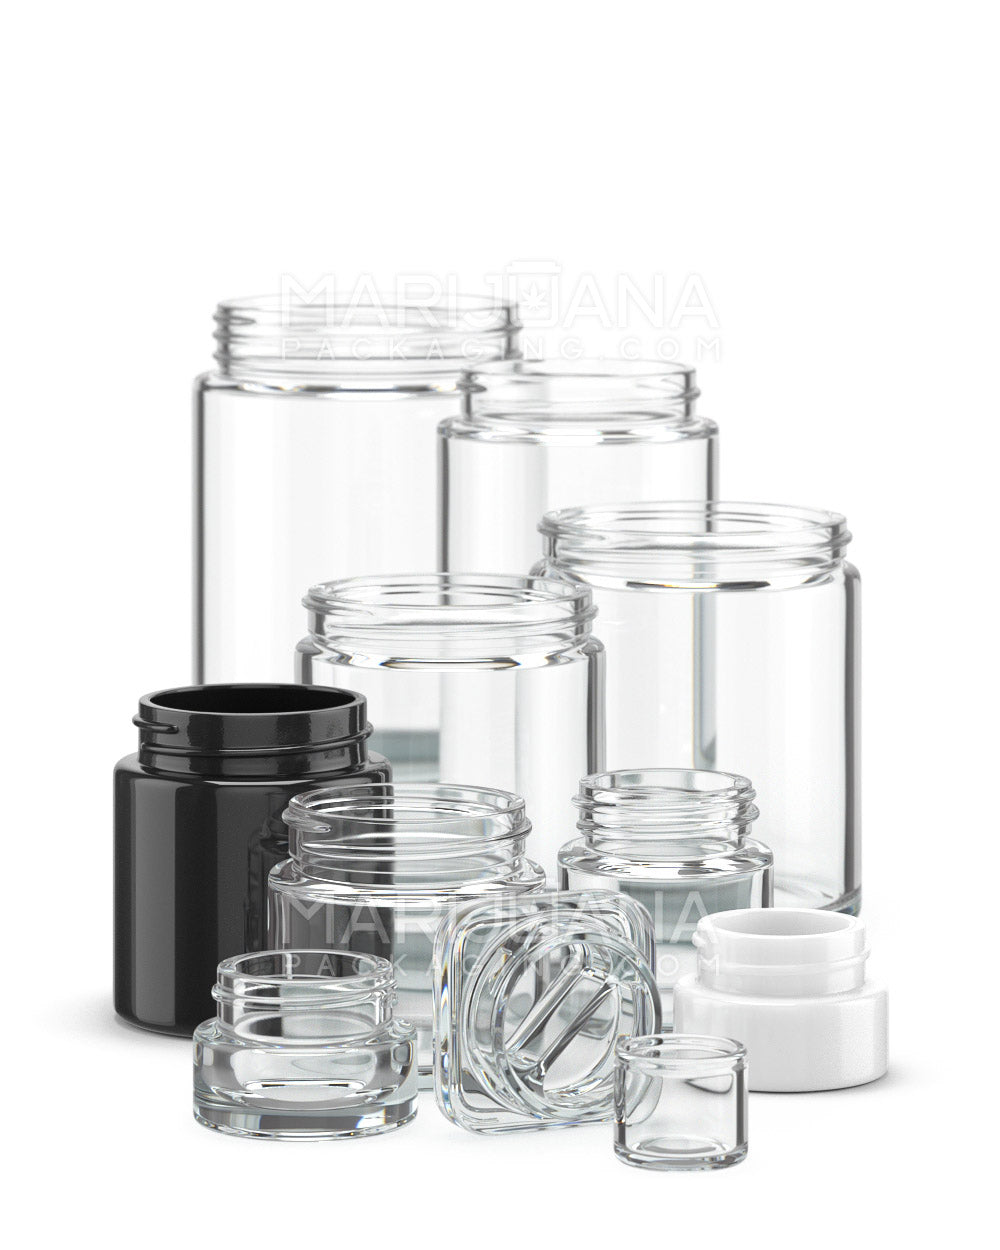
- Curing: Once dried, place the buds in airtight jars, opening them daily to release moisture, a process known as burping. Curing can take several weeks and improves the flavor and potency of the cannabis.
Harvesting and curing your cannabis properly will enhance its quality and ensure a satisfying end to your growing journey.
Final Thoughts
Growing marijuana in a grow tent is an enjoyable and rewarding endeavor. By following the steps outlined above, you can create an ideal environment for your plants and enjoy a fruitful harvest. From selecting the right equipment to managing light cycles and troubleshooting issues, each step plays a role in ensuring your grow tent is a success.
When it comes to packaging your final product, Gamut can be a valuable resource. With over a decade of expertise in packaging for consumer goods, Gamut offers a full range of packaging solutions, from jars and bags to tubes and containers. Whether you're looking for stock options or custom designs, Gamut covers the entire spectrum of packaging needs, helping you make your brand unforgettable. Partnering with Gamut can help you stand out in the market and ensure your cannabis products are presented in the best possible way.


